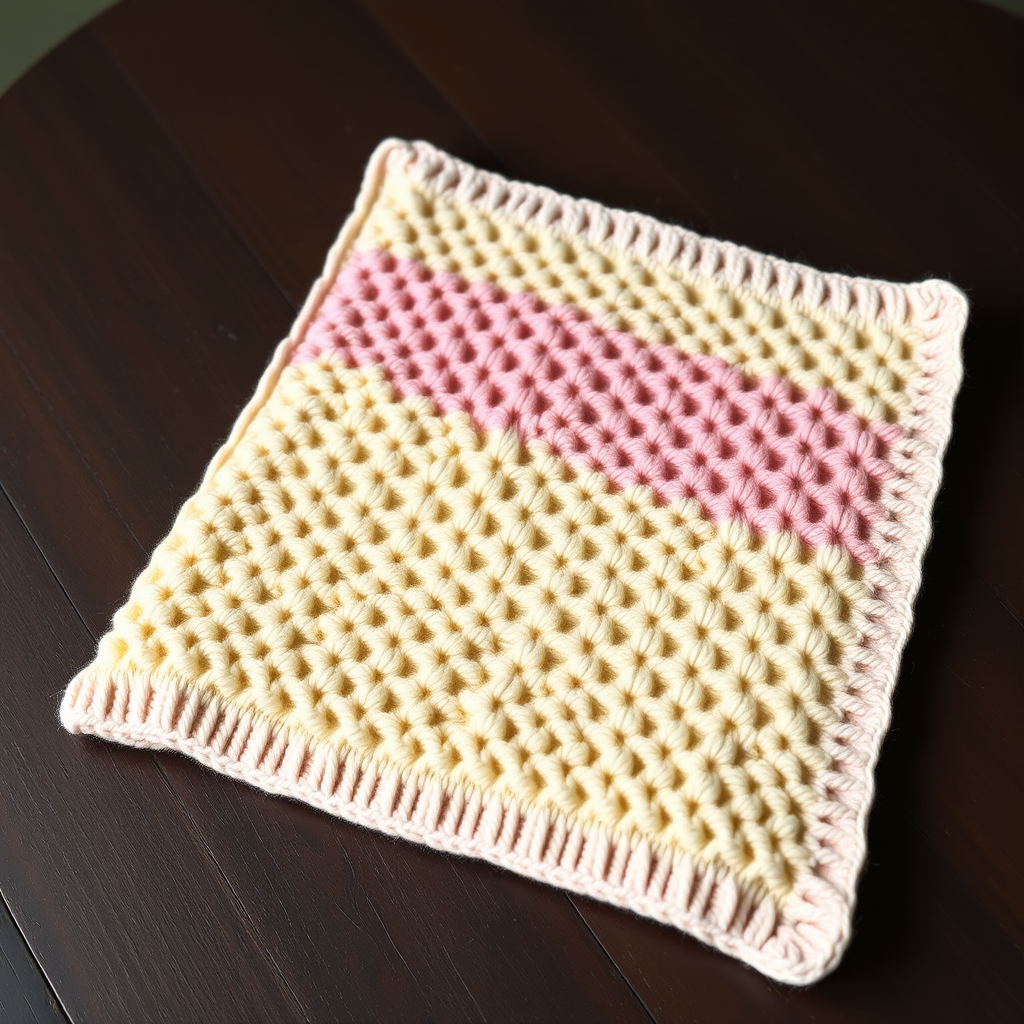
Whispering Willow Baby Blanket Free Pattern – Textured Knit Heirloom

Introducing the Whispering Willow Baby Blanket
Wrap your little one in the gentle embrace of the Whispering Willow blanket, a modern heirloom featuring a serene ripple stitch that mimics soft breezes through willow leaves. This free pattern offers a soothing, rhythmic knit that's as calming to create as it is to cuddle. Whether you're a seasoned knitter looking for a meditative project or a beginner ready to tackle your first textured piece, this blanket delivers a beautiful, professional result that will be treasured for generations.
The pattern is worked flat in one piece, making it portable and straightforward. The ripple stitch is a multiple of 12 + 2 stitches, creating a gentle wave that is both visually stunning and wonderfully tactile. The finished blanket measures approximately 30 inches wide by 36 inches long, perfect for a crib, stroller, or cuddle time on the couch.
With its soft sage green and optional cream stripe, this blanket evokes a calm, natural nursery atmosphere. The garter stitch border on all four sides gives it a clean, finished edge, while the ripple pattern opens up beautifully after blocking to create a soft, draping fabric. Let's get started on creating this heirloom piece.
Materials Needed
Before you begin, gather the following materials to ensure a smooth knitting experience:
- Yarn: DK weight (light worsted) yarn in soft sage green (approx. 1200 yards) and cream (approx. 300 yards). Choose a soft, washable yarn for a baby blanket—merino, cotton, or a blend works beautifully.
- Needle: US 6 (4.0 mm) circular knitting needle, 32-inch cable. The long cable accommodates the 122 stitches comfortably.
- Notions: Tapestry needle for weaving in ends, stitch markers (optional but helpful), and blocking pins/mat for finishing.
- Gauge: 20 stitches and 28 rows = 4 inches in stockinette stitch (after blocking). Achieving the correct gauge ensures your blanket matches the finished size.
Step-by-Step Instructions
Follow these detailed instructions carefully, and you'll have a beautiful Whispering Willow blanket in no time. The pattern is broken down into sections for clarity.
Finished Size & Abbreviations
Finished Size: Approximately 30 inches wide x 36 inches long (blocked).
Abbreviations:
- CO: cast on
- K: knit
- P: purl
- K2tog: knit two together (right-leaning decrease)
- SSK: slip, slip, knit (left-leaning decrease)
- YO: yarn over (increase)
- St(s): stitch(es)
- Rep: repeat
- RS: right side
- WS: wrong side
Pattern Notes
- The blanket is worked flat in one piece from the bottom up.
- The ripple stitch pattern is a multiple of 12 + 2 stitches.
- Use a slip knot for the first cast-on stitch, then cast on loosely to maintain elasticity. A long-tail cast-on works well here.
- Always slip the first stitch of each row purlwise to create a neat selvedge edge. This makes the border cleaner and easier to pick up stitches from if needed.
Foundation
With sage green yarn, CO 122 stitches loosely. Take your time with this step—a tight cast-on will make the edge curl and reduce the blanket's drape.
Border (Worked in Garter Stitch)
Rows 1-6: Knit all stitches. This creates a 6-row garter stitch border at the bottom of the blanket, which will match the top border and provide a stable base for the ripple pattern.
Body (Ripple Stitch Pattern)
Now you'll begin the main ripple pattern. The pattern is a 4-row repeat that creates the wave effect. Pay close attention to the yarn overs and decreases—they work together to form the ripples.
Row 1 (RS): K1 (selvedge), *K2tog, K2tog, (YO, K1) 3 times, YO, SSK, SSK*; rep from * to * until last stitch, K1 (selvedge).
Explanation: You'll work two decreases (K2tog twice) to start the downward slope of the wave, then create increases with yarn overs and knit stitches to form the upward slope, and finish with two decreases (SSK twice) to bring the wave back down. The pattern repeats across the row.
Row 2 (WS): K1, Purl all stitches to last stitch, K1.
Explanation: The wrong side row is simple—purl across, keeping the selvedge stitches in knit. This creates the stockinette texture that shows the ripples clearly.
Row 3: K1, *K2tog, K2tog, (YO, K1) 3 times, YO, SSK, SSK*; rep from * to * until last stitch, K1.
Explanation: This is identical to Row 1. The pattern is worked on both RS rows, with WS rows purled.
Row 4: K1, Purl all stitches to last stitch, K1.
Explanation: Same as Row 2.
Repeat Rows 1-4 until the piece measures approximately 34 inches from the cast-on edge, ending with a Row 4 (WS). This ensures you finish on a purl row, ready for the color transition or border.
Color Transition (Optional)
To add a subtle contrast stripe near the top, switch to cream yarn for the last 2 inches of the body. This creates a beautiful, delicate accent that echoes the willow theme.
To do this, simply cut the sage yarn and join the cream yarn at the beginning of a RS row. Leave a 6-inch tail to weave in later. Continue the ripple pattern for 12 rows (3 repeats of Rows 1-4). This will give you approximately 2 inches of cream. Then switch back to sage for the final border.
Tip: When joining a new yarn, knit the first stitch with both the old and new yarn held together for a secure join, then drop the old yarn and continue with the new.
Border (Top)
Rows 1-6: With sage yarn (or the color you are using), knit all stitches. This mirrors the bottom border and completes the clean, framed look.
Bind Off
Bind off loosely in knit on the RS. A loose bind-off is crucial to prevent the top edge from being tighter than the rest of the blanket. You can use a larger needle for the bind-off or bind off with a yarn-over between stitches to keep it elastic.
Cut yarn, leaving a 12-inch tail for weaving in.
Finishing
Weave in all ends with a tapestry needle. Take your time to weave in securely, especially at the color transition points, so the blanket withstands washing and use.
Block the blanket gently by soaking in lukewarm water with a mild wool wash. Gently squeeze out excess water (do not wring), then lay flat to dry, stretching to the finished measurements. Use blocking pins to hold the edges straight and open up the ripple pattern. This step is essential—it transforms the fabric, creating a beautiful drape and crisp stitch definition.
Once dry, your Whispering Willow blanket is ready to be gifted or enjoyed. The soft waves and gentle texture will become a cherished part of your nursery or a heartfelt handmade gift.