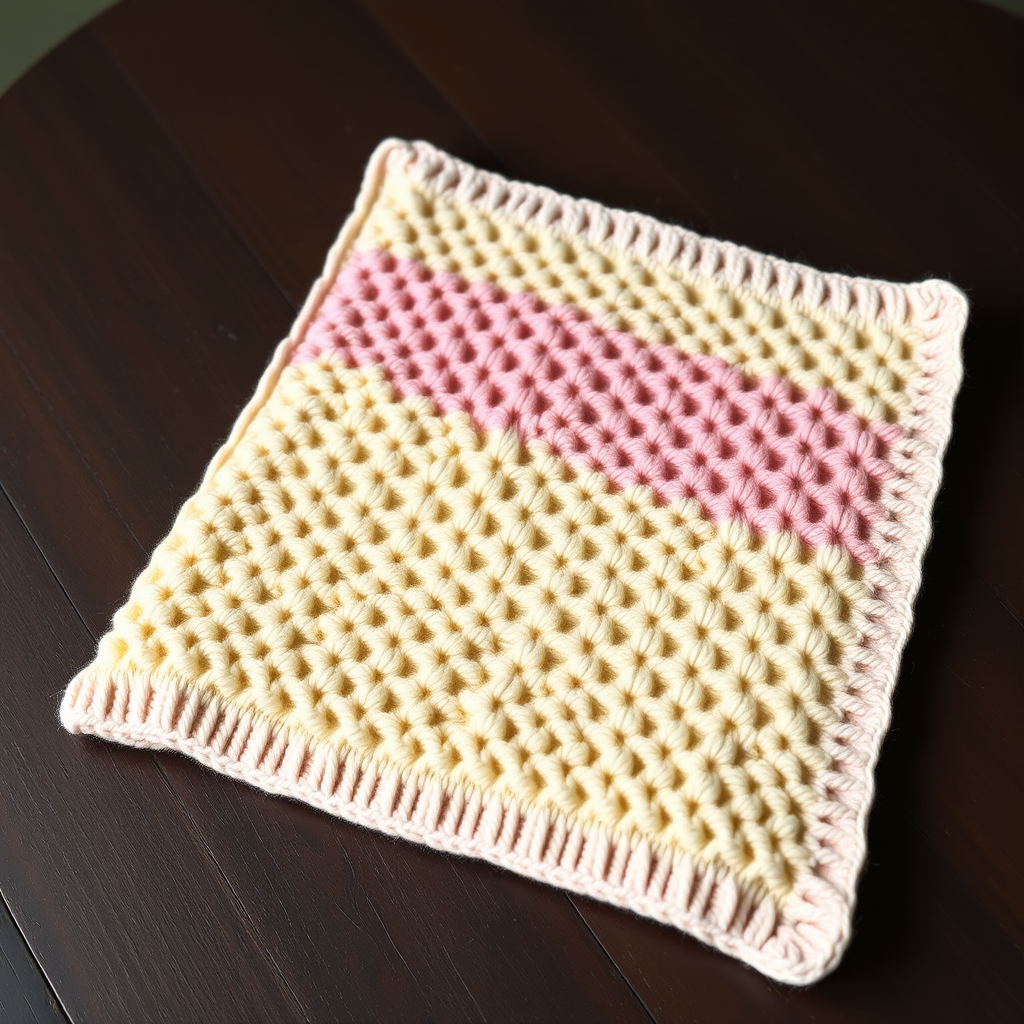
Whispering Waves Chevron Baby Blanket Free Pattern – A Knitted Ocean Lullaby

Whispering Waves Chevron Baby Blanket: A Knitted Ocean Lullaby
There's something magical about wrapping a baby in a blanket that feels like a gentle ocean breeze. The Whispering Waves Chevron Baby Blanket captures that serene coastal feeling with its delicate lace ripple pattern, reminiscent of soft waves rolling onto shore. This free knitting pattern is designed with beginners in mind, yet produces a stunning, textured heirloom piece that will be treasured for generations.
The peephole chevron design creates a beautiful interplay of light and texture, while the soothing palette of aqua, cream, and sand evokes the calm of a seaside morning. Whether you're a new knitter looking for your first lace project or an experienced crafter seeking a meditative make, this blanket offers the perfect balance of simplicity and beauty.
Materials Needed
Before you begin your knitting journey, gather these essential supplies:
Yarn
- Yarn A (Aqua): 400 yards of worsted weight (#4) cotton or cotton-blend yarn
- Yarn B (Cream): 400 yards of worsted weight (#4) cotton or cotton-blend yarn
- Yarn C (Sand): 400 yards of worsted weight (#4) cotton or cotton-blend yarn
Total yarn needed: approximately 1200 yards. Choose a soft, breathable cotton blend for maximum baby comfort.
Needles and Tools
- US Size 8 (5.0 mm) knitting needles – straight or circular (for working flat)
- Tapestry needle for weaving in ends
- Stitch markers (optional, but helpful for keeping track of pattern repeats)
- Scissors
Gauge
18 stitches and 24 rows = 4 inches in stockinette stitch. Always knit a gauge swatch first! If your gauge doesn't match, adjust your needle size accordingly – smaller needles for too-loose gauge, larger needles for too-tight gauge.
Special Stitches and Abbreviations
Familiarize yourself with these essential stitches before beginning:
- Yo (Yarn Over): Bring the yarn to the front, then over the needle to the back, creating a new loop. This creates the lace holes.
- K2tog (Knit Two Together): Insert the right needle through two stitches at once and knit them together. This is a right-leaning decrease.
- Ssk (Slip, Slip, Knit): Slip two stitches knitwise one at a time, then insert the left needle into the front of both slipped stitches and knit them together. This is a left-leaning decrease.
- Kfb (Knit Front and Back): Knit into the front of the stitch, then knit into the back of the same stitch before slipping it off. This increases by one stitch.
Pattern Notes
- The blanket is worked flat in rows, making it perfect for beginners.
- The peephole chevron pattern is a multiple of 12 stitches + 2 edge stitches.
- Change colors every 4 rows (2 ridges) to create subtle, soothing stripes.
- Edge stitches are always knitted on the right side and purled on the wrong side to create a neat selvedge edge.
Step-by-Step Instructions
Step 1: Cast On
With Yarn A (Aqua), cast on 122 stitches loosely. A loose cast-on is essential to prevent the bottom edge from pulling. Consider using a larger needle for casting on, or use the long-tail cast-on method with a relaxed tension.
Step 2: Set-Up Row
Set-up Row (Wrong Side): Knit all stitches across. This creates a smooth foundation for the lace pattern.
Step 3: Begin the Chevron Lace Pattern
Row 1 (Right Side): With Yarn A, k1 (edge), *yo, k2tog, k4, ssk, yo, k1, yo, k2tog, k4, ssk, yo, k1*; repeat from * to * across, ending with k1 (edge). You will have 10 pattern repeats of 12 stitches plus 2 edge stitches.
Row 2 (Wrong Side): Purl all stitches across.
Row 3 (Right Side): K1 (edge), *k1, yo, k2tog, k4, ssk, yo, k1, yo, k2tog, k4, ssk, yo*; repeat from * to * across, ending with k1 (edge).
Row 4 (Wrong Side): Purl all stitches across.
Row 5 (Right Side): Switch to Yarn B (Cream). K1 (edge), *k2, yo, k2tog, k4, ssk, yo, k1, yo, k2tog, k4, ssk*; repeat from * to * across, ending with k1 (edge).
Row 6 (Wrong Side): Purl all stitches across.
Row 7 (Right Side): K1 (edge), *k3, yo, k2tog, k4, ssk, yo, k1, yo, k2tog, k4*; repeat from * to * across, ending with k1 (edge).
Row 8 (Wrong Side): Purl all stitches across.
Row 9 (Right Side): Switch to Yarn C (Sand). K1 (edge), *k4, yo, k2tog, k4, ssk, yo, k1, yo, k2tog*; repeat from * to * across, ending with k1 (edge).
Row 10 (Wrong Side): Purl all stitches across.
Row 11 (Right Side): K1 (edge), *k5, yo, k2tog, k4, ssk, yo, k1, yo*; repeat from * to * across, ending with k1 (edge).
Row 12 (Wrong Side): Purl all stitches across.
Row 13 (Right Side): Switch to Yarn A (Aqua). K1 (edge), *k6, yo, k2tog, k4, ssk, yo, k1*; repeat from * to * across, ending with k1 (edge).
Row 14 (Wrong Side): Purl all stitches across.
Row 15 (Right Side): K1 (edge), *k7, yo, k2tog, k4, ssk, yo*; repeat from * to * across, ending with k1 (edge).
Row 16 (Wrong Side): Purl all stitches across.
Row 17 (Right Side): Switch to Yarn B (Cream). K1 (edge), *k8, yo, k2tog, k4, ssk*; repeat from * to * across, ending with k1 (edge).
Row 18 (Wrong Side): Purl all stitches across.
Row 19 (Right Side): K1 (edge), *k9, yo, k2tog, k4, ssk*; repeat from * to * across, ending with k1 (edge).
Row 20 (Wrong Side): Purl all stitches across.
Row 21 (Right Side): Switch to Yarn C (Sand). K1 (edge), *k10, yo, k2tog, k4, ssk*; repeat from * to * across, ending with k1 (edge).
Row 22 (Wrong Side): Purl all stitches across.
Row 23 (Right Side): K1 (edge), *k11, yo, k2tog, k4, ssk*; repeat from * to * across, ending with k1 (edge).
Row 24 (Wrong Side): Purl all stitches across.
Step 4: Repeat the Pattern
Repeat Rows 1-24 until the blanket measures approximately 36 inches from the cast-on edge, ending with a wrong-side row. You will have completed about 12 full pattern repeats. The blanket will naturally grow in length as you work through the color transitions.
Step 5: Add the Edging
With Yarn A (Aqua), knit 4 rows of garter stitch (knit every row) across all stitches. This creates a clean, finished edge that frames the lace pattern beautifully. Bind off loosely knitwise – remember, a tight bind-off will cause the edge to pucker.
Step 6: Finishing Touches
Weave in all loose ends with a tapestry needle, being careful to weave them in on the wrong side of the work. Take your time with this step – neat finishing makes a professional-looking blanket.
Step 7: Blocking
Blocking is essential for lace patterns! Gently wet-block the blanket to open up the lace holes and even out the chevron waves. To block:
- Soak the blanket in lukewarm water with a gentle wool wash for 15-20 minutes.
- Gently squeeze out excess water (never wring or twist).
- Lay the blanket flat on a clean towel and roll it up to remove more water.
- Pin the blanket to your desired dimensions on a blocking mat or clean surface.
- Allow to dry completely before unpinning.
Optional: Crochet Border
For an extra-polished finish, add a simple crochet border using a small hook and Yarn A: single crochet evenly around the entire edge, working 3 single crochet stitches in each corner. This gives a neat, structured look and helps the blanket lay perfectly flat.
Tips for Success
- Count your stitches regularly – the lace pattern is easy to follow, but a quick count after each row ensures you haven't dropped or added stitches.
- Use stitch markers between pattern repeats to help you keep your place, especially when you're new to lace knitting.
- Keep your tension consistent – this is more important than speed. Relax your hands and let the yarn flow smoothly.
- Don't be afraid to rip back – if you make a mistake, it's easier to fix it right away than to try to work around it.
Your Ocean Lullaby Awaits
As you knit this Whispering Waves Chevron Baby Blanket, imagine the gentle rhythm of the tide – each row a soft wave, each color change a new layer of sea foam. This pattern is more than just a project; it's a meditation, a gift of warmth and comfort wrapped in the soothing colors of the coast.
Whether you're knitting for your own little one, a grandchild, or a friend's new arrival, this blanket will become a cherished keepsake. The combination of beginner-friendly techniques and stunning visual results makes it a perfect project for knitters of all skill levels.
So gather your yarn, find a comfortable spot, and let the Whispering Waves carry you away. Happy knitting!