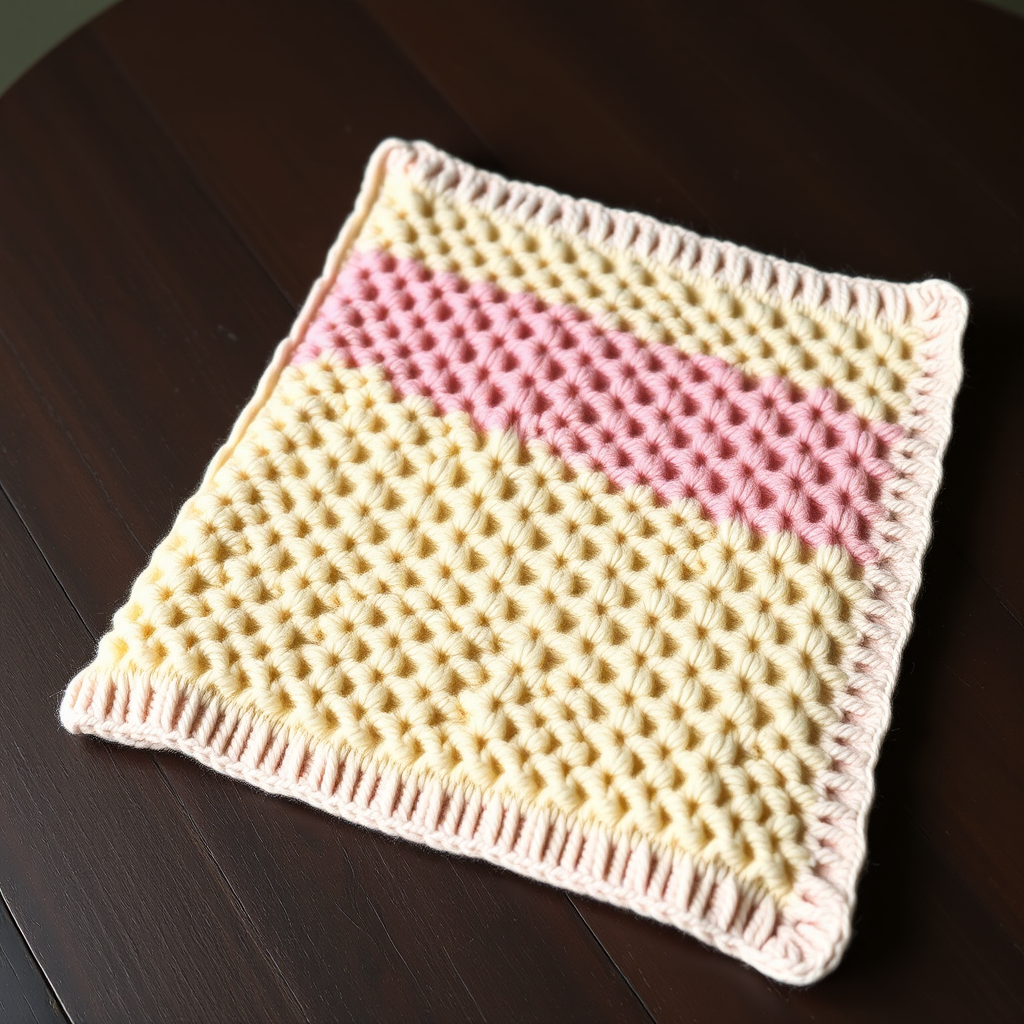
Harvest Checkerboard Rib Knit Baby Blanket Free Pattern

Harvest Checkerboard Rib Knit Baby Blanket
If you have never knitted a single stitch before, this is the project that will make you fall in love with knitting. This blanket is a soft, square 30 x 30 inch baby blanket worked in bright rainbow stripes that cross three cream vertical bands to form a crisp plaid checkerboard. It is perfect for a total beginner because it uses only two simple stitch patterns — knit and purl — and the finished blanket looks far more complicated than it actually is. The worsted cotton yarn makes it matte, sturdy, and machine-washable, with beautiful stitch definition that shows off every rib. By the time you finish, you will have a cozy heirloom for a 0–6 month baby and a whole new skill set.
Materials Needed
- Yarn: Worsted weight (CYC 4) cotton yarn, approximately 1,050 yards total, in seven colors:
- Color A (pumpkin orange): 220 yds
- Color B (hot magenta): 160 yds
- Color C (sunshine yellow): 160 yds
- Color D (lime green): 160 yds
- Color E (turquoise blue): 160 yds
- Color F (violet purple): 120 yds
- Color G (cream): 70 yds
- Needles: US 7 (4.5 mm) circular needles, 32 in / 80 cm cable, used flat (you knit back and forth, not in a circle).
- Spare needle: A second US 7 (4.5 mm) needle or stitch holders for the vertical contrast bands.
- Stitch markers: 2 markers to mark the border stitches.
- Tapestry needle: A blunt-tipped needle with a large eye for seaming and weaving in ends.
- Scissors: Any sharp pair for cutting yarn.
- Finished size: 30 x 30 in / 76 x 76 cm square, sized for 0–6 months.
Abbreviations and Beginner Glossary
- st / sts – stitch / stitches. One stitch is one loop on your needle.
- K – knit. Insert the right needle into the front of the stitch on the left needle, wrap the yarn around, and pull the loop through to the front.
- P – purl. Insert the right needle into the front of the stitch, wrap the yarn around, and pull the loop through to the back.
- RS – right side. The front, public face of the blanket.
- WS – wrong side. The back face of the blanket.
- Rep – repeat. Do the same thing again.
- * … ; rep from * – repeat the instructions between the asterisks as many times as needed.
- 2x2 rib – a pattern of two knit stitches followed by two purl stitches, repeated across the row.
- Seed stitch – a textured pattern of alternating knit and purl stitches that looks like tiny bumps.
- Cast on – the very first step: creating the starting loops on your needle.
- Bind off – the final step: closing the loops so the blanket does not unravel.
- Long-tail cast on – a common, stretchy cast-on method using a long tail of yarn.
- Mattress stitch – an invisible seaming technique that joins two edges side by side.
- Weave in ends – threading yarn tails into the fabric so they disappear.
- Block – gently wetting or steaming the finished blanket and pinning it to shape.
Gauge
20 sts and 24 rows = 4 in / 10 cm in 2x2 rib, gently relaxed and unblocked. Seed stitch gauge is 22 sts and 28 rows = 4 in / 10 cm.
Gauge matters because it is how we guarantee your blanket comes out 30 x 30 inches instead of too small or too large. To make a gauge swatch, cast on 24 stitches and work in 2x2 rib for about 4 inches. Lay the swatch flat, place a ruler across the middle, and count how many stitches fit in 4 inches. If you have more than 20 stitches, your knitting is tight — go up one needle size. If you have fewer than 20, go down one needle size. Always swatch before you begin.
Beginner Tips Before You Start
- Use stitch markers. Place a marker after the first 5 stitches and before the last 5 stitches of every row. These 5 stitches are the seed-stitch border and must never be worked in rib.
- Do not pull your yarn too tight. Tension should feel relaxed. Tight knitting makes the blanket stiff and shrinks your gauge.
- Count stitches after every color change. You should always have 140 stitches. This keeps the 2x2 rib columns perfectly aligned.
- Carry colors loosely up the side edge or cut and rejoin at each band. Loose floats prevent puckering.
- Work the vertical bands separately. This is the secret to a crisp checkerboard — do not try to knit them into the body.
- Keep a row counter. Each color band is exactly 12 rows. Tick off each row so you never lose your place.
Step-by-Step Instructions
Stitch Guide
2x2 Rib (multiple of 4 sts): Row 1 (RS): *K2, p2; rep from * to end. Row 2 (WS): *K2, p2; rep from * to end. Always knit the knit stitches and purl the purl stitches as they face you.
Seed Stitch (odd number of sts): Every row: K1, *p1, k1; rep from * to end.
Bottom Border
With Color G (cream), cast on 140 sts using the long-tail cast on.
Rows 1–12: Work seed stitch across all 140 sts. Because 140 is an even number, work Row 1 as: K1, *p1, k1; rep to last st, k1. Work Row 2 as: P1, *k1, p1; rep to last st, p1. Alternate these two rows for 12 rows total. (140 sts)
Body
Set-up Row (RS): K5 in seed stitch for the left border, place marker, work 2x2 rib to last 5 sts, place marker, k5 in seed stitch for the right border. (140 sts) Keep the 5 border sts in seed stitch on every row throughout the body.
Band 1 (Color A, pumpkin orange): Rows 1–12: Work 5 border sts in seed stitch, *k2, p2; rep to marker, work 5 border sts in seed stitch. (140 sts)
Band 2 (Color B, hot magenta): Rows 1–12: Repeat Band 1 instructions. (140 sts)
Band 3 (Color C, sunshine yellow): Rows 1–12: Repeat Band 1 instructions. (140 sts)
Band 4 (Color D, lime green): Rows 1–12: Repeat Band 1 instructions. (140 sts)
Band 5 (Color E, turquoise blue): Rows 1–12: Repeat Band 1 instructions. (140 sts)
Band 6 (Color F, violet purple): Rows 1–12: Repeat Band 1 instructions. (140 sts)
Band 7 (Color A, pumpkin orange): Rows 1–12: Repeat Band 1 instructions. (140 sts)
Band 8 (Color B, hot magenta): Rows 1–12: Repeat Band 1 instructions. (140 sts)
Band 9 (Color C, sunshine yellow): Rows 1–12: Repeat Band 1 instructions. (140 sts)
Band 10 (Color D, lime green): Rows 1–12: Repeat Band 1 instructions. (140 sts)
Band 11 (Color E, turquoise blue): Rows 1–12: Repeat Band 1 instructions. (140 sts)
Band 12 (Color F, violet purple): Rows 1–12: Repeat Band 1 instructions. (140 sts)
Band 13 (Color A, pumpkin orange): Rows 1–12: Repeat Band 1 instructions. (140 sts)
Band 14 (Color G, cream): Rows 1–12: Repeat Band 1 instructions. (140 sts)
Body measures approximately 28 in from the cast on. (168 body rows total)
Top Border
Rows 1–12: With Color G (cream), work seed stitch across all 140 sts, matching the bottom border. (140 sts)
Bind off all sts in seed stitch pattern. Leave a 12 in yarn tail for seaming.
Vertical Contrast Bands (make 3)
With Color G (cream), cast on 8 sts.
Row 1 (RS): P2, k2, k2, p2. (8 sts)
Row 2 (WS): K2, p2, p2, k2. (8 sts)
Rows 3–168: Repeat Rows 1–2 until the piece measures 28 in / 71 cm, ending after a WS row. (8 sts)
Bind off in pattern. Make 3 identical bands.
Assembly and Finishing
Step 1 – Block the pieces. Lightly steam or wet-block the body to 30 x 30 in including borders, and each vertical band to 28 in long. Pin flat and let dry completely.
Step 2 – Mark placement. Measure 7 in from the left edge and center Vertical Band 1 there. Measure to the center of the blanket (15 in) and center Vertical Band 2 there. Measure 7 in from the right edge and center Vertical Band 3 there. Each band should run from the top of the bottom border to the bottom of the top border.
Step 3 – Pin. Pin each vertical band in place, right side up, over the right side of the body.
Step 4 – Sew with mattress stitch. Thread your tapestry needle with Color G cream. Working from the right side, sew along both long edges of each band, catching only the edge stitches so the raised purl-rib columns sit on top of the plaid. Sew the short ends of each band into the top and bottom borders.
Step 5 – Weave in ends. Thread each yarn tail onto the tapestry needle and weave it back and forth through the back of the fabric for about 2 inches, then trim.
Step 6 – Final block. Steam block gently to 30 x 30 in, pressing the vertical bands flat without flattening the rib. Do not hang the blanket; dry flat.
Pro Tips and Variations
- Change the palette. Swap the rainbow brights for a soft pastel set or a neutral cream-and-grey scheme for a more modern nursery look. Keep the cream vertical bands for contrast.
- Adjust the size. For a larger blanket, cast on in multiples of 4 plus 10 border stitches, and add 12-row bands until you reach your desired length. Recalculate your gauge first.
- Substitute yarn. Any worsted weight (CYC 4) yarn works — acrylic is softer and cheaper, while cotton is more durable and machine-washable. Always swatch to confirm gauge.
- Integrated plaid option. If you prefer, work the vertical bands by stranding cream across the body instead of sewing separate strips. The separate-strip method, however, gives the cleanest retro 90s look.