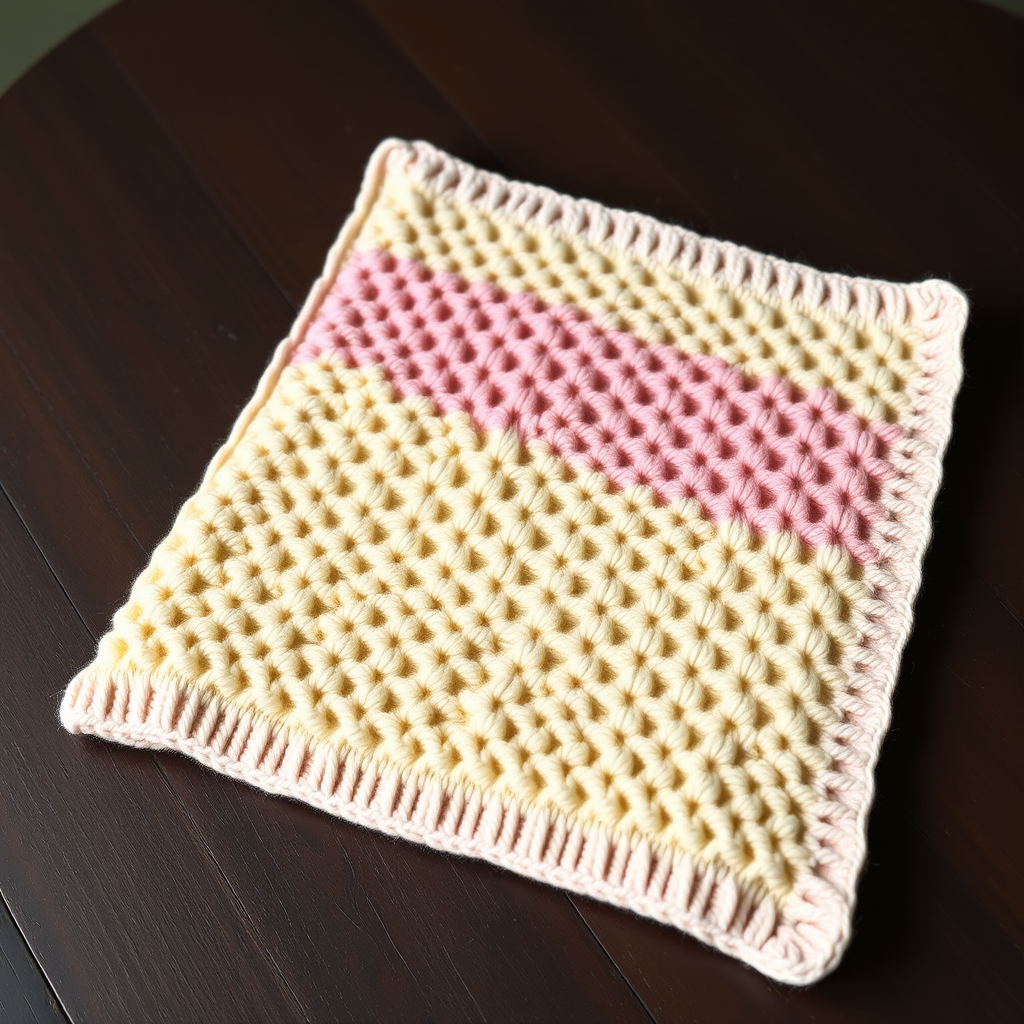
Moonlit Meadow Cuddle Quilt Free Pattern

Moonlit Meadow Cuddle Quilt: A Beginner-Friendly Chunky Knit Baby Blanket
There is something truly magical about wrapping a little one in a blanket made with your own hands. The Moonlit Meadow Cuddle Quilt is designed to be that special heirloom piece—a generously sized, plush throw that combines the soothing rhythm of repetitive knitting with a stunning geometric design. This pattern is perfect for confident beginners looking to move beyond simple scarves, as it breaks the project down into manageable vertical strips of easy, repetitive stitch patterns. The result is a textured, dreamy quilt that looks far more complex than it actually is, making it an ideal gift for a baby shower or a beautiful addition to your own nursery decor.
By working with chunky yarn and large needles, this project works up faster than you might expect. The clever strip construction means you are never wrestling with a massive, heavy piece of fabric, and the seaming at the end is a relaxing, meditative process. Let’s dive into the materials and steps to create this cozy masterpiece.
Materials Needed
Before you cast on, gather your supplies. Because we are working with bulky yarn, the project is quick, but you will need a fair amount of yardage to achieve that generous "cuddle quilt" size.
- Yarn: Bulky weight yarn (Category 5 / Chunky). You will need approximately 900–1000 yards total. The sample uses three colors to create the meadow effect:
- Color A (Sage Green): Approx. 300–350 yards (for Strips 1 & 4).
- Color B (Cream): Approx. 300–350 yards (for Strips 2 & 5).
- Color C (Dusty Lavender): Approx. 300–350 yards (for Strips 3 & 6).
- Needles: US Size 10.5 (6.5 mm) knitting needles. Use a circular needle (24" or longer) to hold the stitches comfortably, even though you are knitting flat. You will also need a spare needle or holder for the strips if you choose to seam them all at the end.
- Notions: Tapestry needle for weaving in ends and seaming. Stitch markers (optional, but helpful for counting rows). Scissors.
Gauge
To ensure your blanket turns out the correct size and you use the right amount of yarn, please knit a swatch first.
Gauge: 12 stitches x 16 rows = 4 inches in Stockinette stitch (knit one row, purl one row).
If your swatch is too small, try larger needles. If it is too big, try smaller needles.
Pattern Structure & Abbreviations
This blanket is worked in 6 vertical strips. Each strip is 24 stitches wide and 120 rows long. You will break each strip into 4 distinct blocks of 30 rows each. Once all strips are complete, you sew them together side-by-side.
Abbreviations:
- K = Knit
- P = Purl
- St(s) = Stitch(es)
- Rep = Repeat
- RS = Right side
- WS = Wrong side
Stitch Patterns (The "Blocks")
You will use four different textured patterns. Here is how to work each one over your 24 stitches:
- Block A (Garter Stitch): This is the bumpy, ridged texture.
All Rows: Knit all stitches. - Block B (Stockinette Stitch): This is the smooth, flat "V" pattern.
Row 1 (RS): Knit all stitches.
Row 2 (WS): Purl all stitches.
Repeat these 2 rows for the pattern. - Block C (Seed Stitch): This is the bumpy, pebbled texture.
Row 1 (RS): *K1, P1; rep from * to end of row.
Row 2 (WS): *P1, K1; rep from * to end of row.
Repeat these 2 rows for the pattern. - Block D (Diamond Lattice): This creates a subtle ribbed lattice effect.
Row 1 (RS): K2, *P2, K2; rep from * to end.
Row 2 (WS): P2, *K2, P2; rep from * to end.
Row 3: Repeat Row 1.
Row 4 (WS): Purl all stitches.
Row 5: Repeat Row 1.
Row 6: Repeat Row 2.
Row 7: Repeat Row 1.
Row 8 (WS): Purl all stitches.
Repeat Rows 1-8 for the pattern.
Step-by-Step Instructions
Follow these instructions carefully. Remember to keep your tension even and count your rows as you go to ensure your blocks line up perfectly.
Making the Strips
You will make 6 strips total. Each strip uses a specific sequence of blocks. Do not bind off until you have completed all 120 rows for that strip.
Strip 1 (Color A - Sage Green):
- Cast on 24 stitches.
- Work Block A (Garter Stitch) for 30 rows.
- Work Block B (Stockinette Stitch) for 30 rows.
- Work Block C (Seed Stitch) for 30 rows.
- Work Block D (Diamond Lattice) for 30 rows.
- Bind off loosely. Cut yarn, leaving a tail for seaming.
Strip 2 (Color B - Cream):
- Cast on 24 stitches.
- Work Block B for 30 rows.
- Work Block C for 30 rows.
- Work Block D for 30 rows.
- Work Block A for 30 rows.
- Bind off loosely. Cut yarn, leaving a tail for seaming.
Strip 3 (Color C - Dusty Lavender):
- Cast on 24 stitches.
- Work Block C for 30 rows.
- Work Block D for 30 rows.
- Work Block A for 30 rows.
- Work Block B for 30 rows.
- Bind off loosely. Cut yarn, leaving a tail for seaming.
Strip 4 (Color A - Sage Green):
- Cast on 24 stitches.
- Work Block D for 30 rows.
- Work Block A for 30 rows.
- Work Block B for 30 rows.
- Work Block C for 30 rows.
- Bind off loosely. Cut yarn, leaving a tail for seaming.
Strip 5 (Color B - Cream):
- Cast on 24 stitches.
- Work Block A for 30 rows.
- Work Block C for 30 rows.
- Work Block D for 30 rows.
- Work Block B for 30 rows.
- Bind off loosely. Cut yarn, leaving a tail for seaming.
Strip 6 (Color C - Dusty Lavender):
- Cast on 24 stitches.
- Work Block B for 30 rows.
- Work Block D for 30 rows.
- Work Block C for 30 rows.
- Work Block A for 30 rows.
- Bind off loosely. Cut yarn, leaving a tail for seaming.
Assembly: Seaming the Strips
Lay the strips out on a flat surface in the order you made them (Strip 1 through Strip 6). You should see the diagonal "zig-zag" of the colors forming. Now, we will join them.
- Thread a tapestry needle with a long piece of matching yarn (use the tail from the bind-off edge or a new piece).
- Place Strip 1 and Strip 2 side-by-side with the right sides facing you.
- Using a mattress stitch (or a simple whip stitch if you prefer), sew the vertical edges together. Insert the needle under the horizontal bars between the first and second stitches of each row, alternating sides. Pull gently to close the seam.
- Continue adding strips (2+3, 3+4, 4+5, 5+6) until all are joined into one large panel.
- Weave in all loose ends securely using the tapestry needle.
Edging
The edging gives the blanket a clean, finished look and helps it lay flat.
- With the Right Side (RS) facing you, pick up and knit stitches evenly around the entire perimeter of the blanket. Pick up approximately 1 stitch for every bound-off/cast-on stitch on the top and bottom, and 1 stitch for every 2 rows along the sides. The exact number isn't critical, just make it even.
- Work in Garter Stitch (knit every row) for 4 rows total.
- Bind off loosely. This stretchy bind-off is crucial so the edge doesn't pucker.
- Weave in all remaining ends.
Finishing Touches
To make your stitches bloom and even out the texture, gently block the blanket. Lay it flat on a clean surface, mist it with water (or use a steam iron held above the fabric—do not touch the yarn directly with a hot iron), and gently stretch it to the final dimensions of approximately 30 inches by 31 inches. Allow it to dry completely before moving.
Your Moonlit Meadow Cuddle Quilt is now ready to be gifted or enjoyed. The combination of the soft pastel colors and the variety of tactile stitches makes this a sensory delight for babies and a beautiful piece of decor for the nursery. Happy knitting!