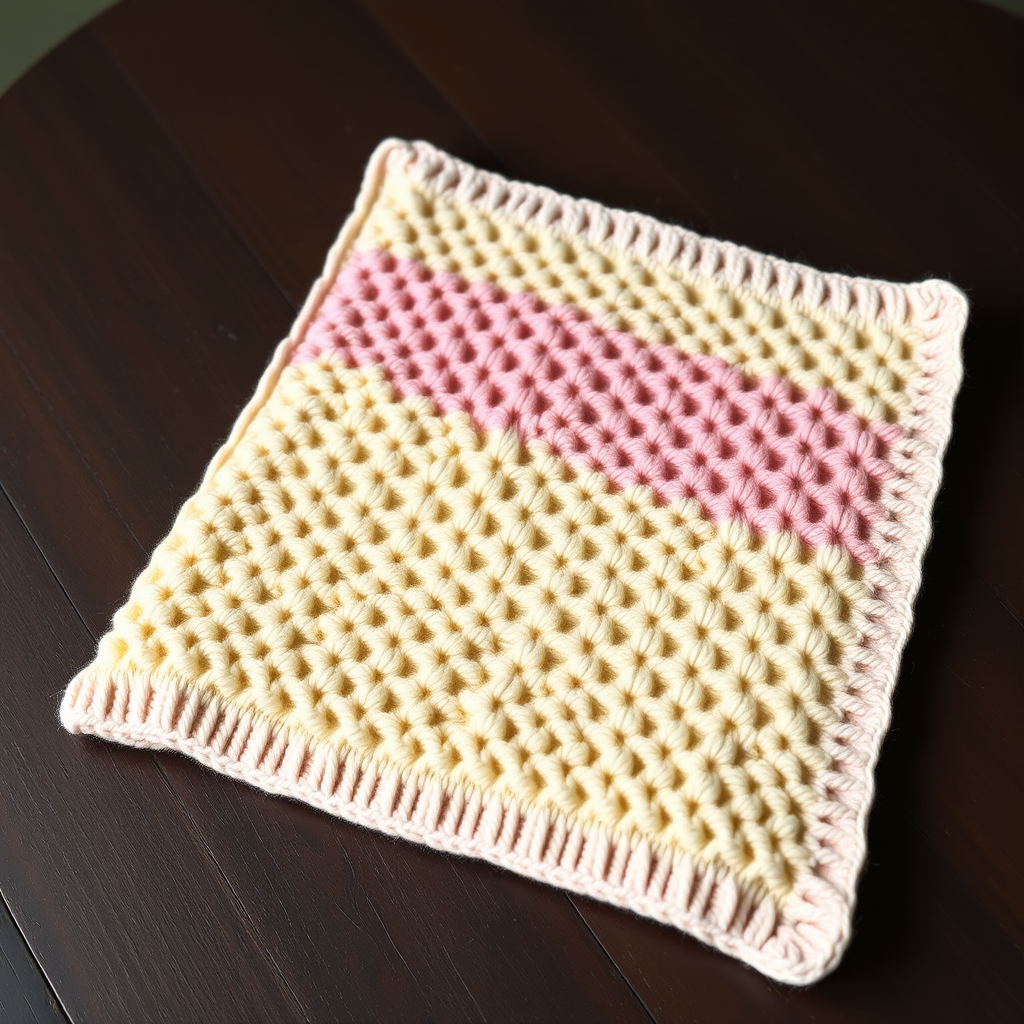
Whispering Waves Baby Blanket Free Pattern – Knit a Cloud-Soft Chevron Dream
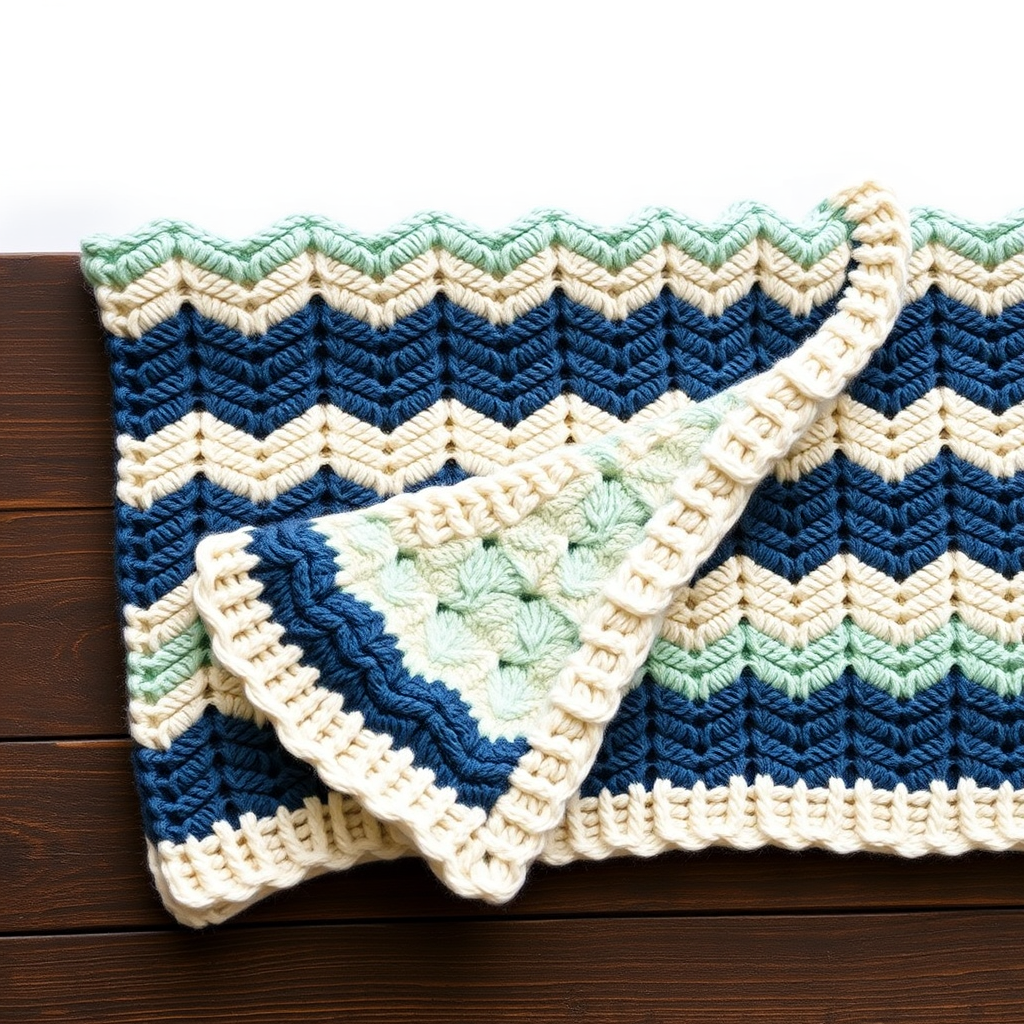
Whispering Waves Baby Blanket Free Pattern – Knit a Cloud-Soft Chevron Dream
Wrap your little one in the gentle rhythm of the sea with this exquisitely textured chevron blanket, knitted in a palette of misty blues and creamy whites. The repeating shell-and-chevron motif creates a soothing, dimensional fabric that feels as lovely to knit as it does to snuggle. This heirloom-quality pattern is perfect for intermediate beginners ready to explore increases, decreases, and simple colorwork—all while creating a stunning, practical keepsake.
In this comprehensive guide, I'll walk you through every step, from gathering your materials to binding off that final stitch. By the end, you'll have a beautiful, cloud-soft blanket that will be treasured for generations. Let's dive in!
Materials Needed
Before you cast on, gather these supplies. The quality of your materials directly impacts the final drape and feel of your blanket, so choose wisely.
Yarn
- Weight: DK weight (Category 3) cotton or cotton-blend yarn. Cotton is ideal for baby items—it's breathable, machine-washable, and softens beautifully with each wash.
- Colors & Approximate Yardage: You'll need 4 colors, totaling approximately 1200–1400 yards:
- Color A (Misty Blue): ~350 yards
- Color B (Seafoam): ~350 yards
- Color C (Cream): ~350 yards
- Color D (Dusty Navy): ~350 yards
Needle
- US 6 (4.0 mm) circular knitting needle, 32-inch or longer. The long cord is essential to accommodate the 180+ stitches comfortably. Working flat on a circular needle prevents wrist strain and allows the fabric to spread out.
Notions
- Tapestry needle (for weaving in ends)
- Stitch markers (optional, but helpful for marking pattern repeats)
- Scissors
- Blocking mats and pins (for finishing)
Gauge
- 20 stitches and 28 rows = 4 inches in stockinette stitch. Always knit a swatch first! If your gauge is off, adjust your needle size up or down accordingly. A correct gauge ensures your blanket matches the finished size and has the right drape.
Step-by-Step Instructions
This pattern is worked flat in rows. The chevron design is created by a simple, repeatable sequence of increases (yarn overs) and decreases (knit two together, slip-slip-knit). Don't be intimidated—once you get the rhythm, it's meditative and quick.
Finished Size
Approximately 30 inches wide x 36 inches long. To adjust the size, add or subtract multiples of 12 stitches from your cast-on count.
Special Stitches & Abbreviations
- K2tog (Knit Two Together): Insert your right needle into two stitches at once and knit them together. This is a right-leaning decrease.
- SSK (Slip, Slip, Knit): Slip two stitches knitwise, one at a time, to the right needle. Then insert the left needle into the front of these two slipped stitches and knit them together. This is a left-leaning decrease.
- YO (Yarn Over): Bring the yarn to the front of the work, then over the right needle to the back. This creates an intentional hole and adds a stitch.
- Kfb (Knit Front and Back): Knit into the front of the next stitch, but don't drop it off the left needle. Then knit into the back of the same stitch and drop it off. This increases one stitch. (Note: This pattern uses YO for increases, but Kfb is listed for reference in case you want to experiment.)
Pattern Notes
- The blanket is worked flat in rows. Use a long circular needle to accommodate the large number of stitches.
- The chevron pattern is created by alternating increases (YO) and decreases (K2tog, SSK) on a background of stockinette and garter stitch ridges.
- Color changes are made at the end of rows. Weave in ends as you go or at the end—I recommend weaving as you go to save time later.
Let's Begin: Cast On and Foundation Rows
Cast On: With Color A (Misty Blue), cast on 180 stitches loosely. A long-tail cast-on works beautifully here. Ensure your cast-on is not too tight, as this is the bottom edge of your blanket.
Row 1 (Right Side - RS): With Color A, knit all stitches.
Row 2 (Wrong Side - WS): Purl all stitches.
These two rows establish your stockinette base. Now, we'll begin the chevron pattern.
The Chevron Pattern Repeat
Row 3 (RS): Knit 1, *K2tog, K2tog, K1, YO, K1, YO, K1, YO, K1, YO, K1, K2tog, K2tog, K1*; repeat from * to * across, ending with K1.
Let's break this down: This row creates the peaks and valleys of the chevron. The two K2tog decreases at the start and end of each repeat pull the fabric inward to form the valley, while the four YOs with knit stitches between them push the fabric outward to create the peak. The single K1 stitches at the beginning and end of the repeat act as a border.
Row 4 (WS): Purl all stitches.
You've just completed your first chevron stripe! Now, we'll introduce the color changes.
Color Stripe Sequence
Row 5 (RS): With Color B (Seafoam), knit all stitches.
Row 6 (WS): Purl all stitches.
Row 7 (RS): Repeat Row 3 (the chevron row).
Row 8 (WS): Purl all stitches.
Row 9 (RS): With Color C (Cream), knit all stitches.
Row 10 (WS): Purl all stitches.
Row 11 (RS): Repeat Row 3.
Row 12 (WS): Purl all stitches.
Row 13 (RS): With Color D (Dusty Navy), knit all stitches.
Row 14 (WS): Purl all stitches.
Row 15 (RS): Repeat Row 3.
Row 16 (WS): Purl all stitches.
Congratulations! You've completed one full color sequence (B, C, D). Now, simply repeat Rows 5–16, continuing to alternate colors in the sequence: B, C, D, A, B, C, D, A... until the blanket measures approximately 34 inches from the cast-on edge, ending with a WS row.
Pro Tip: When changing colors, don't cut the yarn until you're sure you won't need it again. Carry the unused colors up the side of the work to minimize ends. However, if you prefer a cleaner edge, cut and weave in each color change.
Final Rows and Binding Off
Once your blanket reaches the desired length, it's time to finish it off with a clean, sturdy edge.
Final Rows: Work 2 rows of garter stitch (knit all stitches) with the current color. This creates a subtle, bumpy border that matches the texture of the chevrons and prevents curling.
Bind Off: Bind off loosely in knit on the RS. A loose bind-off is crucial here—if it's too tight, the edge will pucker. Consider using a larger needle (e.g., US 8) for the bind-off row, or use a stretchy bind-off method like the "Jeny's Surprisingly Stretchy Bind-Off."
Finishing Touches
Weave in Ends: Using your tapestry needle, weave in all loose ends on the wrong side of the blanket. Take your time—secure ends prevent unraveling and look professional.
Blocking: This step is essential for the chevron pattern to truly shine. Soak the blanket in lukewarm water with a gentle wool wash for 15–20 minutes. Gently squeeze out excess water (never wring!). Lay the blanket flat on blocking mats. Gently stretch and pin the chevron points to open them up and even out the stitches. Pay special attention to the peaks and valleys—pinning them out will define the wave pattern. Allow to dry completely, away from direct sunlight.
Once dry, your Whispering Waves Baby Blanket is ready to be gifted, used, and loved. The combination of soft cotton, rhythmic texture, and calming ocean hues makes this a truly special heirloom piece.
Happy knitting! I'd love to see your finished blankets—tag me in your photos and share your progress. If you have any questions along the way, drop them in the comments below.