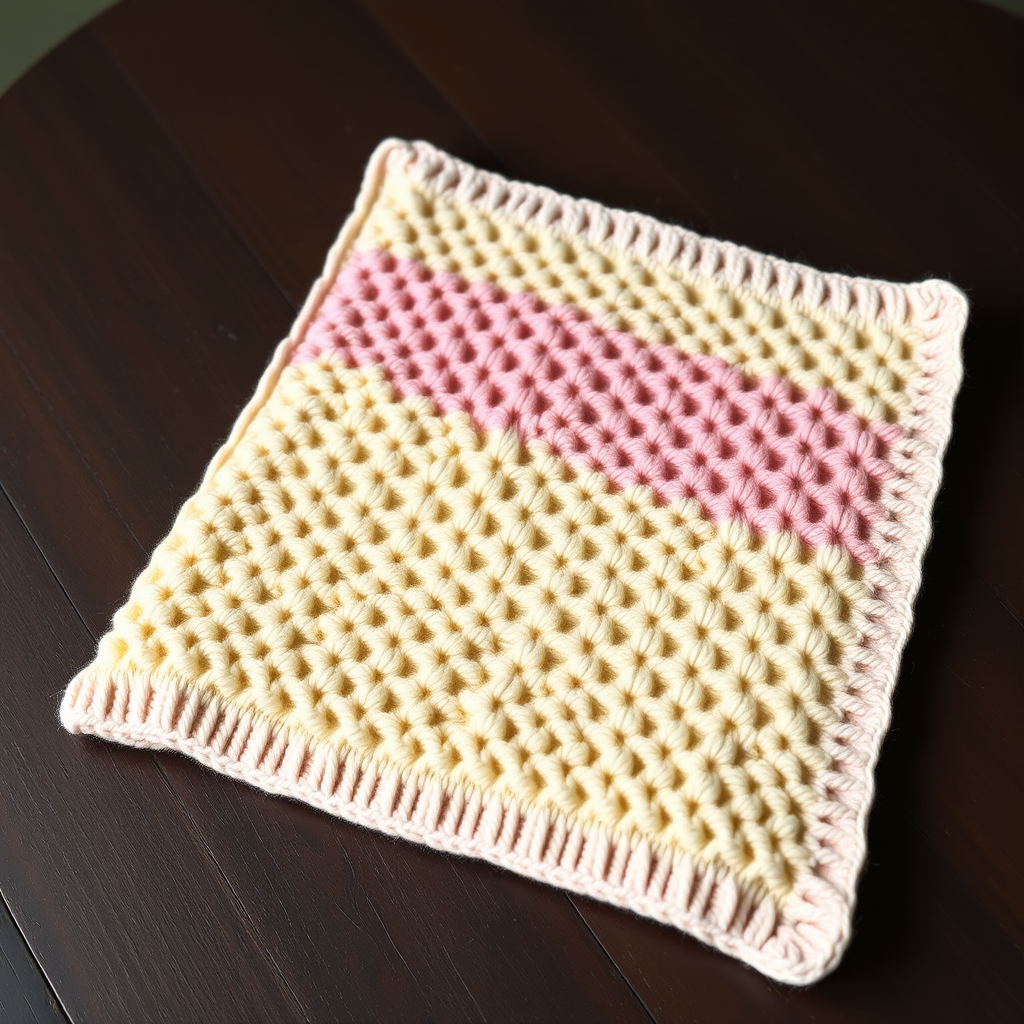
Whispering Pines Baby Blanket Free Pattern – A Textured Knit Forest

Whispering Pines Baby Blanket Free Pattern – A Textured Knit Forest
Wrap your little one in the serene beauty of a pine forest with this uniquely textured knit blanket. The alternating cable and moss stitch panels create a deeply cozy, heirloom-quality piece that will be treasured for generations. This pattern is perfect for intermediate knitters looking to expand their skills, but with clear instructions, even confident beginners can tackle this rewarding project. The soft sage green and cream color palette evokes a calm, organic, forest-inspired aesthetic that will complement any nursery.
This blanket isn't just a practical accessory; it's a sensory experience. The raised cables mimic the trunks of towering pines, while the moss stitch panels resemble the soft forest floor. The result is a highly dimensional, textured fabric that is as delightful to touch as it is to behold. Let's dive into creating this beautiful heirloom piece.
Materials Needed
Before you begin, gather all your materials to ensure a smooth knitting experience. Here's what you'll need:
- Yarn: Worsted weight yarn in soft sage green (MC) and cream (CC) – approx 1200 yds MC, 200 yds CC. A soft, machine-washable acrylic or wool blend is ideal for a baby blanket.
- Needles: US Size 8 (5.0 mm) knitting needles. You may prefer a circular needle (e.g., 32-inch length) to accommodate the large number of stitches, but straight needles will work fine.
- Cable Needle: A standard cable needle to hold stitches while working the cables.
- Other: Tapestry needle for weaving in ends, stitch markers (optional but helpful), and blocking pins for finishing.
Gauge: 18 stitches and 24 rows = 4 inches in stockinette stitch. Always take time to check your gauge to ensure your finished blanket matches the intended size.
Step-by-Step Instructions
Follow these detailed instructions carefully. The pattern is broken down into sections for clarity. Take your time, and enjoy the rhythmic process of knitting.
Finished Size & Abbreviations
Finished Size: Approx 36 x 36 inches
Abbreviations:
- K = knit
- P = purl
- C4F = slip 2 stitches to cable needle, hold in front, knit next 2 stitches, then knit 2 from cable needle
- C4B = slip 2 stitches to cable needle, hold in back, knit next 2 stitches, then knit 2 from cable needle
- M1 = make one (increase)
- K2tog = knit two together
Border
Cast on 162 stitches with MC (Main Color - sage green).
Rows 1-6: Knit all stitches (this creates a garter stitch border).
Body Pattern
Now we begin the main body of the blanket. The pattern repeat is 8 rows, which creates the beautiful cable and moss stitch texture.
Row 7 (Right Side): K6 (border), *P2, K4, P2, K6, P2, K4, P2, K6*, repeat from * to * across, end with K6 (border).
Row 8 (Wrong Side): K6, *P6, K2, P4, K2, P6, K2, P4, K2*, repeat from * to *, end with K6.
Row 9: K6, *P2, C4F, P2, K6, P2, C4B, P2, K6*, repeat from * to *, end with K6.
Row 10: Same as Row 8.
Row 11: K6, *P2, K4, P2, K6, P2, K4, P2, K6*, repeat from * to *, end with K6.
Row 12: Same as Row 8.
Row 13: K6, *P2, C4B, P2, K6, P2, C4F, P2, K6*, repeat from * to *, end with K6.
Row 14: Same as Row 8.
Repeat Rows 7-14 until the piece measures 34 inches from the cast-on edge, ending with a Row 14 (a wrong-side row).
Moss Stitch Panel Insert (Optional, for Extra Texture)
To add an extra layer of visual interest and texture, we'll incorporate a moss stitch panel. After every 4 repeats of the main cable pattern (Rows 7-14), work a 6-row moss stitch panel across the center 12 stitches (between the K6 sections) as follows:
Row A: K6, *P2, K4, P2, (K1, P1) across 12 stitches, P2, K4, P2, K6*, repeat from * to *.
Row B: K6, *P6, K2, P4, K2, (P1, K1) across 12 stitches, K2, P4, K2, P6*, repeat from * to *.
Rows C-F: Repeat Rows A and B twice more.
After completing the moss stitch panel, resume the main cable pattern (Rows 7-14) for another 4 repeats, then work another moss stitch panel. Continue this sequence until the blanket reaches the desired length. This creates a beautiful, rhythmic alternation of textures.
Final Border
Once the body of the blanket reaches 34 inches, it's time to finish with the top border.
Knit 6 rows of garter stitch in MC (knit every stitch across all 6 rows).
Bind off loosely. Tip: Use a larger needle or a loose bind-off method to prevent the edge from being too tight.
Finishing
Weave in all ends carefully with a tapestry needle, making sure to secure them well so they don't come loose with washing.
Block gently to size. This step is crucial for a professional finish. Pin out the cable panels for crisp definition and allow the blanket to dry completely. This will open up the cables and even out the stitches, giving your blanket that polished, heirloom look.
Your Whispering Pines Baby Blanket is now complete! This textured, forest-inspired piece is sure to become a cherished keepsake. The combination of cables and moss stitch creates a fabric that is both beautiful and functional, providing warmth and comfort for your little one. Enjoy your handmade creation!