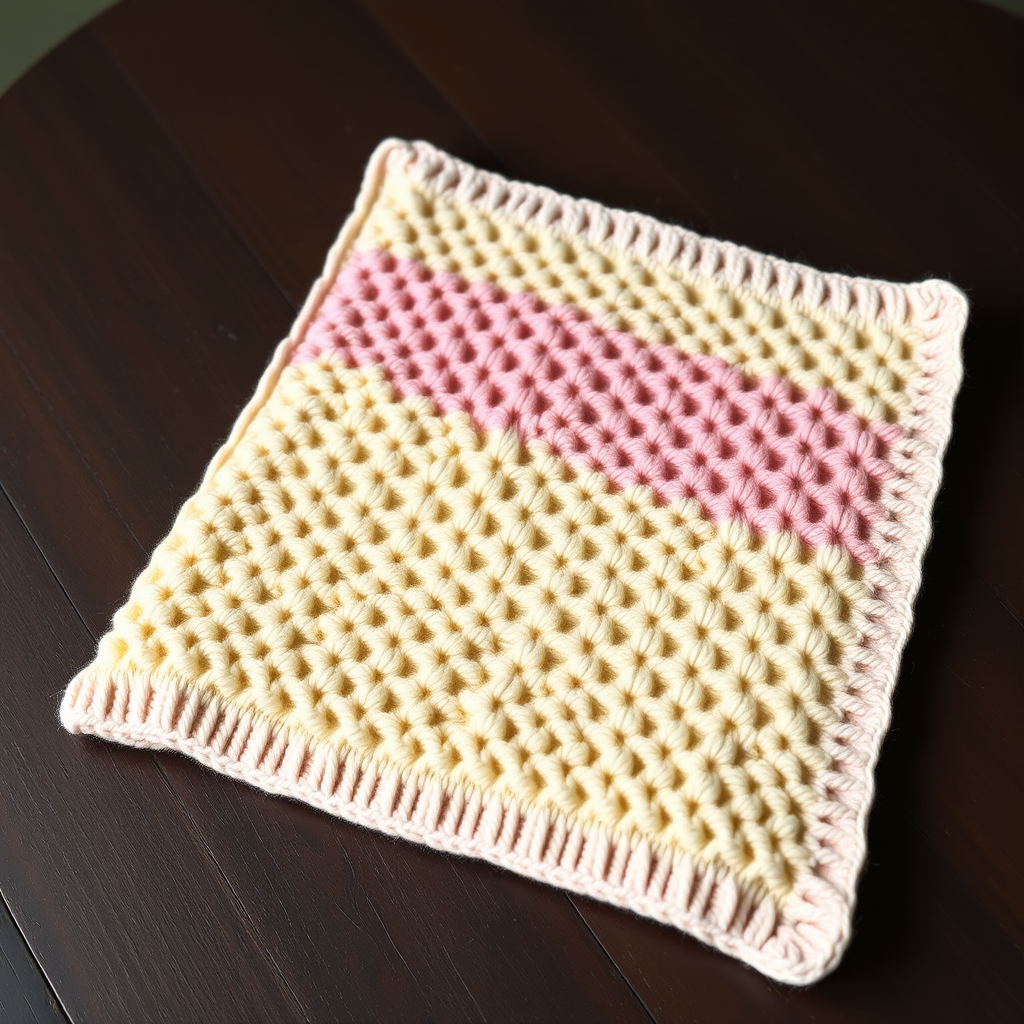
The Sunlit Meadow Bloom Baby Blanket Free Pattern – A Knitted Garden of Raised Petals
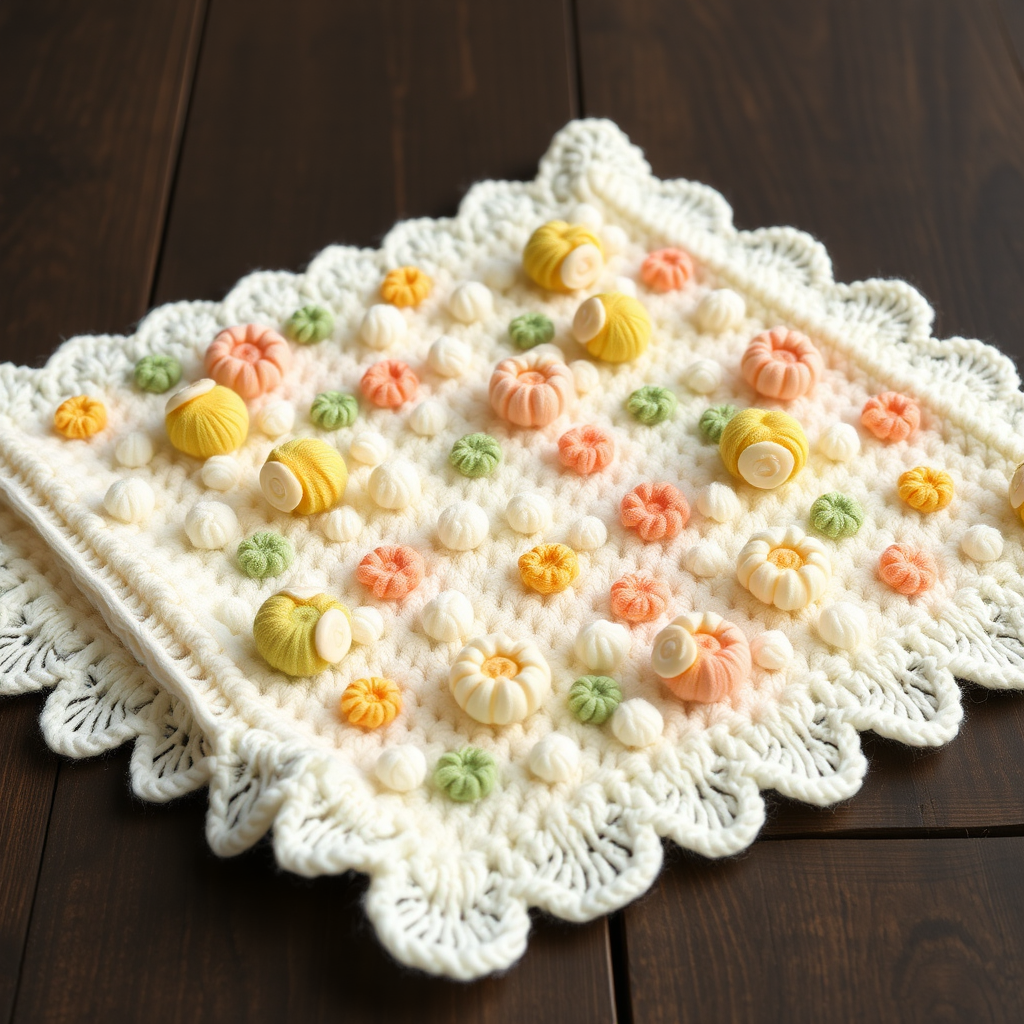
The Sunlit Meadow Bloom Baby Blanket Free Pattern – A Knitted Garden of Raised Petals
Wrap your little one in a hand-knitted meadow where dimensional petals and leafy vines rise from a soft, sun-warmed base. This heirloom-quality blanket combines textured bobbles, delicate lace, and a scalloped edge for a truly enchanting finish. Whether you're a seasoned knitter or a confident beginner looking for a rewarding project, this pattern will guide you through creating a stunning, one-of-a-kind keepsake that will be treasured for generations. The combination of raised floral motifs and a gentle, rhythmic stitch pattern makes this a joy to knit, and the result is a beautifully textured, cozy blanket perfect for a summer baby or a thoughtful handmade gift.
Materials Needed
Before you begin, gather the following materials to ensure a smooth and enjoyable knitting experience:
- Yarn: DK weight cotton blend yarn in 5 colors:
- Cream (MC) – Main Color
- Buttercup Yellow (A)
- Blush Pink (B)
- Sage Green (C)
- Soft Peach (D)
- Needle: US Size 6 (4.0 mm) circular knitting needle, 32-inch cable (to accommodate the large number of stitches)
- Crochet Hook: (Optional, for scalloped edge) – size to match yarn (typically 4.0 mm)
- Other: Stitch markers (at least 2), tapestry needle for weaving in ends, scissors, blocking mats and pins
Gauge: 20 stitches and 28 rows = 4 inches in stockinette stitch (blocked). Always take time to check your gauge to ensure your finished blanket matches the intended dimensions.
Step-by-Step Instructions
Finished Size & Abbreviations
Finished Size: Approximately 30 x 36 inches (76 x 91 cm)
Abbreviations:
- K = knit
- P = purl
- Yo = yarn over
- K2tog = knit two together (right-leaning decrease)
- SSK = slip, slip, knit (left-leaning decrease)
- MB = make bobble (k1, p1, k1, p1, k1 into same stitch, then pass 2nd, 3rd, 4th, 5th stitches over the 1st)
- RS = right side
- WS = wrong side
Pattern Notes
- Worked flat in one piece from bottom up.
- Border stitches are included in the pattern (6 stitches on each side are always knitted).
- Bobbles are worked on RS rows, then purled on WS rows to pop forward.
- Always slip markers as you come to them.
Setup & Border
With MC (Cream), cast on 150 stitches loosely. A loose cast-on is essential to prevent the bottom edge from pulling in; consider using a larger needle or a long-tail cast-on worked loosely.
Border (worked in MC):
Rows 1-6: Knit all stitches (garter stitch). This creates a sturdy, non-curling base for your blanket.
Main Body – Ribbing Section
This section creates a soft, stretchy base that will frame the floral motifs.
Row 7 (RS): K6 (border), place marker, *K1, P1, K1, P1, K1, P1, K1, P1* repeat from * to * until 6 stitches remain, place marker, K6 (border).
Row 8 (WS): K6, slip marker, *P1, K1, P1, K1, P1, K1, P1, K1* repeat from * to * until 6 stitches remain, slip marker, K6.
Repeat Rows 7-8 until piece measures 3 inches from cast-on edge, ending with a WS row. This ribbing (a 1x1 rib) provides a lovely textured base that contrasts beautifully with the smooth flower sections.
Flower Motif Section
This is the heart of the pattern, where you'll create the raised, dimensional flowers. The section is worked over the center 138 stitches (between your markers).
Row 1 (RS): K6, slip marker, *K1, yo, K1, yo, K1* (this increases 1 stitch into 5), repeat from * to * across to last 6 stitches, slip marker, K6. (Now 230 stitches)
Note: This row creates the base for each flower petal. Each group of 5 stitches will become one flower.
Row 2 (WS): K6, slip marker, *P5, K1* repeat from * to * until 6 stitches remain, slip marker, K6.
Row 3 (RS): K6, slip marker, *K5, MB* repeat from * to * until 6 stitches remain, slip marker, K6.
Bobble tutorial: To make a bobble (MB), knit into the next stitch but don't drop the stitch off the left needle. Instead, purl into the same stitch, then knit into it again, then purl into it again, then knit into it one last time (you now have 5 stitches on your right needle). Now, using your left needle, lift the 2nd, 3rd, 4th, and 5th stitches over the 1st stitch, one at a time, and off the needle. The bobble is complete.
Row 4 (WS): K6, slip marker, *P5, K1* repeat from * to * until 6 stitches remain, slip marker, K6.
Row 5 (RS): K6, slip marker, *K2tog, K1, SSK, yo, K1* repeat from * to * until 6 stitches remain, slip marker, K6. (Back to 150 stitches)
Explanation: This row decreases the 5 stitches back down to 3 (K2tog + K1 + SSK = 3 stitches), then adds a yarn over and a knit to maintain the stitch count and create a small lace detail between flowers.
Row 6 (WS): K6, slip marker, *P1, K1, P1, K1, P1, K1, P1, K1* repeat from * to * until 6 stitches remain, slip marker, K6.
Now, repeat the Main Body ribbing (Rows 7-8 from the previous section) for 2 inches. Then, repeat the entire Flower Motif Section with color A (Buttercup Yellow) for the next flower row. Continue this pattern, alternating colors in this order: A (Yellow), B (Blush Pink), C (Sage Green), D (Soft Peach), with MC sections of 2 inches between each flower row. This creates a beautiful, scattered garden effect.
Leaf Vine Section
After completing your last flower row (with color D), work 2 inches in MC ribbing (Rows 7-8 from the Main Body section). This creates a calm, neutral space before the leafy border.
Then, work the following leaf pattern to create delicate, lacy vines:
Row 1 (RS): K6, slip marker, *yo, K2tog, K1, SSK, yo, K1* repeat from * to * until 6 stitches remain, slip marker, K6.
Row 2 (WS): K6, slip marker, *P1, K1, P1, K1, P1, K1, P1, K1* repeat from * to * until 6 stitches remain, slip marker, K6.
Row 3 (RS): K6, slip marker, *K1, yo, K2tog, K1, SSK, yo* repeat from * to * until 6 stitches remain, slip marker, K6.
Row 4 (WS): K6, slip marker, *P1, K1, P1, K1, P1, K1, P1, K1* repeat from * to * until 6 stitches remain, slip marker, K6.
Repeat these 4 rows for 3 inches, ending with a WS row. The yarn overs and decreases create a beautiful, airy leaf-like lace pattern that cascades down the sides of the blanket.
Final Border & Finishing
Final Border:
Switch back to MC and knit 6 rows garter stitch (knit every row). This mirrors the bottom border and creates a clean, finished edge.
Bind off loosely. To ensure a stretchy bind-off that matches your cast-on, use a larger needle or a stretchy bind-off method like the "Jeny's Surprisingly Stretchy Bind-Off."
Scalloped Edge (Optional, Crochet):
For a truly enchanting finish, add a delicate scalloped edge. With a crochet hook and MC, work *5 dc (double crochet) in same stitch, skip 1 stitch, slip stitch in next stitch* repeat around the entire blanket edge. This creates a beautiful, feminine scallop that frames the whole piece. Fasten off and weave in all ends carefully.
Finishing:
Block gently to size, pinning out petals and scallops. This is a crucial step for a textured blanket like this – it will open up the lace, define the bobbles, and ensure your edges are perfectly straight. Allow to dry completely before removing pins.
Your Sunlit Meadow Bloom Baby Blanket is now complete! This heirloom-quality piece, with its raised petals and delicate vines, is sure to become a cherished family treasure. Enjoy watching your little one snuggle into their very own knitted garden.