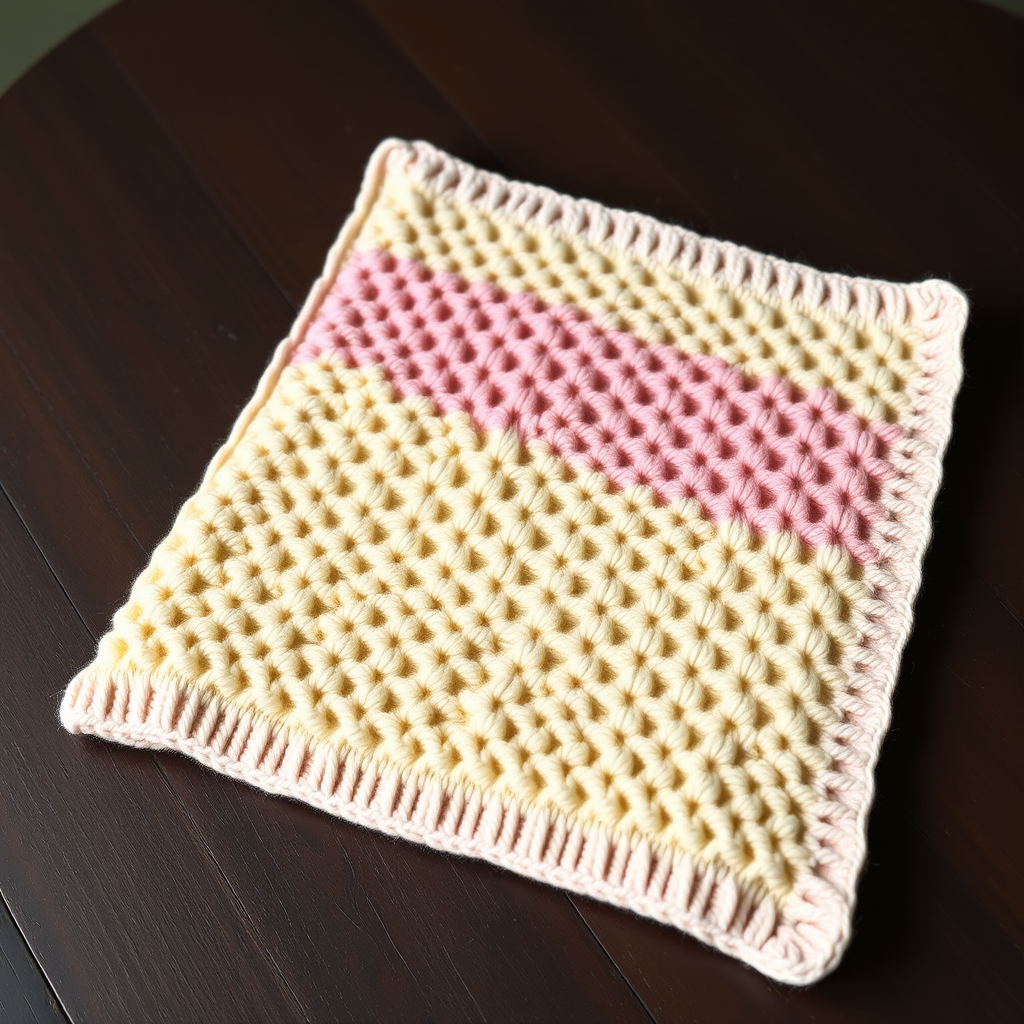
The Sunburst Ripple Baby Blanket Free Pattern – A Knitted Meadow of Joy

The Sunburst Ripple Baby Blanket Free Pattern – A Knitted Meadow of Joy
Wrap your little one in a hand-knitted meadow of sunshine with this vibrant ripple blanket. The bold, cheerful stripes and soft, squishy texture make it a cherished heirloom piece. This pattern is perfect for beginners who want to learn the ripple stitch while creating a stunning, colorful gift for a baby shower, nursery, or a special little one in your life. The rhythmic repetition of the stitch pattern is meditative, and the result is a bright, textured blanket that will be loved for years.
Materials Needed
Before you begin, gather the following materials. This project uses worsted weight yarn and simple knitting techniques, making it accessible for knitters of all levels.
- Yarn: Worsted weight (Category 4) cotton or cotton-blend yarn in 5 colors: Sunshine Yellow (A), Coral Pink (B), Mint Green (C), Sky Blue (D), and Cream (E). Approximately 400g total (80g each color).
- Needles: US 7 (4.5 mm) knitting needles (or size needed to obtain gauge). A circular needle 32 inches long is recommended for the large number of stitches.
- Gauge: 18 stitches and 24 rows = 4 inches in stockinette stitch (knit one row, purl one row). Always check your gauge to ensure the correct size.
- Extras: Tapestry needle for weaving in ends, scissors, and blocking pins (optional but recommended for finishing).
Step-by-Step Instructions
This blanket is knitted flat in one piece, using a simple ripple pattern that creates a beautiful wave effect. The stripes are worked in sequence, with each color band consisting of 6 rows. The pattern is a multiple of 14 stitches + 2 edge stitches. Follow these detailed instructions carefully, and you'll have a gorgeous blanket in no time.
Getting Started: Foundation and First Color Band
Foundation Row (Wrong Side): With Color A (Sunshine Yellow), cast on 128 stitches loosely. Purl across all stitches. This row sets up your base.
Row 1 (Right Side): Knit 1 (edge), *K2tog, K2tog, (K1, YO) four times, K1, K2tog, K2tog*; repeat from * to * across until 1 stitch remains, K1 (edge).
Explanation of Row 1: This row creates the ripple effect. The K2tog (knit two together) decreases pull the fabric inward to form valleys, while the YO (yarn over) increases push the fabric outward to form peaks. The edge stitches keep the sides neat.
Row 2 (Wrong Side): Purl across all stitches.
Row 3: Repeat Row 1.
Row 4: Purl across.
Row 5: Repeat Row 1.
Row 6: Purl across.
You have now completed the first color band (Color A).
Continuing the Stripe Sequence
Now you will switch colors and repeat the exact same 6-row pattern for each new color. This creates the beautiful, rhythmic stripes.
Color B (Coral Pink): Switch to Color B. Repeat Rows 1-6 exactly as written above.
Color C (Mint Green): Switch to Color C. Repeat Rows 1-6.
Color D (Sky Blue): Switch to Color D. Repeat Rows 1-6.
Color E (Cream): Switch to Color E. Repeat Rows 1-6.
Continue in this manner, repeating the color sequence (A, B, C, D, E) until the blanket measures approximately 36 inches from the cast-on edge, ending with a complete color band (6 rows of the last color). Tip: Keep a row counter or a simple tally sheet to track your 6-row bands and color changes.
Binding Off and Finishing
Once your blanket reaches the desired length, it's time to bind off.
Bind Off: Bind off loosely on a right-side row (knitwise). This ensures the edge remains stretchy and matches the ripple pattern.
Finishing: Weave in all loose ends with a tapestry needle. Take your time to weave in ends securely, especially at color changes, so the blanket is durable and safe for a baby.
Blocking (Highly Recommended): Gently block the blanket to shape. Pin the points of the ripples (the peaks and valleys) to open up the lace-like sections created by the yarn overs. This step dramatically enhances the ripple effect and gives the blanket a professional, polished look. Allow it to dry completely before unpinning.
Optional Border for a Polished Edge
For a neat, finished border that ties the whole blanket together, follow these steps:
Pick Up Stitches: With Color E (Cream), pick up and knit stitches evenly around the entire edge of the blanket. Work one stitch for each row along the sides and one stitch for each bound-off/cast-on stitch along the top and bottom.
Knit the Border: Knit 4 rows of garter stitch (knit every row) for a clean, textured border that complements the ripple pattern.
Bind Off: Bind off loosely. Weave in all remaining ends.
Your Sunburst Ripple Baby Blanket is complete! This vibrant, textured piece is sure to become a treasured keepsake. Enjoy the process, and don't hesitate to reach out if you have any questions. Happy knitting!