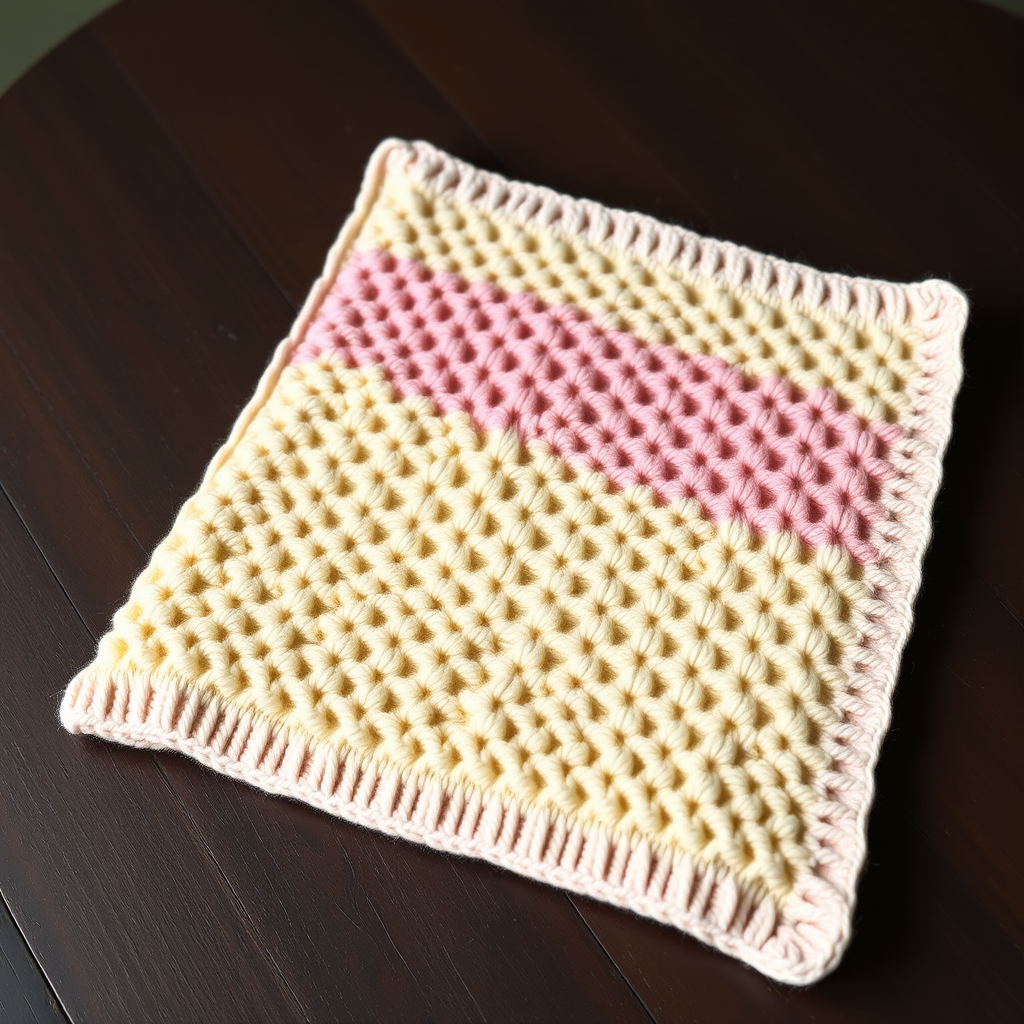
The Sand & Sky Striped Baby Blanket: A Free Knitting Pattern for a Modern, Textured Heirloom

Introducing the Sand & Sky Striped Baby Blanket
There is something truly special about creating a baby blanket that feels both modern and timeless. The Sand & Sky Striped Baby Blanket is exactly that—a beautifully textured heirloom piece that combines simple garter stitch stripes with a unique, slipped-stitch wave pattern. The result is a soothing, gradient effect using two soft tonal yarns: a warm, light beige (Sand) and a soft, dusty blue (Sky).
This pattern is designed to be approachable for confident beginners while still offering a satisfying, quick-to-knit project. The slipped stitches create a subtle, undulating texture that adds depth and visual interest without complicated techniques. Whether you are knitting for a baby shower, a new arrival, or simply as a gift of love, this blanket is sure to become a cherished keepsake.
Let’s dive into everything you need to create this modern, textured heirloom.
Materials Needed
Before you begin, gather the following supplies. Using the recommended yarn will help you achieve the exact look and feel of the sample, but any worsted weight (#4) yarn will work.
- Yarn: Worsted weight (#4) yarn in two colors:
- Color A (Sand): Warm, light beige – approximately 350 yards
- Color B (Sky): Soft, dusty blue – approximately 350 yards
- Knitting Needles: US Size 8 (5.0 mm) – straight or circular (24-inch or longer recommended for holding all stitches comfortably)
- Other: Tapestry needle for weaving in ends, scissors, stitch markers (optional), blocking mats and pins
Gauge
18 stitches and 24 rows = 4 inches in Stockinette stitch (blocked).
Always take time to check your gauge. If your gauge is off, your blanket will be a different size. Adjust needle size as needed.
Finished Size
Approximately 30 inches wide by 36 inches long.
Step-by-Step Instructions
Abbreviations
- CO: Cast on
- K: Knit
- P: Purl
- Sl: Slip stitch purlwise with yarn in back (wyib)
- St(s): Stitch(es)
- Rep: Repeat
Pattern Notes
- The blanket is worked flat from the bottom up.
- The slipped stitch pattern creates a subtle wave texture. Always slip stitches purlwise with yarn in back (wyib).
- When changing colors, carry the unused yarn loosely up the side of the work to avoid tight edges.
Step 1: Cast On
With Color A (Sand), CO 135 stitches loosely. Use a long-tail cast-on or your preferred stretchy method. A loose cast-on is important to prevent the bottom edge from being too tight.
Step 2: Garter Border (Bottom)
Rows 1-6: Knit all stitches. (6 rows of garter stitch)
This creates a clean, flat border at the bottom of the blanket.
Step 3: Begin Stripe Pattern
Now you will work the 12-row stripe sequence. Each stripe uses one color and creates the textured wave pattern.
Row 7 (RS): With Color A, K1, *K1, Sl 1 wyib, rep from * to last 2 sts, K2.
Row 8 (WS): With Color A, K1, *P1, Sl 1 wyib, rep from * to last 2 sts, K2.
Row 9 (RS): With Color A, K1, *Sl 1 wyib, K1, rep from * to last 2 sts, K2.
Row 10 (WS): With Color A, K1, *Sl 1 wyib, P1, rep from * to last 2 sts, K2.
Rows 11-12: With Color A, knit all stitches. (2 rows of garter stitch)
Row 13 (RS): Change to Color B (Sky). K1, *K1, Sl 1 wyib, rep from * to last 2 sts, K2.
Row 14 (WS): With Color B, K1, *P1, Sl 1 wyib, rep from * to last 2 sts, K2.
Row 15 (RS): With Color B, K1, *Sl 1 wyib, K1, rep from * to last 2 sts, K2.
Row 16 (WS): With Color B, K1, *Sl 1 wyib, P1, rep from * to last 2 sts, K2.
Rows 17-18: With Color B, knit all stitches. (2 rows of garter stitch)
Tip: When slipping stitches, always bring the yarn to the back of the work (wyib) before slipping the stitch purlwise. This keeps the yarn strand on the wrong side.
Step 4: Repeat Stripe Pattern
Repeat Rows 7-18 (the entire 12-row stripe sequence) a total of 12 times, or until the blanket measures approximately 34 inches from the cast-on edge, ending after a complete stripe sequence (Rows 7-18).
To keep track, use a row counter or mark each completed repeat with a stitch marker on the side edge.
Step 5: Garter Border (Top)
With Color A (Sand), knit 6 rows of garter stitch. This mirrors the bottom border.
Step 6: Bind Off
Bind off loosely in knit on the next row. Use a stretchy bind-off method (such as the knitted bind-off with a larger needle or the Jeny's Surprisingly Stretchy Bind-Off) to ensure the top edge is not too tight. Weave in all ends with a tapestry needle, securing them on the wrong side.
Step 7: Blocking
Gently wet block the blanket to even out the stitches and open up the texture. Soak the blanket in lukewarm water with a mild wool wash for 15-20 minutes. Gently squeeze out excess water (do not wring). Lay flat on a blocking mat, gently stretching to the finished dimensions (30" x 36"). Pin the edges if needed to keep them straight. Allow to dry completely before removing pins.
Your Sand & Sky Striped Baby Blanket is now complete! Enjoy the soft, textured waves and the modern, soothing color palette. This blanket makes a beautiful, heartfelt gift for any new arrival.