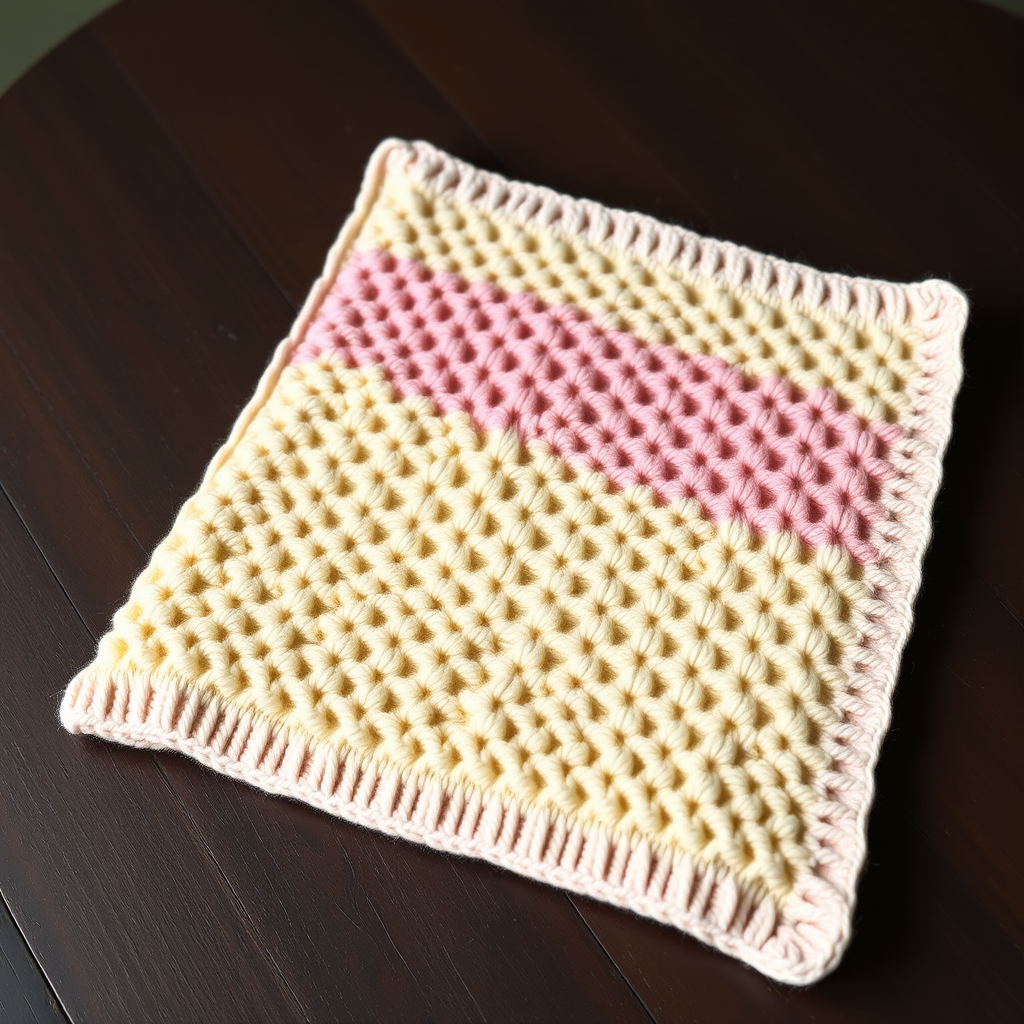
The Enchanted Rose Garden Baby Blanket Free Pattern – A Heirloom Cable & Lace Knit

The Enchanted Rose Garden Baby Blanket: A Heirloom Cable & Lace Knitting Pattern
Imagine wrapping your little one in a garden of eternal blooms, where delicate rose cables twist and intertwine like climbing vines, surrounded by airy lace and soft, blush-toned yarn. The Enchanted Rose Garden Baby Blanket is more than just a knitting project—it's a labor of love that will become a treasured family heirloom. This exquisite pattern combines timeless cable techniques with modern lace work, creating a romantic, three-dimensional texture that's as cozy as it is beautiful. Whether you're a seasoned knitter looking for your next challenge or a confident beginner ready to expand your skills, this blanket promises to be a rewarding journey. Let's dive into creating something truly magical for your little princess.
Materials Needed
Before you begin, gather these supplies to ensure a smooth knitting experience:
- Yarn: DK weight (light worsted) baby-friendly yarn in soft blush pink (MC) – approximately 1200 yards, and cream (CC) – approximately 200 yards. Choose a machine-washable blend for practicality, or a soft merino for extra luxury.
- Needles: US 6 (4.0 mm) circular knitting needles with a 32-inch cable. The long cable is essential to hold all 141 stitches comfortably.
- Cable Needle: A small cable needle (or double-pointed needle) for the C4B and C4F cable twists.
- Stitch Markers: At least 2 markers to define the border sections.
- Tapestry Needle: For weaving in ends during finishing.
- Blocking Mats and Pins: To shape and open up the lace pattern beautifully.
Gauge: 20 stitches and 28 rows = 4 inches in stockinette stitch (blocked). Always knit a gauge swatch to ensure your blanket matches the intended dimensions.
Step-by-Step Instructions
This blanket is knitted in one piece from the bottom up, with a delicate lace border and a central field of rose cables. The pattern uses standard knitting abbreviations: k (knit), p (purl), yo (yarn over), k2tog (knit two together), ssk (slip, slip, knit), and C4B/C4F (cable 4 back/front). Don't worry if you're new to cables—the instructions below are detailed and easy to follow.
Foundation and Bottom Border
Cast on 141 stitches with MC using a long-tail cast on. This gives you a stretchy, neat edge. Work 6 rows of garter stitch (knit every row) for the bottom border. This creates a sturdy, non-curling base for your blanket.
Set-Up Row
Row 1 (RS): K6 (border), place marker, work Row 1 of the Rose Cable Chart across the next 129 stitches, place marker, K6 (border). The Rose Cable Chart is a 43-stitch repeat, worked 3 times across. This set-up establishes your pattern structure.
The Rose Cable Chart
The heart of this blanket is the 43-stitch, 24-row Rose Cable Chart. Here's the complete breakdown:
Rows 1, 3, 5, 7 (RS): K3, p2, k6, p2, k2, yo, ssk, k3, k2tog, yo, k2, p2, k6, p2, k3, p2, k2, yo, ssk, k3, k2tog, yo, k2, p2, k3 (total 43 sts). This row combines the cable base with lace eyelets on either side.
Row 2 and all even rows (WS): Purl all knit stitches, knit all purl stitches, and purl the yo's (creating lace holes). This maintains the ribbed texture and opens up the lace pattern.
Row 9 (RS): K3, p2, C4B (slip 2 to cable needle, hold to back, k2, then k2 from cable needle), k2, p2, k2, yo, ssk, k3, k2tog, yo, k2, p2, C4F (slip 2 to cable needle, hold to front, k2, then k2 from cable needle), k2, p2, k3, p2, k2, yo, ssk, k3, k2tog, yo, k2, p2, k3. This is where the magic happens—the cables twist to create the rose bloom effect.
Rows 11, 13, 15, 17: Repeat Row 1 exactly. These rows maintain the established pattern between cable twists.
Row 19: Repeat Row 9 to create the second cable twist, forming the full rose shape.
Rows 21, 23: Repeat Row 1 to finish the chart.
Row 24: Work even as established (purl all knit stitches, knit all purl stitches, purl the yo's).
Repeat the 24-row chart until the blanket measures approximately 30 inches from the cast-on edge, ending with a WS row. This creates the central field of roses that will be the focal point of your blanket.
Lace Border
Now we'll add the delicate, scalloped lace border that frames the roses beautifully:
K6, place marker, work the following 129-stitch lace pattern, place marker, K6.
- Row 1 (RS): *K2tog, yo* repeat from * to * across the 129 stitches (ending with k1 if odd). This creates the first row of eyelets.
- Row 2 (WS): Purl all stitches. This solid row stabilizes the lace.
- Row 3 (RS): *Yo, k2tog* repeat from * to * across. This staggers the eyelets for a beautiful mesh effect.
- Row 4 (WS): Purl all stitches.
Repeat these 4 rows until the border measures 3 inches. The lace will naturally scallop and open up, creating that airy, romantic edge.
Top Border
Switch to CC (cream). Knit 6 rows of garter stitch. This creates a smooth, contrasting band that anchors the design. Bind off loosely in knit on the last row. A loose bind-off is crucial here to prevent the top edge from pulling in.
Finishing and Blocking
Weave in all ends with your tapestry needle, being careful to hide them within the garter stitch borders. Now for the most important step: blocking. Soak the blanket in lukewarm water with a drop of mild soap for 20 minutes. Gently squeeze out excess water—never wring or twist. Lay flat on blocking mats and pin out the lace points and cable twists to their full shape. This blocking step is essential to open up the lace and define the rose cables, transforming your work into a professional, heirloom-quality piece. Allow to dry completely before unpinning.
Your Enchanted Rose Garden Baby Blanket is now complete! This stunning piece will be cherished for generations, a testament to the love and skill you've woven into every stitch. Whether displayed in a nursery or passed down as a family treasure, this blanket is sure to become a beloved keepsake.