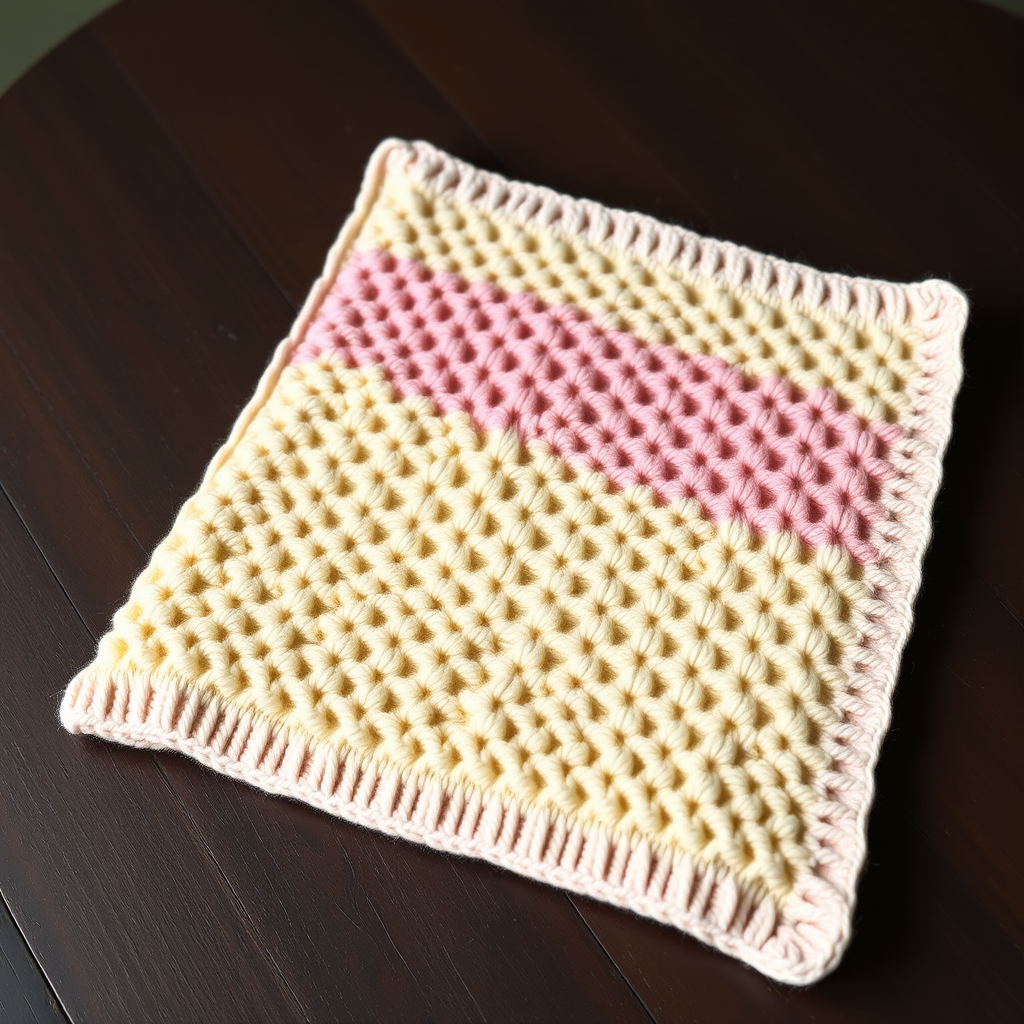
The Enchanted Forest Moss Stitch Baby Blanket Free Pattern

Wrap Your Little One in Woodland Magic: The Enchanted Forest Moss Stitch Baby Blanket
There’s something truly special about creating a baby blanket that feels both modern and timeless. The Enchanted Forest Moss Stitch Baby Blanket is designed to be that piece—a cozy, heirloom-quality gift that combines a soothing, textured body with a delicate, nature-inspired border. The dense, pebbly moss stitch in a rich forest green evokes the quiet floor of the woods, while the soft cream leaf lace border adds a touch of airy elegance, resembling tiny fern fronds. This pattern is perfect for confident beginners looking to add a bit of lacework to their repertoire, and the result is a stunning, drapey blanket that will be cherished for years.
Materials Needed
To create this modern heirloom, you will need the following materials. The gauge is crucial for achieving the correct size and drape, so please take the time to check it.
- Yarn: Worsted weight (Category 4) yarn in two colors:
- Color A (Forest Green): 800 yards. Sample used Lion Brand Heartland in 'Olympic'.
- Color B (Soft Cream): 200 yards. Sample used Lion Brand Heartland in 'Yosemite'.
- Needles: US Size 8 (5.0 mm) knitting needles, or size needed to obtain gauge.
- Notions: Tapestry needle for weaving in ends, stitch markers (optional, for border sections).
- Gauge: 20 stitches and 28 rows = 4 inches in Moss Stitch pattern, after blocking. It is essential to block your gauge swatch to ensure accuracy.
Step-by-Step Instructions
Follow these detailed instructions carefully. The blanket is worked in two main parts: the body in Moss Stitch, followed by the Leaf Lace Border picked up and knit around the edges.
Blanket Body (Moss Stitch)
The body of the blanket is worked flat in a simple, reversible moss stitch. This creates a dense, textured fabric that is warm and stable.
- Cast On: With Color A (Forest Green), cast on 120 stitches loosely. A long-tail cast-on or a knitted cast-on works well. A loose cast-on is critical to prevent the edge from being too tight.
- Row 1 (Right Side - RS): *Knit 1 (k1), Purl 1 (p1); repeat from * to the end of the row.
- Row 2 (Wrong Side - WS): *Purl 1 (p1), Knit 1 (k1); repeat from * to the end of the row.
- Repeat: Continue repeating Rows 1 and 2 until the piece measures 30 inches from the cast-on edge, ending after completing a Wrong Side (WS) row.
- Bind Off: Bind off loosely in pattern. To do this, knit the knit stitches and purl the purl stitches as you bind off. For example: K1, p1, then pass the first stitch over the second. Continue in this manner. A loose bind-off is just as important as a loose cast-on.
Leaf Lace Border (Long Edges)
This delicate border is worked perpendicular to the body of the blanket. You will pick up stitches along the edge and knit a simple 4-row lace pattern.
- Pick Up Stitches: With Color B (Soft Cream) and the Right Side (RS) facing you, pick up and knit 120 stitches evenly along one long edge of the blanket. Tip: Pick up approximately 3 stitches for every 4 rows to keep the edge from puckering.
- Row 1 (RS): K2, *yo (yarn over), k2tog (knit two together), k1; repeat from * to the last 2 stitches, k2.
- Row 2 (WS): Purl all stitches.
- Row 3 (RS): K2, *k1, yo, k2tog; repeat from * to the last 2 stitches, k2.
- Row 4 (WS): Purl all stitches.
- Repeat: Repeat Rows 1-4 three more times. You will have worked a total of 16 rows (4 repeats of the 4-row pattern).
- Bind Off: Bind off all stitches loosely knitwise.
- Repeat: Repeat this entire border process on the opposite long edge of the blanket.
Leaf Lace Border (Short Edges)
Now you will add the border to the two remaining short edges. The stitch count will be different to accommodate the shorter side.
- Pick Up Stitches: With Color B (Soft Cream) and the Right Side (RS) facing you, pick up and knit 90 stitches evenly along one short edge.
- Work Border: Work the exact same 16-row leaf lace pattern (Rows 1-4 repeated 4 times) as described for the long edges.
- Bind Off: Bind off all stitches loosely knitwise.
- Repeat: Repeat on the other short edge.
Finishing
The final steps are what transform your knitting into a beautiful, finished blanket.
- Weave in Ends: Using a tapestry needle, carefully weave in all yarn ends on the wrong side of the blanket. Be sure to weave them in securely, but not so tightly that they pucker the fabric.
- Blocking: Blocking is essential for this pattern. It will open up the lace pattern, even out the moss stitch, and give the blanket a professional, finished look.
- Fill a basin with cool water and a small amount of wool wash (if using natural fibers).
- Submerge the blanket and gently press to saturate. Do not wring or agitate.
- Let it soak for 15-20 minutes.
- Drain the water and gently press out the excess water. Roll the blanket in a clean towel to remove more moisture.
- Lay the blanket flat on a blocking mat or a clean, dry towel. Gently shape it to the correct dimensions, paying special attention to opening up the points of the lace border. Use rust-proof pins to hold the edges in place if desired.
- Allow the blanket to dry completely flat. This may take 24-48 hours.
Once dry, your Enchanted Forest Moss Stitch Baby Blanket is ready to be gifted or enjoyed. The combination of the rich green and creamy white, along with the interplay of the dense moss stitch and airy lace, creates a truly magical piece.