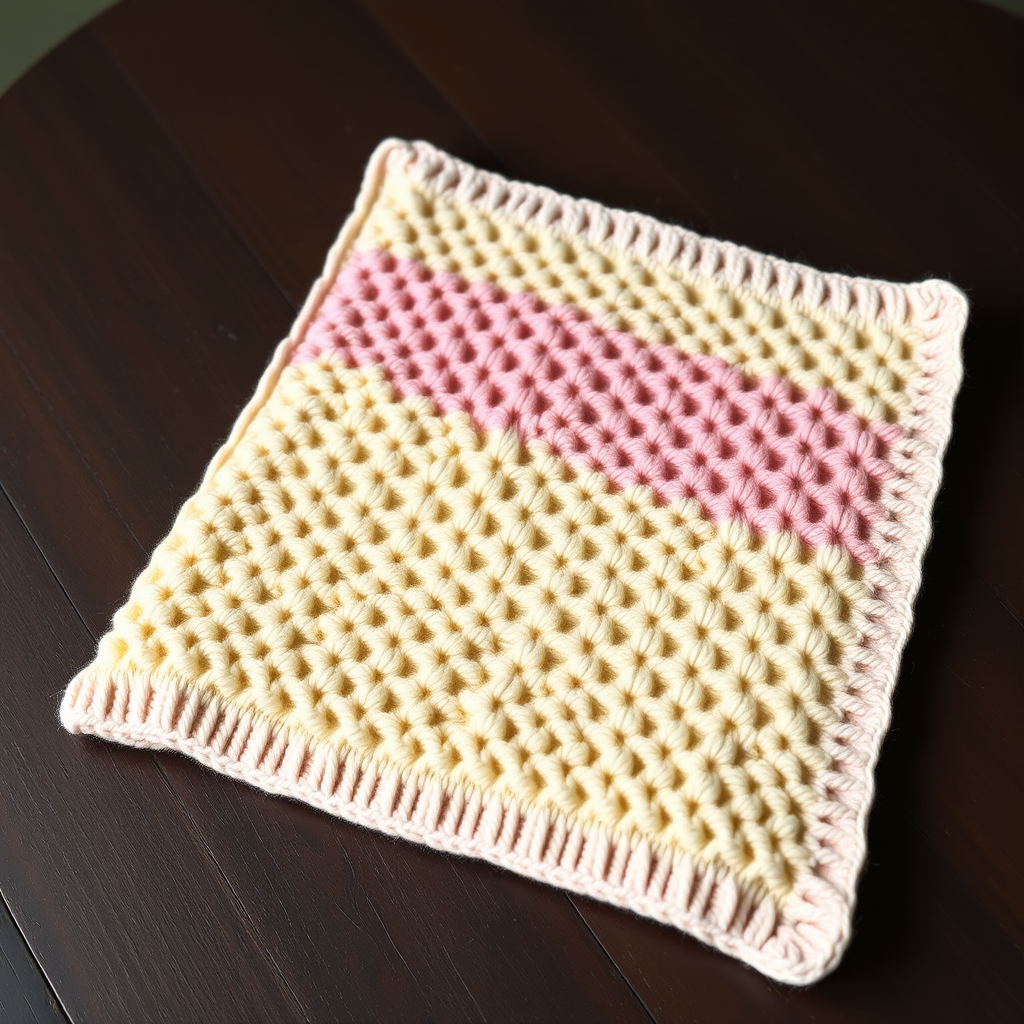
The Brickwork Bliss Baby Blanket Free Pattern – A Knitted Tapestry of Interlocking Blocks

The Brickwork Bliss Baby Blanket Free Pattern – A Knitted Tapestry of Interlocking Blocks
Wrap your little one in the cozy charm of a knitted brick wall, reimagined as a soft, textured baby blanket. This pattern uses a clever combination of garter and stockinette blocks to create a dimensional, interlocking design that's both visually striking and wonderfully snuggly. The Brickwork Bliss blanket is a modern heirloom piece that will elevate any nursery with its minimalist Scandinavian aesthetic.
This pattern is perfect for intermediate knitters looking to expand their skills, but beginners who are comfortable with knit and purl stitches will also find it accessible. The clever strip construction means you're never juggling complex colorwork – just simple stripes and blocks that come together to create a stunning geometric tapestry.
Materials Needed
Before you begin your knitting journey, gather these essential supplies:
Yarn
- Worsted weight yarn in 4 colors:
- Color A (Cream) – approximately 400 yards
- Color B (Soft Sage) – approximately 280 yards
- Color C (Dusty Blue) – approximately 280 yards
- Color D (Warm Terracotta) – approximately 280 yards
- Total yardage: Approximately 1200 yards
Needles and Tools
- US Size 8 (5.0 mm) knitting needles – straight or circular for large projects
- Tapestry needle for seaming and weaving in ends
- Stitch markers (optional, for keeping track of sections)
- Scissors
Gauge
18 stitches and 24 rows = 4 inches in stockinette stitch. Always knit a gauge swatch before beginning to ensure your blanket matches the intended dimensions. Adjust needle size if necessary to achieve the correct gauge.
Step-by-Step Instructions
This blanket is knitted in vertical strips, then seamed together to create the brickwork pattern. Each strip is a series of alternating garter stitch and stockinette stitch blocks. The key to this pattern is the clever staggering of colored blocks between strips, which creates the interlocking brick effect.
Understanding the Pattern Structure
Each strip follows a repeating sequence: a 10-row garter stitch band in Cream (Color A), followed by a 20-row stockinette stitch block in a colored yarn. The colors are arranged differently in alternating strips to create the staggered brick pattern. When the strips are seamed together, the cream garter bands align horizontally, creating a continuous ribbed texture that visually separates the colored blocks.
Strip 1 (Make 1)
Foundation: With Color A (Cream), cast on 40 stitches using your preferred method. A long-tail cast on works beautifully for this pattern.
Section 1 – Garter Band:
Rows 1-10: Knit all stitches (garter stitch). This creates a bumpy, textured band that will form the horizontal "mortar" lines of your brick pattern.
Section 2 – Stockinette Block in Color B:
Row 11: Switch to Color B (Soft Sage). Knit across all 40 stitches.
Row 12: Purl across all 40 stitches.
Rows 13-30: Continue alternating knit and purl rows (stockinette stitch) for a total of 20 rows. Remember: knit on the right side, purl on the wrong side. The smooth "V" shaped stitches will form the face of your brick block.
Section 3 – Garter Band:
Rows 31-40: Switch back to Color A (Cream). Knit all stitches for 10 rows. Don't cut the yarn – you'll be switching back and forth throughout the strip.
Section 4 – Stockinette Block in Color C:
Row 41: Switch to Color C (Dusty Blue). Knit across all stitches.
Row 42: Purl across all stitches.
Rows 43-60: Continue in stockinette stitch (knit one row, purl one row) for a total of 20 rows.
Section 5 – Garter Band:
Rows 61-70: Switch to Color A (Cream). Knit all stitches for 10 rows.
Section 6 – Stockinette Block in Color D:
Row 71: Switch to Color D (Warm Terracotta). Knit across all stitches.
Row 72: Purl across all stitches.
Rows 73-90: Continue in stockinette stitch for a total of 20 rows.
Section 7 – Final Garter Band:
Rows 91-100: Switch to Color A (Cream). Knit all stitches for 10 rows.
Bind Off: Bind off all stitches loosely in Color A. To ensure a stretchy edge, use a larger needle or a stretchy bind-off method like the knit-two-together bind off.
Strip 2 (Make 1)
This strip follows the same structure but with a different color arrangement to create the staggered brick effect.
Foundation: With Color A (Cream), cast on 40 stitches.
Section 1 – Garter Band:
Rows 1-10: Knit all stitches (garter stitch).
Section 2 – Stockinette Block in Color D:
Row 11: Switch to Color D (Warm Terracotta). Knit across all stitches.
Row 12: Purl across all stitches.
Rows 13-30: Continue in stockinette stitch for a total of 20 rows.
Section 3 – Garter Band:
Rows 31-40: Switch to Color A (Cream). Knit all stitches for 10 rows.
Section 4 – Stockinette Block in Color B:
Row 41: Switch to Color B (Soft Sage). Knit across all stitches.
Row 42: Purl across all stitches.
Rows 43-60: Continue in stockinette stitch for a total of 20 rows.
Section 5 – Garter Band:
Rows 61-70: Switch to Color A (Cream). Knit all stitches for 10 rows.
Section 6 – Stockinette Block in Color C:
Row 71: Switch to Color C (Dusty Blue). Knit across all stitches.
Row 72: Purl across all stitches.
Rows 73-90: Continue in stockinette stitch for a total of 20 rows.
Section 7 – Final Garter Band:
Rows 91-100: Switch to Color A (Cream). Knit all stitches for 10 rows.
Bind Off: Bind off all stitches loosely in Color A.
Strip 3 (Make 1)
Repeat Strip 1 instructions exactly. This will be your third vertical panel.
Strip 4 (Make 1)
Repeat Strip 2 instructions exactly. This will be your fourth vertical panel.
Assembly – Seaming the Strips Together
Now comes the magical moment where your individual strips transform into a cohesive brickwork pattern.
Layout: Lay the strips side by side in alternating order: Strip 1, Strip 2, Strip 3, Strip 4. You should see the colored blocks stagger like bricks in a wall – where Strip 1 has a sage block, Strip 2 has a terracotta block, and so on.
Seaming Technique: Using a tapestry needle and a long strand of Color A (Cream) yarn, whip stitch the strips together along their long edges. Work from the wrong side of the blanket for a cleaner finish. Match the garter stitch blocks carefully – they should align to create a continuous horizontal band of garter stitch across the entire blanket. Take your time with this step; even, consistent seaming makes all the difference in the final appearance.
Pro Tip: Pin or clip the strips together before seaming to prevent shifting. Start from the bottom and work your way up, keeping your tension even but not too tight, as this can cause the seams to pucker.
Border
The border frames your beautiful brickwork and gives the blanket a polished, finished look.
Picking Up Stitches: With Color A (Cream) and your knitting needle, pick up and knit stitches evenly around the entire perimeter of the blanket. For the top and bottom edges, pick up one stitch for each bound-off stitch. For the side edges, pick up approximately 3 stitches for every 4 rows to maintain an even tension.
Knitting the Border: Work 6 rows of garter stitch (knit every row) for a clean, finished edge. This creates a subtle, textured frame that complements the garter bands within the blanket.
Binding Off: Bind off loosely to prevent the corners from pulling. A stretchy bind-off method works best here.
Finishing Touches
Weaving in Ends: Using your tapestry needle, weave in all loose ends carefully. Pay special attention to the color changes – weave these ends through stitches of the same color on the wrong side of the work to keep them invisible from the front.
Blocking: Block the blanket gently to even out the stitches and enhance the brickwork texture. For wool or wool-blend yarns, wet blocking works beautifully. For acrylic yarns, steam blocking is safer. Pin the blanket to your desired dimensions and allow it to dry completely. This step transforms your knitting from good to professional-grade.
Tips for Success
- Yarn Management: When switching colors, don't cut the yarn unless instructed. Carry the unused color up the side of your work – this saves yarn and reduces ends to weave in.
- Consistent Tension: Pay attention to your tension when switching between garter and stockinette. Garter stitch tends to be wider than stockinette, so maintaining consistent tension ensures your strips are uniform.
- Count Your Rows: Use stitch markers or a row counter to keep track of where you are in each section. This prevents costly mistakes.
- Customization: Feel free to swap the colors to match your nursery decor. The pattern works beautifully with any four complementary colors.
Your Brickwork Bliss Baby Blanket is now complete! This stunning piece combines modern geometric design with timeless knitting techniques, creating a blanket that's as beautiful as it is functional. Whether displayed in a nursery or draped over a crib, this blanket is sure to become a cherished keepsake for years to come.
Happy knitting, and enjoy watching your interlocking blocks come to life!