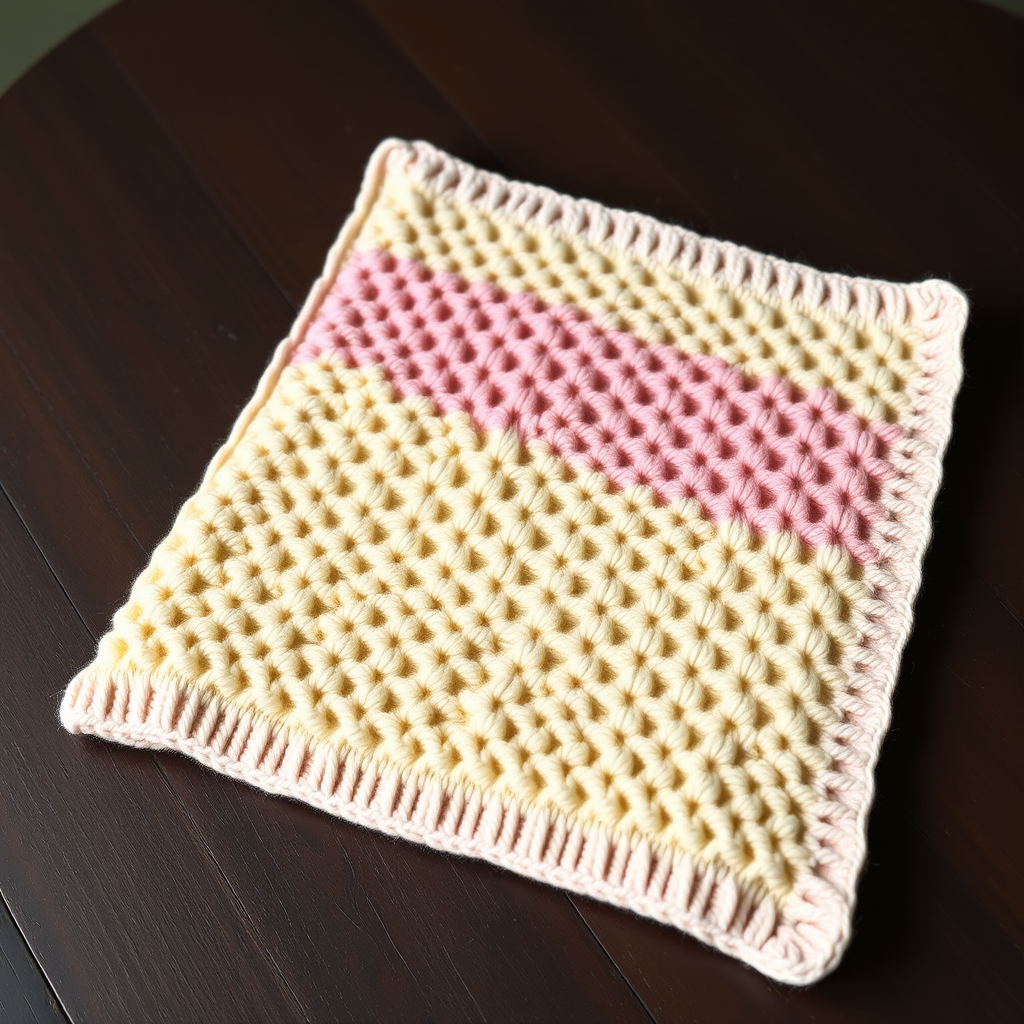
Sunny Meadow Seed Stitch Baby Blanket Free Pattern

Sunny Meadow Seed Stitch Baby Blanket: A Beginner-Friendly Knitting Pattern
Welcome to a delightful knitting project that's as cheerful as a sun-drenched meadow! This Sunny Meadow Seed Stitch Baby Blanket is the perfect combination of simplicity and texture, making it an ideal project for beginners and experienced knitters alike. With its chunky yarn and quick-knit design, you'll create a cozy, squishy heirloom piece that's both modern and timeless. The buttery yellow center framed by a crisp cream border brings warmth and brightness to any nursery, while the dense seed stitch provides wonderful texture that's both beautiful and practical for little ones.
This pattern is designed with clarity in mind, ensuring that even if you're new to knitting, you'll be able to follow along with confidence. The repetitive nature of the seed stitch makes it meditative and relaxing, while the chunky yarn means your project will grow quickly before your eyes. Let's dive into this delightful pattern that combines functionality with aesthetic charm!
Materials Needed
Before you begin your knitting journey, gather these essential supplies:
- Yarn: Chunky weight yarn (approximately 600-700 yards total) in two colors:
- Main Color (MC): Soft butter yellow (approximately 400-450 yards)
- Contrast Color (CC): Cream (approximately 200-250 yards)
- Knitting Needles: US 10.5 (6.5 mm) knitting needles
- Tapestry Needle: For weaving in ends and finishing
- Scissors: For cutting yarn
- Measuring Tape: To check your gauge and dimensions
- Blocking Mats and Pins (optional): For finishing and shaping
Gauge: 14 stitches and 20 rows = 4 inches in seed stitch (blocked). Always knit a gauge swatch to ensure your finished blanket matches the intended dimensions.
Finished Size: Approximately 30 x 36 inches. This size is perfect for a crib, stroller, or as a decorative nursery throw. You can easily adjust the size by adding or subtracting multiples of 2 stitches to the cast-on count.
Understanding the Seed Stitch Pattern
The seed stitch is one of the most versatile and beginner-friendly stitch patterns in knitting. It creates a beautiful, bumpy texture that lies flat and doesn't curl at the edges—making it perfect for blankets. The pattern is simple: you alternate knit and purl stitches across each row, then on the next row, you knit the purl stitches and purl the knit stitches. This creates the characteristic "seeded" appearance that resembles little scattered seeds.
Here's a quick reference for the seed stitch:
- Row 1: (K1, P1) across, ending with K1
- Row 2: (P1, K1) across, ending with P1
Repeat these two rows, always knitting the purl stitches and purling the knit stitches as they appear. This creates the beautiful, textured fabric that makes this blanket so special.
Step-by-Step Instructions
Abbreviations
- CO: Cast on
- K: Knit
- P: Purl
- St(s): Stitch(es)
- Rep: Repeat
Part 1: The Cream Border (Worked First)
Step 1: Cast On
With your Contrast Color (cream) yarn, cast on 106 stitches using your preferred method. The long-tail cast-on works beautifully for this pattern, providing a neat, elastic edge. Take your time to ensure your cast-on is not too tight—you want the edge to have some give for a comfortable, flexible border.
Step 2: Begin Seed Stitch Border
Work in seed stitch for 6 rows total. Here's how:
- Row 1: (K1, P1) across the row, ending with K1. You'll notice that with 106 stitches, you'll end with a knit stitch, which is perfect for maintaining the pattern.
- Row 2: Now, here's the magic of seed stitch: you'll knit the purl stitches and purl the knit stitches. So, (P1, K1) across, ending with P1.
- Rows 3-6: Continue alternating these two rows, always working the opposite stitch than what appears on the needle. This creates the beautiful, bumpy seed texture.
Pro Tip: Place a stitch marker at the beginning of your row if you find it helpful to track your rows. This is especially useful when you're working on the border sections.
Part 2: The Sunny Yellow Center
Step 3: Switch to Main Color
When you've completed your 6 rows of cream border, it's time to introduce the sunshine! Cut the cream yarn, leaving a 6-inch tail for weaving in later. Join your Main Color (butter yellow) yarn at the beginning of the next row.
Step 4: Work the Main Body
Continue in seed stitch with the yellow yarn for 60 rows, or until your blanket reaches your desired length. Remember to keep the border in mind—you'll want to leave enough room for the final cream border. Here's a helpful breakdown:
- Continue the same seed stitch pattern: (K1, P1) across, then (P1, K1) across on the next row.
- Always knit the purl stitches and purl the knit stitches as they appear.
- Keep your tension consistent—not too tight, not too loose—for an even, professional-looking fabric.
Step 5: Measure Your Progress
Periodically measure your work to ensure you're on track. The yellow center should measure approximately 24 inches in length before you begin the final border. Remember, the total finished length will be about 36 inches, with the two cream borders adding approximately 6 inches total (3 inches on each end).
Part 3: The Final Cream Border
Step 6: Switch Back to Contrast Color
When your yellow section reaches the desired length, cut the yellow yarn, leaving a 6-inch tail. Join the cream yarn again at the beginning of the next row.
Step 7: Work the Final Border
Work in seed stitch with the cream yarn for 6 rows, exactly as you did at the beginning. This will create a beautiful, symmetrical frame around your sunny center.
Step 8: Bind Off Loosely
This is a crucial step for a beautiful edge! Bind off in pattern, which means you'll maintain the seed stitch rhythm as you bind off. Here's how:
- Knit the first stitch, then purl the second stitch (following your seed stitch pattern).
- Using your left needle, lift the first stitch over the second stitch and off the needle.
- Continue this pattern: work the next stitch in seed stitch pattern, then pass the previous stitch over it.
- Continue until you have one stitch remaining, then cut your yarn, leaving a 6-inch tail, and pull it through the last loop.
Important: Bind off loosely! If your bind-off is too tight, it will pucker the edge of your blanket. If needed, use a larger needle for the bind-off row to ensure it stays flexible and even.
Part 4: Finishing Touches
Step 9: Weave in All Ends
Thread your tapestry needle with the yarn tails from where you joined colors and from your cast-on and bind-off edges. Weave these ends through the back of your work, following the path of the stitches to hide them completely. Weave in at least 2-3 inches of yarn for security, then trim any excess.
Step 10: Block Your Blanket
Blocking is the secret to a professional-looking finished piece. Here's how to block your blanket:
- Fill a basin or sink with lukewarm water and add a small amount of gentle wool wash or mild detergent.
- Submerge your blanket and let it soak for 15-20 minutes. Don't agitate or wring—this can cause felting.
- Gently press out excess water (or roll in a clean towel to absorb moisture).
- Lay the blanket flat on blocking mats or a clean towel, gently shaping it to the correct dimensions (30 x 36 inches).
- Pin the edges if needed to achieve straight, even sides.
- Allow to dry completely before removing pins or moving.
Step 11: Admire Your Work!
Once your blanket is dry, it's ready to be enjoyed! The blocking process will even out your stitches, enhance the seed stitch texture, and give your blanket that beautiful, polished look.
Tips for Success
- Count Your Stitches: Periodically count your stitches to ensure you haven't accidentally added or dropped any. With 106 stitches, you should always end each row with the correct stitch count.
- Consistent Tension: Try to maintain even tension throughout your knitting. The chunky yarn is forgiving, but consistency will give you the best results.
- Take Breaks: Knitting with chunky yarn can be tiring on your hands. Take regular breaks to stretch and rest.
- Make a Swatch: Always knit a gauge swatch first to ensure your finished blanket will be the right size. Adjust your needle size if needed.
- Enjoy the Process: This is a relaxing, meditative project. Enjoy the rhythm of the stitches and the satisfaction of watching your blanket grow.
Customization Ideas
While this pattern is beautiful as written, feel free to make it your own:
- Color Variations: Try different color combinations—soft pink and white, sage green and cream, or lavender and grey.
- Size Adjustments: Add or subtract multiples of 2 stitches to change the width. Add or subtract rows to change the length.
- Yarn Substitutions: While chunky yarn gives the best squishy texture, you can use worsted weight yarn with smaller needles for a lighter blanket.
- Border Width: Make the border wider by working more rows in the contrast color.
This Sunny Meadow Seed Stitch Baby Blanket is more than just a knitting project—it's a labor of love that will be treasured for years to come. Whether you're making it for your own little one, as a gift for a baby shower, or as a beautiful addition to a nursery, this blanket combines practicality with beauty in the most delightful way. The chunky yarn makes it quick to knit, the seed stitch makes it textured and interesting, and the sunny color palette brings warmth and joy to any space.
Happy knitting, and may your needles always be busy and your heart be full!