Meadow Whisper Slouchy Beanie Free Pattern

Meadow Whisper Slouchy Beanie — Free Beginner Crochet Pattern
Introduction
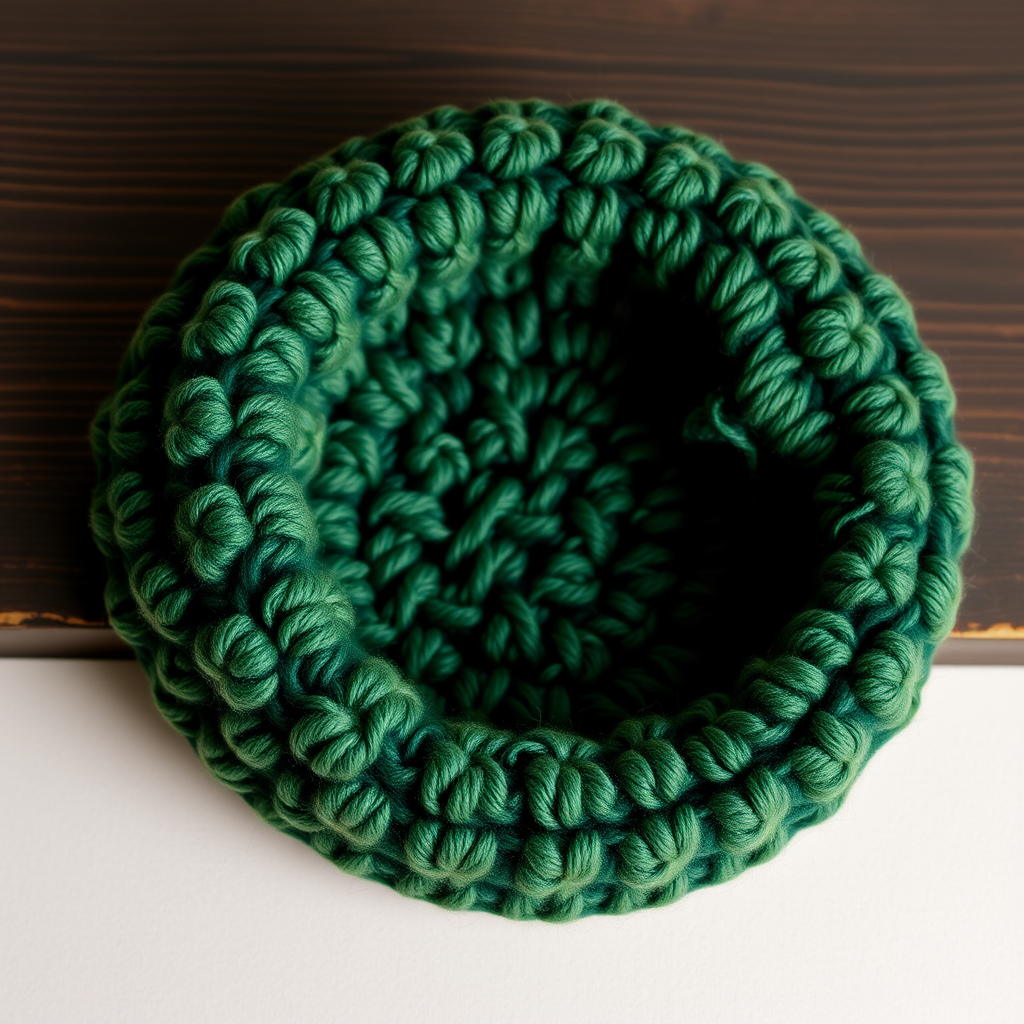
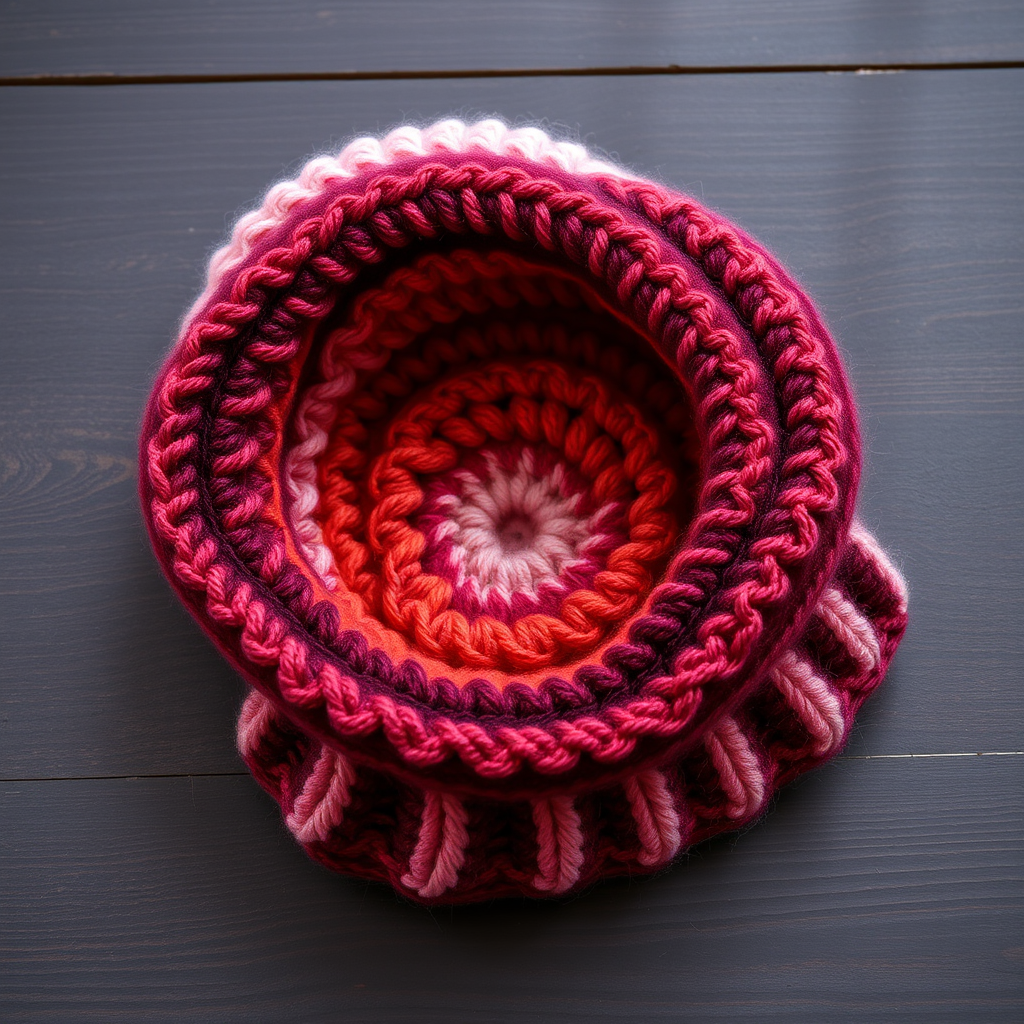
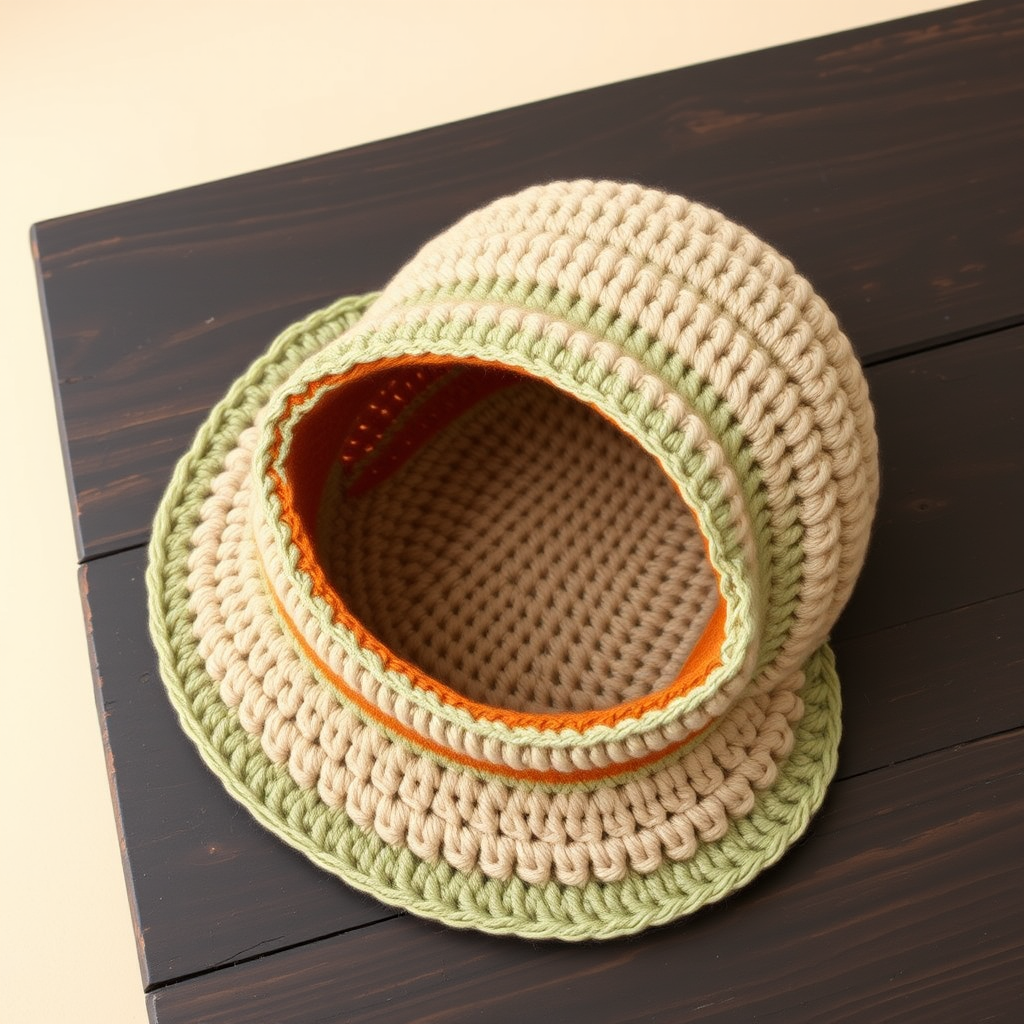
If you have ever wanted to make something you can actually wear out of the house, this is the project for you. The Meadow Whisper Slouchy Beanie is designed for complete beginners — people who have never held a crochet hook before — because it uses only two simple stitches (double crochet and single crochet) worked in easy, joined rounds from the top down. What makes this hat special is its gentle shell-stitch band, a lacy scalloped detail that looks impressive but is really just a few double crochets grouped into the same stitch. The finished beanie is soft, airy, and relaxed: a floppy crown that drapes gently backward, a delicate scalloped band around the lower head, and a simple single-crochet brim that hugs your forehead. In a soft sage green or pale lavender worsted weight yarn, it feels like a little whisper of spring you can wear all year round — and it works up in a single cozy evening.
Materials Needed
- Yarn: Worsted weight yarn (also called category 4 or medium weight), approximately 180–220 yards. An acrylic or cotton blend works beautifully. Suggested colors: soft sage green or pale lavender.
- Crochet hook: Size H/8 (5.0 mm). (The "H/8" is the US size; "5.0 mm" is the metric size — they are the same hook.)
- Stitch markers: At least 4. These are small clips or safety pins you place in a stitch to mark your place so you never lose track of where a round begins.
- Tapestry needle: A large, blunt-tipped sewing needle with an eye big enough for yarn. Used for weaving in yarn tails at the end.
- Scissors: Any sharp pair for cutting yarn.
- Measuring tape or ruler: For checking your gauge (explained below).
Finished size: One size fits most adults. The finished hat measures approximately 21–22 inches around the brim (unstretched) and 9–10 inches tall from brim to crown, with the slouchy crown adding extra drape at the back. The brim stretches gently to fit head circumferences of roughly 21–23 inches.
Abbreviations and Beginner Glossary
Every abbreviation used in this pattern is listed here. Read through this list once before you begin — you do not need to memorize it, just keep it nearby.
- ch — chain. Make a loop of yarn over your hook and pull it through the loop already on your hook. This creates a small "chain" link. Chains are used to start a round and to add height.
- dc — double crochet. Yarn over (wrap yarn around hook), insert hook into the stitch, yarn over, pull up a loop (3 loops on hook), yarn over, pull through 2 loops (2 loops left), yarn over, pull through the last 2 loops (1 loop left). This is a tall, quick stitch.
- sc — single crochet. Insert hook into the stitch, yarn over, pull up a loop (2 loops on hook), yarn over, pull through both loops (1 loop left). This is a short, tight stitch.
- sl st — slip stitch. Insert hook into the stitch, yarn over, and pull the yarn through both the stitch and the loop on your hook at the same time. This makes an almost invisible joining stitch.
- st / sts — stitch / stitches. One completed unit of crochet work.
- magic ring — an adjustable loop of yarn used to start working in the round. You wrap the yarn into a loop, work your stitches into the loop, then pull the tail tight to close the center hole. (If you prefer, you can instead chain 4 and join with a slip stitch to form a ring — but the magic ring gives a neater, closable center.)
- yarn over — wrap the working yarn (the strand coming from the ball) over your hook from back to front. This is the first motion of almost every stitch.
- join with sl st — after finishing all the stitches of a round, insert your hook into the top of the first stitch (or the top of the starting chain) and make a slip stitch. This closes the round into a circle.
- skip — do not work into that stitch. You simply leave it empty and move on to the next stitch.
- shell — a group of 5 double crochets all worked into the same stitch. This fans out into a scalloped shape.
- 2 dc in next st — work two double crochets into the same single stitch. This is an increase (it adds one stitch to your count).
- repeat from * — go back to the asterisk (*) in the instructions and work that section again, as many times as the pattern says.
- fasten off — cut the yarn a few inches from your work, then pull the cut tail all the way through the last loop on your hook to lock it.
- weave in ends — thread a yarn tail onto a tapestry needle and sew it back and forth through the inside of your work so it disappears and cannot unravel.
- block — gently shape and dampen (or steam) the finished piece and let it dry so the stitches settle evenly.
Gauge
Gauge: 14 stitches and 8 rounds = 4 inches (10 cm) in double crochet.
Why gauge matters: Gauge is simply how big your stitches come out. If your stitches are bigger than the pattern's, your hat will be too big; if they are smaller, the hat will be too tight. Everyone crochets a little differently, so we check gauge to make sure the finished hat will fit.
How to make a gauge swatch: With your H/8 (5.0 mm) hook and your chosen yarn, chain 20. Work 1 double crochet into the third chain from your hook and into each chain across (18 dc). Then work 9 more rows of double crochet, turning at the end of each row. Lay the swatch flat, place a ruler across the middle, and count how many stitches fit in 4 inches — you want about 14. Count how many rows fit in 4 inches — you want about 8. If you have more stitches than 14, your stitches are too small: try a larger hook. If you have fewer than 14, your stitches are too big: try a smaller hook. Do not skip this step — it takes ten minutes and saves you from a hat that does not fit.
Beginner Tips Before You Start
- Use a stitch marker to mark the first stitch of every round. Because this hat is worked in joined rounds, it is very easy to lose track of where a round begins. Place a marker in the first stitch of each round and move it up as you go.
- Do not pull your yarn too tight. Beginners often grip the yarn hard, which makes tiny, stiff stitches and a hat that will not stretch over your head. Keep a relaxed, even tension — the yarn should glide, not fight.
- Count your stitches at the end of every round. The stitch count in parentheses at the end of each round tells you exactly how many stitches you should have. If you are off, fix it now rather than later — it is much easier to undo one round than ten.
- Remember that the starting chain 3 counts as your first double crochet. This means when a round says "ch 3, dc in next st," the chain-3 is stitch number one, and the next double crochet is stitch number two. This keeps your counts correct.
- Work your shell stitches loosely. The 5 double crochets of each shell are all crammed into one stitch, so they need a little breathing room. If they feel tight, relax your grip.
- Keep your magic ring tail handy. After Round 1, pull the starting tail firmly to close the center hole, then hold it out of the way while you work the next few rounds.
Step-by-Step Instructions
PATTERN NOTES: The hat is worked in joined rounds from the crown (top) down. Chain 3 at the beginning of each round counts as the first double crochet unless otherwise noted. The slouchy fit is created by working even rounds (no increases) after the crown increases are finished. Every round is joined with a slip stitch to the top of the beginning chain-3 (or to the first stitch, where noted).
Crown
Round 1: Make a magic ring. Ch 3, then work 11 dc into the ring. Join with sl st to the top of the ch-3. (12 dc)
Round 2: Ch 3, dc in the same st (this makes 2 dc in that first stitch). Then work 2 dc in each st around. Join with sl st to the top of the ch-3. (24 dc)
Round 3: Ch 3, 2 dc in the next st, *dc in the next st, 2 dc in the next st; repeat from * around. Join with sl st to the top of the ch-3. (36 dc)
Round 4: Ch 3, dc in the next st, 2 dc in the next st, *dc in the next 2 sts, 2 dc in the next st; repeat from * around. Join with sl st to the top of the ch-3. (48 dc)
Round 5: Ch 3, dc in the next 2 sts, 2 dc in the next st, *dc in the next 3 sts, 2 dc in the next st; repeat from * around. Join with sl st to the top of the ch-3. (60 dc)
Round 6: Ch 3, dc in the next 3 sts, 2 dc in the next st, *dc in the next 4 sts, 2 dc in the next st; repeat from * around. Join with sl st to the top of the ch-3. (72 dc)
Body (Slouchy Section)
Rounds 7–16 (ten rounds total): Ch 3, dc in each st around. Join with sl st to the top of the ch-3. (72 dc) Do not increase on any of these rounds — working them evenly is what creates the relaxed, floppy drape of the slouchy crown.
Round 7: Ch 3, dc in each st around. Join. (72 dc)
Round 8: Ch 3, dc in each st around. Join. (72 dc)
Round 9: Ch 3, dc in each st around. Join. (72 dc)
Round 10: Ch 3, dc in each st around. Join. (72 dc)
Round 11: Ch 3, dc in each st around. Join. (72 dc)
Round 12: Ch 3, dc in each st around. Join. (72 dc)
Round 13: Ch 3, dc in each st around. Join. (72 dc)
Round 14: Ch 3, dc in each st around. Join. (72 dc)
Round 15: Ch 3, dc in each st around. Join. (72 dc)
Round 16: Ch 3, dc in each st around. Join. (72 dc)
Shell Stitch Band
Round 17: Ch 1, then work 1 sc in each st around. Join with sl st to the first sc. (72 sc)
Round 18: Ch 3, skip the next 2 sts, work 5 dc in the next st (this is one shell made), skip the next 2 sts, *dc in the next st, skip the next 2 sts, work 5 dc in the next st, skip the next 2 sts; repeat from * around, ending with sl st to the top of the ch-3. (12 shells)
Round 19: Ch 1, then work 1 sc in each st around — that means 1 sc in each of the 5 dc of every shell and 1 sc in each single dc between the shells. Join with sl st to the first sc. (72 sc)
Brim
Round 20: Ch 1, then work 1 sc in each st around. Join with sl st to the first sc. (72 sc)
Round 21: Ch 1, then work 1 sc in each st around. Join with sl st to the first sc. (72 sc)
Round 22: Ch 1, then work 1 sc in each st around. Join with sl st to the first sc. (72 sc)
Fasten off, leaving a tail of about 6 inches for weaving in.
Assembly and Finishing
Weaving in ends: Thread the starting tail (at the crown) onto your tapestry needle. Turn the hat inside out. Sew the tail back and forth through the inside of the crown stitches for about 2 inches, changing direction once or twice so it cannot work loose, then trim the excess yarn close to the fabric. Repeat with the ending tail at the brim, sewing it through the inside of the brim stitches.
Blocking: Gently steam block the brim and the shell band to settle the stitches and even out the scallops. To steam block: hold a steam iron or garment steamer about 2 inches above the fabric (never press the iron directly onto acrylic, which can melt), let the steam pass through the brim and shell band, then shape the hat with your hands and let it dry completely flat. If you do not have a steamer, lightly mist the brim and band with water, pat them into shape, and let the hat air-dry overnight.
Final check: Try the hat on. The brim should hug your head gently and the crown should fall softly backward. If the brim feels snug, give it a gentle stretch with your hands while it is still slightly damp from blocking.
Pro Tips and Variations
- Change colors for a striped look: Work Rounds 1–6 in one color, Rounds 7–16 in a second color, and the shell band and brim in a third. Simply fasten off at the end of a round and join the new color with a slip stitch in the same stitch where you fastened off.
- Adjust the size: For a smaller hat, stop the crown increases after Round 5 (60 sts) and work the body rounds with 60 sts each. For a larger hat, add one more increase round (Round 7 of the crown: ch 3, dc in next 4 sts, 2 dc in next st, repeat around to 84 sts) before beginning the even body rounds.
- Substitute yarn: A cotton or cotton-blend worsted weight gives a crisper, more defined shell band, while acrylic gives a softer, fuzzier, more relaxed drape. Always check your gauge again if you change yarn, since different fibers behave differently.
- Make the brim wider or narrower: Add or remove single-crochet brim rounds (Rounds 20–22) — each extra round adds about half an inch of brim depth. Just keep working 1 sc in each stitch around and joining each round.