Whispering Pine Forest Beanie Free Pattern – Crochet a Cozy Woodland Crown

Whispering Pine Forest Beanie Free Pattern – Crochet a Cozy Woodland Crown
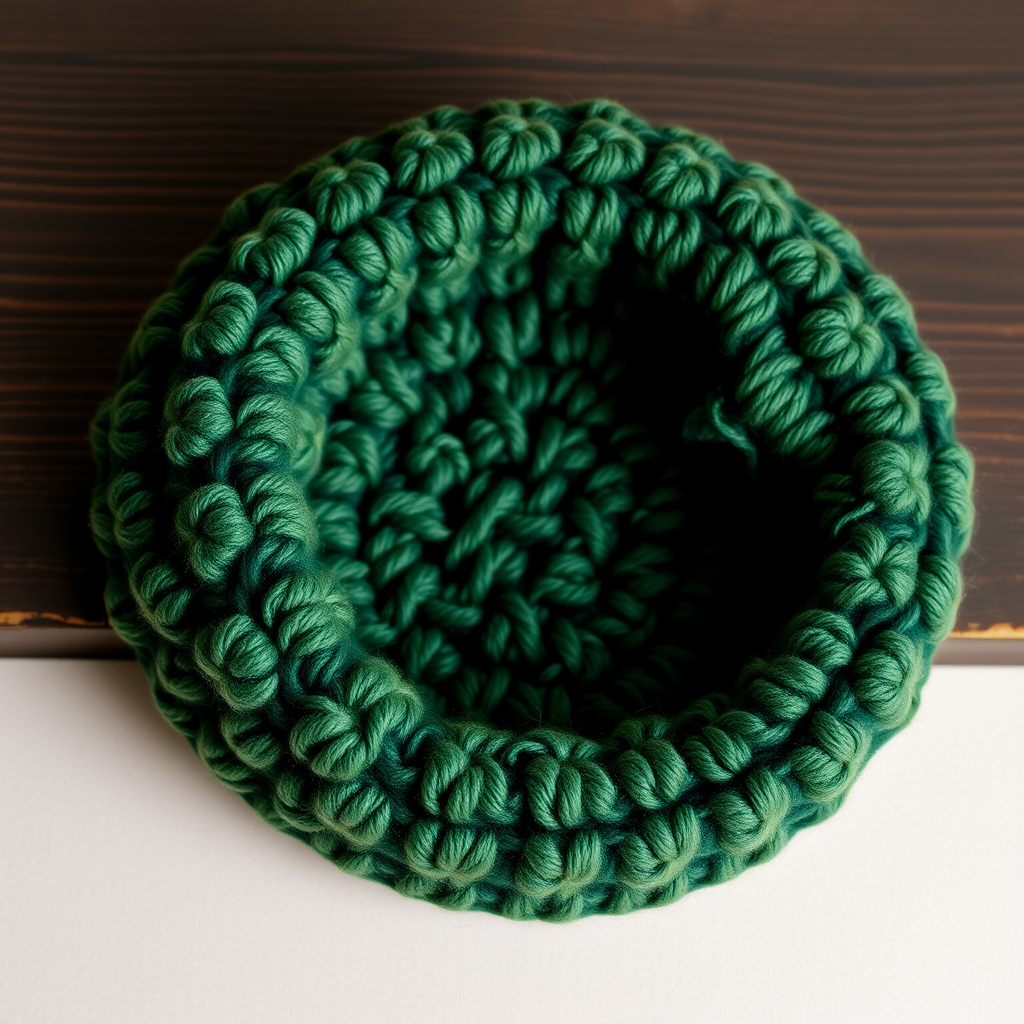
Wrap yourself in the quiet magic of a pine forest with this richly textured crochet beanie, featuring a unique moss-stitch band and a crown of delicate, leaf-like stitches. This pattern is a journey into texture, perfect for crafters seeking a modern, nature-inspired accessory. Whether you're a beginner looking to expand your skills or an experienced maker searching for a distinctive project, this beanie delivers both beauty and functionality. The deep forest green body paired with crisp birch white accents creates a stunning woodland aesthetic that pairs perfectly with autumn coats or winter sweaters.
Why You'll Love This Pattern
This isn't just another basic beanie pattern. The Whispering Pine Forest Beanie combines multiple crochet techniques—from the forgiving half-double crochet crown to the rhythmic moss stitch body and the show-stopping leaf cluster trim. The result is a hat that looks far more complex than it actually is, making it an ideal confidence-builder for beginners while still offering enough novelty to keep experienced crocheters engaged. Plus, the pattern is easily adjustable for different head sizes, so you can make one for every member of the family.
Materials Needed
Before you begin, gather the following supplies. All materials are readily available at most craft stores or online retailers.
- Yarn: Worsted weight yarn in two colors:
- Main Color (MC) – Forest Green (approx. 180 yds)
- Contrast Color (CC) – Birch White (approx. 40 yds)
- Hook: US Size I/9 (5.5 mm) crochet hook, or size needed to obtain gauge
- Gauge: 14 hdc x 11 rows = 4 inches (10 cm) in half double crochet
- Notions: Yarn needle for weaving in ends, scissors, stitch markers (optional but helpful)
Pro tip: If you can't find the exact yarn brand, any worsted weight yarn that meets the gauge will work beautifully. Acrylic yarns are budget-friendly and easy to care for, while wool blends offer extra warmth and stitch definition.
Pattern Notes & Abbreviations
This pattern is worked in the round from the top down. The beanie is designed for an adult medium (21-23 inch head circumference). To adjust size, increase or decrease the number of starting stitches in multiples of 6.
Abbreviations
- ch = chain
- sl st = slip stitch
- sc = single crochet
- hdc = half double crochet
- dc = double crochet
- fpdc = front post double crochet
- bpdc = back post double crochet
- st(s) = stitch(es)
- rnd(s) = round(s)
Special Stitch – Moss Stitch (worked in the round)
*Sc in next st, ch 1, skip next st; repeat from * around. On subsequent rounds, work sc in the ch-1 spaces and ch 1 over the sc sts. This creates a beautiful, nubby texture reminiscent of moss-covered forest floors.
Step-by-Step Instructions
Crown (Top of Beanie)
With MC, make a magic ring. If you're new to magic rings, don't worry—it's simply a way to start crocheting in the round with no hole in the center. Wrap the yarn around your fingers, insert hook, and pull up a loop to begin.
Rnd 1: Ch 2 (counts as hdc here and throughout), work 11 hdc into ring. Join with sl st to top of ch-2. (12 sts)
Rnd 2: Ch 2, hdc in same st, 2 hdc in each st around. Join. (24 sts)
Rnd 3: Ch 2, hdc in same st, hdc in next st, *2 hdc in next st, hdc in next st; repeat from * around. Join. (36 sts)
Rnd 4: Ch 2, hdc in same st, hdc in next 2 sts, *2 hdc in next st, hdc in next 2 sts; repeat from * around. Join. (48 sts)
Rnd 5: Ch 2, hdc in same st, hdc in next 3 sts, *2 hdc in next st, hdc in next 3 sts; repeat from * around. Join. (60 sts)
Rnd 6: Ch 2, hdc in same st, hdc in next 4 sts, *2 hdc in next st, hdc in next 4 sts; repeat from * around. Join. (72 sts)
Rnds 7-9: Ch 2, hdc in each st around. Join. (72 sts)
Tip: The crown should now measure approximately 6-7 inches across. If it's smaller, you may need to check your gauge or add an additional increase round. If it's larger, consider using a smaller hook.
Body of Beanie
Now we transition to the beautiful moss stitch texture that gives this beanie its woodland charm.
Rnd 10: Ch 1, sc in same st, ch 1, skip next st, *sc in next st, ch 1, skip next st; repeat from * around. Join with sl st to first sc. (36 sc, 36 ch-1 spaces)
Rnd 11: Ch 1, sc in first ch-1 space, ch 1, skip next sc, *sc in next ch-1 space, ch 1, skip next sc; repeat from * around. Join. (36 sc, 36 ch-1 spaces)
Rnds 12-18: Repeat Rnd 11. (This creates the moss stitch texture.)
Helpful hint: You'll notice that the sc stitches from the previous round become the "skipped" stitches in the current round, and you work into the chain spaces instead. This creates the offset, woven appearance characteristic of moss stitch. If you lose your place, count your sc stitches—you should always have 36.
Rnd 19: Ch 2, hdc in each st and in each ch-1 space around. Join. (72 sts)
This round transitions you back to a solid fabric, preparing for the ribbed band.
Ribbed Band
The ribbed band adds structure and a snug fit to the bottom of the beanie.
Rnd 20: Ch 2, fpdc around first st, bpdc around next st, *fpdc around next st, bpdc around next st; repeat from * around. Join. (72 sts)
Rnd 21: Repeat Rnd 20. (This creates a ribbed band.)
How to work post stitches: For fpdc, insert your hook from front to back around the post of the stitch below, then complete the double crochet as normal. For bpdc, insert your hook from back to front. Alternating these creates the ribbed effect. Don't worry if it feels awkward at first—it becomes natural after a few stitches.
Leaf Stitch Crown Trim
Now for the show-stopping detail—the sculptural leaf clusters that crown the beanie like pine needles.
Rnd 22: Ch 1, sc in same st, *ch 3, skip 2 sts, sc in next st; repeat from * around, ending with ch 3, skip last 2 sts, join with sl st to first sc. (24 ch-3 loops)
Rnd 23: Sl st into first ch-3 loop, ch 1, (sc, hdc, 3 dc, hdc, sc) in each ch-3 loop around. Join with sl st to first sc. (24 leaf clusters)
Note: Each ch-3 loop becomes a small leaf shape. The sc at the beginning and end of each cluster anchors it, while the dc stitches in the middle create the fullness of the leaf.
Rnd 24: Ch 1, sc in same st, *ch 5, skip next leaf cluster, sc in the sc between leaf clusters (the sc from Rnd 22); repeat from * around, ending with ch 5, join with sl st to first sc. (24 ch-5 loops)
Rnd 25: Sl st into first ch-5 loop, ch 1, (sc, hdc, 5 dc, hdc, sc) in each ch-5 loop around. Join with sl st to first sc. (24 larger leaf clusters)
Fasten off MC. These larger clusters sit between the smaller ones, creating a layered, dimensional effect that mimics overlapping pine needles.
Finishing
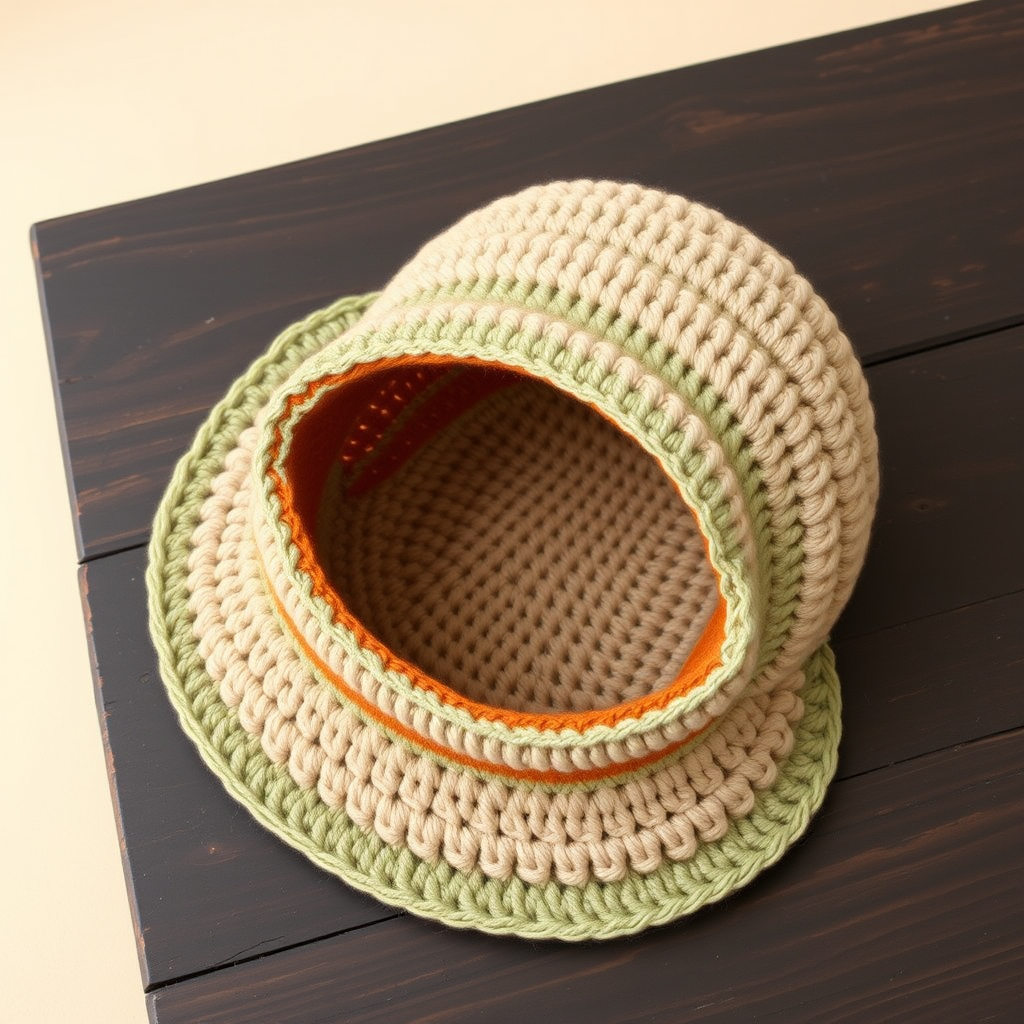
With CC, join yarn with a sl st to any point on the ribbed band (Rnd 21). Ch 1, sc in each st around the bottom edge of the band. Join with sl st to first sc. Fasten off CC. Weave in all ends.
This crisp white edging provides a beautiful contrast and finishes the beanie with a polished, professional look.
Optional Pom-Pom
Create a pom-pom using CC and attach to the top of the beanie for a snowy forest touch. To make a pom-pom, wrap CC yarn around a pom-pom maker or a piece of cardboard about 50-60 times, tie tightly in the middle, cut the loops, and trim to shape. Attach securely to the top of the beanie using the yarn tails.
Care Instructions & Final Thoughts
To keep your Whispering Pine Forest Beanie looking its best, hand wash in cool water with a gentle detergent and lay flat to dry. Reshape while damp to maintain the beautiful stitch definition.
This pattern is perfect for gifting—imagine presenting it to a friend who loves nature walks or cozy winter evenings by the fire. The textured moss stitch and leaf crown make it a conversation piece, while the worsted weight yarn ensures it works up quickly, typically in just a few evenings of crafting.
Don't be afraid to experiment with color combinations! While forest green and birch white evoke the woodland theme, this pattern would also look stunning in deep burgundy with cream, navy with silver, or even mustard yellow with ivory for a boho vibe. The leaf clusters can also be worked in a contrasting color for an even more dramatic effect.
Happy crocheting, and may your hands find peace in every stitch as you create your own little piece of the whispering pine forest.