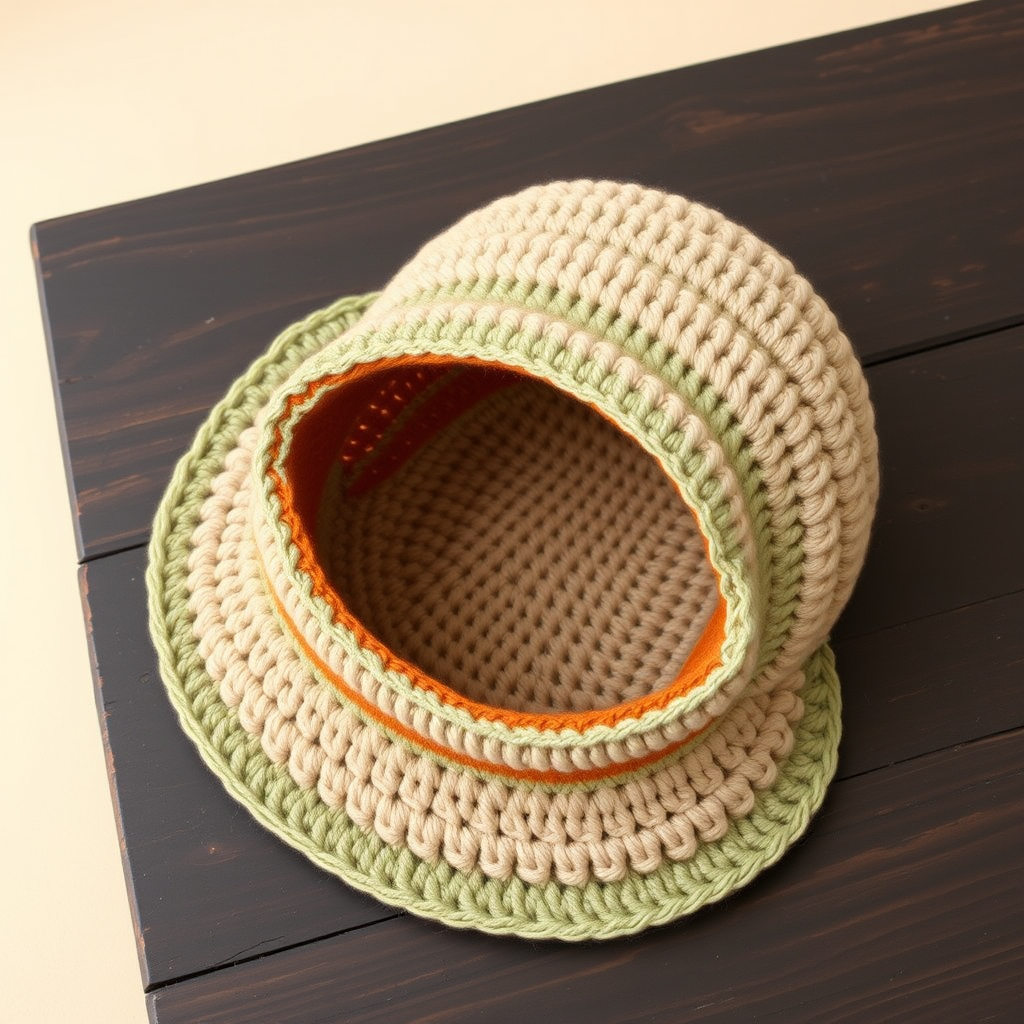
Whispering Pines Slouchy Beret Free Pattern – A Crocheted Forest Canopy
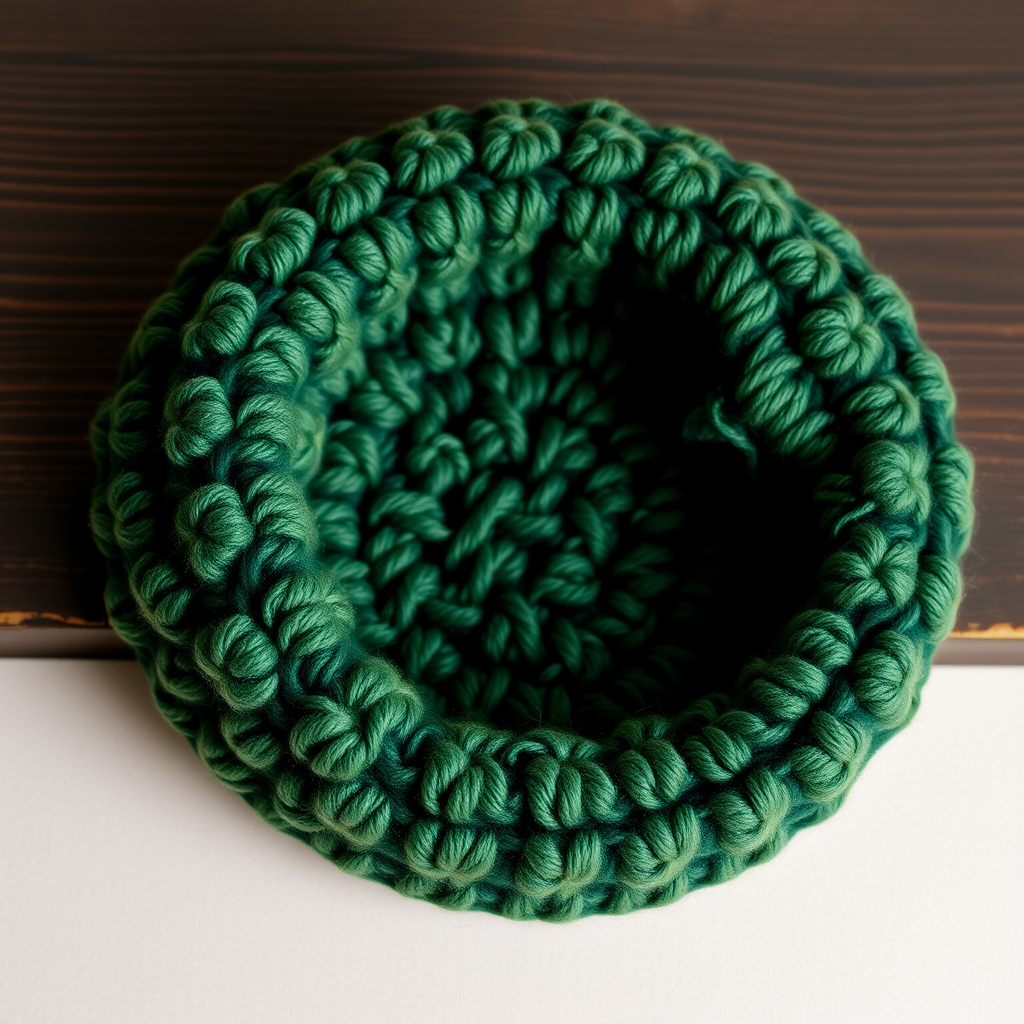
Whispering Pines Slouchy Beret Free Pattern – A Crocheted Forest Canopy
Embrace the quiet elegance of a woodland stroll with this slouchy beret, featuring a lush, textured pinecone stitch that mimics a forest canopy. This crochet pattern offers a cozy, modern twist on the classic beret, perfect for adding a touch of handmade charm to any autumn or winter outfit. The rich, earthy color palette of deep forest green and mossy fern evokes a misty forest, while the raised, bumpy clusters of stitches create a dimensional, tactile surface that is as delightful to touch as it is to behold.
Whether you're a seasoned crocheter looking for a new texture to master or a beginner eager to expand your skills, this pattern is designed to guide you through every step with clarity and precision. The result is a soft, slouchy crown that drapes elegantly and a ribbed band that fits snugly around the head—a truly versatile accessory that pairs beautifully with everything from chunky sweaters to tailored coats.
Materials Needed
Before you begin your journey into the forest, gather the following materials. Having everything prepared will ensure a smooth, uninterrupted crocheting experience.
Yarn
- Worsted weight yarn in two shades of forest green. Suggested colors: MC (Main Color): Deep Forest and CC (Contrast Color): Mossy Fern.
- Approximately 200 yards of MC (Deep Forest) for the main body and band.
- Approximately 100 yards of CC (Mossy Fern) for the pinecone texture accents.
Note: The contrast color is used to create the pinecone stitch pattern, adding depth and visual interest. If you prefer a more monochromatic look, you can use the same color for both MC and CC.
Hook and Notions
- US Size H/8 (5.0 mm) crochet hook, or size needed to obtain gauge.
- Yarn needle for weaving in ends and finishing.
- Stitch markers (optional, but helpful for keeping track of rounds).
- Scissors.
Gauge
14 stitches and 12 rows = 4 inches in half double crochet. It is crucial to check your gauge before starting to ensure the beret fits correctly. If your gauge is off, adjust your hook size accordingly—use a larger hook if your stitches are too tight, and a smaller hook if they are too loose.
Step-by-Step Instructions
This pattern is worked in the round from the top down. The pinecone stitch is created with puff clusters and chains, giving the beret its signature textured look. Follow these detailed instructions carefully, and you'll have a beautiful beret in no time.
Notes
- Worked in the round from the top down.
- The pinecone stitch is created with puff stitches and chains.
- Ch 3 counts as a dc throughout the pattern.
- Join each round with a slip stitch (sl st) to the top of the beginning chain (or as specified).
Round 1: The Magic Ring
With MC, make a magic ring. Work 12 double crochet (dc) into the ring. Pull the tail to tighten the ring closed. Join with a slip stitch to the top of the beginning ch 3. (12 dc)
Round 2: Increasing the Crown
Ch 3 (counts as first dc), dc in the same stitch. Work 2 dc in each stitch around. Join with a sl st to the top of the ch 3. (24 dc)
Round 3: Continuing Increases
Ch 3, dc in the same stitch, dc in the next stitch. *2 dc in the next stitch, dc in the next stitch.* Repeat from * to * around. Join with a sl st. (36 dc)
Round 4: Shaping the Circle
Ch 3, dc in the same stitch, dc in the next 2 stitches. *2 dc in the next stitch, dc in the next 2 stitches.* Repeat from * to * around. Join. (48 dc)
Round 5: Expanding the Diameter
Ch 3, dc in the same stitch, dc in the next 3 stitches. *2 dc in the next stitch, dc in the next 3 stitches.* Repeat from * to * around. Join. (60 dc)
Round 6: Final Increase Round
Ch 3, dc in the same stitch, dc in the next 4 stitches. *2 dc in the next stitch, dc in the next 4 stitches.* Repeat from * to * around. Join. (72 dc)
Rounds 7-8: Straight Sides
Ch 3, dc in each stitch around. Join with a sl st. (72 dc)
At this point, your work should be a flat circle measuring approximately 7-8 inches in diameter. If it's smaller, you may need to add another increase round; if larger, consider using a smaller hook for the next rounds.
Round 9: Preparing for Pinecones
Ch 1, single crochet (sc) in the same stitch. *Ch 2, skip 2 stitches, sc in the next stitch.* Repeat from * to * around. Join with a sl st to the first sc. (24 ch-2 spaces)
Round 10: Creating the First Pinecone Row
Sl st into the first ch-2 space. Ch 3, 4 dc in the same space (this is the first half of a puff cluster). Ch 1, 5 dc in the same space (this completes the first pinecone). *Skip the next ch-2 space, in the next ch-2 space work (5 dc, ch 1, 5 dc).* Repeat from * to * around. Join with a sl st to the top of the ch 3. (12 pinecones)
Pro Tip: The pinecone stitch is essentially a shell stitch with a chain in the middle. The ch 1 creates a small "eye" in the center of each pinecone, which will be used in the next round.
Round 11: Positioning for the Next Pinecone Row
Ch 1, sc in the same stitch. *Ch 3, skip to the ch-1 space between the two 5-dc groups of the next pinecone, sc in that ch-1 space.* Repeat from * to * around, ending with ch 3. Join with a sl st to the first sc. (12 ch-3 spaces)
Round 12: Second Pinecone Row
Sl st into the first ch-3 space. Ch 3, 4 dc in the same space, ch 1, 5 dc in the same space (pinecone made). *Skip the next ch-3 space, in the next ch-3 space work (5 dc, ch 1, 5 dc).* Repeat from * to * around. Join with a sl st to the top of the ch 3. (12 pinecones)
Rounds 13-14: Repeating the Pinecone Pattern
Repeat Rounds 11 and 12. (12 pinecones each round)
You now have three rows of pinecones. The beret is beginning to take shape with a beautiful, textured surface that resembles a forest canopy.
Round 15: Beginning the Decrease
Ch 1, sc in the same stitch. *Ch 2, skip to the ch-1 space between the two 5-dc groups of the next pinecone, sc in that ch-1 space.* Repeat from * to * around, ending with ch 2. Join with a sl st to the first sc. (12 ch-2 spaces)
Round 16: Tightening the Crown
Ch 1, sc in the same stitch. *Ch 1, skip the next ch-2 space, sc in the next ch-1 space.* Repeat from * to * around, ending with ch 1. Join with a sl st to the first sc. (12 ch-1 spaces)
Round 17: Transitioning to the Band
Ch 1, sc in the same stitch. *Sc in the next ch-1 space, sc in the next sc.* Repeat from * to * around. Join with a sl st. (36 sc)
Round 18: First Decrease Round
Ch 1, sc in the same stitch. *Sc2tog (single crochet two together), sc in the next stitch.* Repeat from * to * around. Join with a sl st. (24 sc)
How to Sc2tog: Insert your hook into the next stitch, yarn over and pull up a loop (2 loops on hook). Insert your hook into the following stitch, yarn over and pull up a loop (3 loops on hook). Yarn over and pull through all 3 loops on the hook. One stitch decreased.
Round 19: Second Decrease Round
Ch 1, sc in the same stitch. *Sc2tog.* Repeat from * to * around. Join with a sl st. (12 sc)
Round 20: Final Decrease Round
Ch 1, sc in the same stitch. *Sc2tog.* Repeat from * to * around. Join with a sl st. (6 sc)
Finishing Touches
Fasten off, leaving a long tail (approximately 12 inches). Thread the tail through a yarn needle and weave it through the remaining 6 single crochet stitches. Pull tight to close the top of the beret completely. Secure with a knot and weave in all loose ends using the yarn needle.
Optional Embellishment: For extra flair, attach a faux fur pom-pom to the top of the beret. This adds a playful, cozy touch that complements the textured pinecone stitch beautifully.
Final Thoughts
Congratulations! You've completed your very own Whispering Pines Slouchy Beret. This pattern is a wonderful way to practice working in the round, mastering the pinecone stitch, and creating a garment that is both stylish and functional. The rich, earthy colors and intricate texture make it a standout piece in any wardrobe.
Remember, crochet is a journey, not a race. Take your time, enjoy the process, and don't be afraid to experiment with different color combinations. Whether you stick with the classic forest greens or branch out into autumnal oranges and burgundies, this beret is sure to become a cherished handmade treasure.
Happy crocheting, and may your stitches always be even and your coffee always be warm!