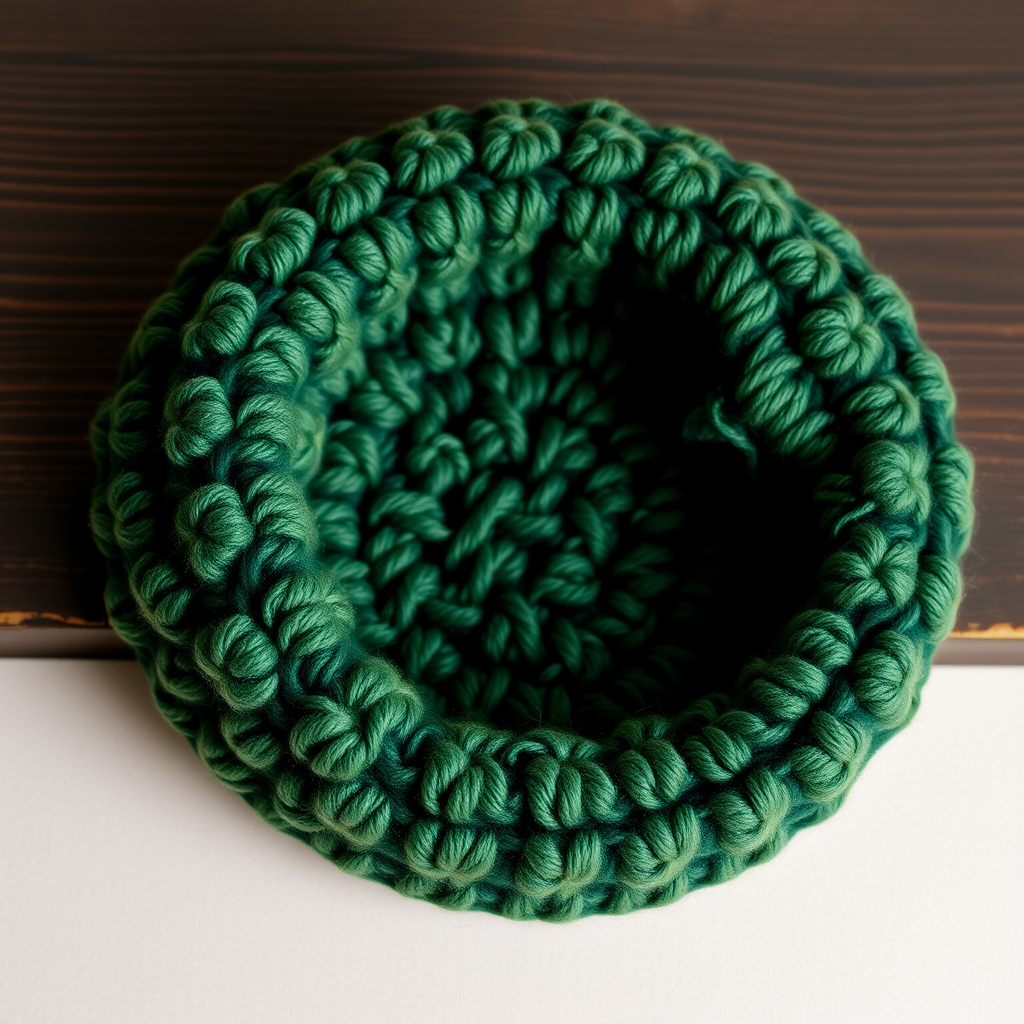
The Sunlit Dune Visor Hat Free Pattern – A Crocheted Ode to Desert Mornings
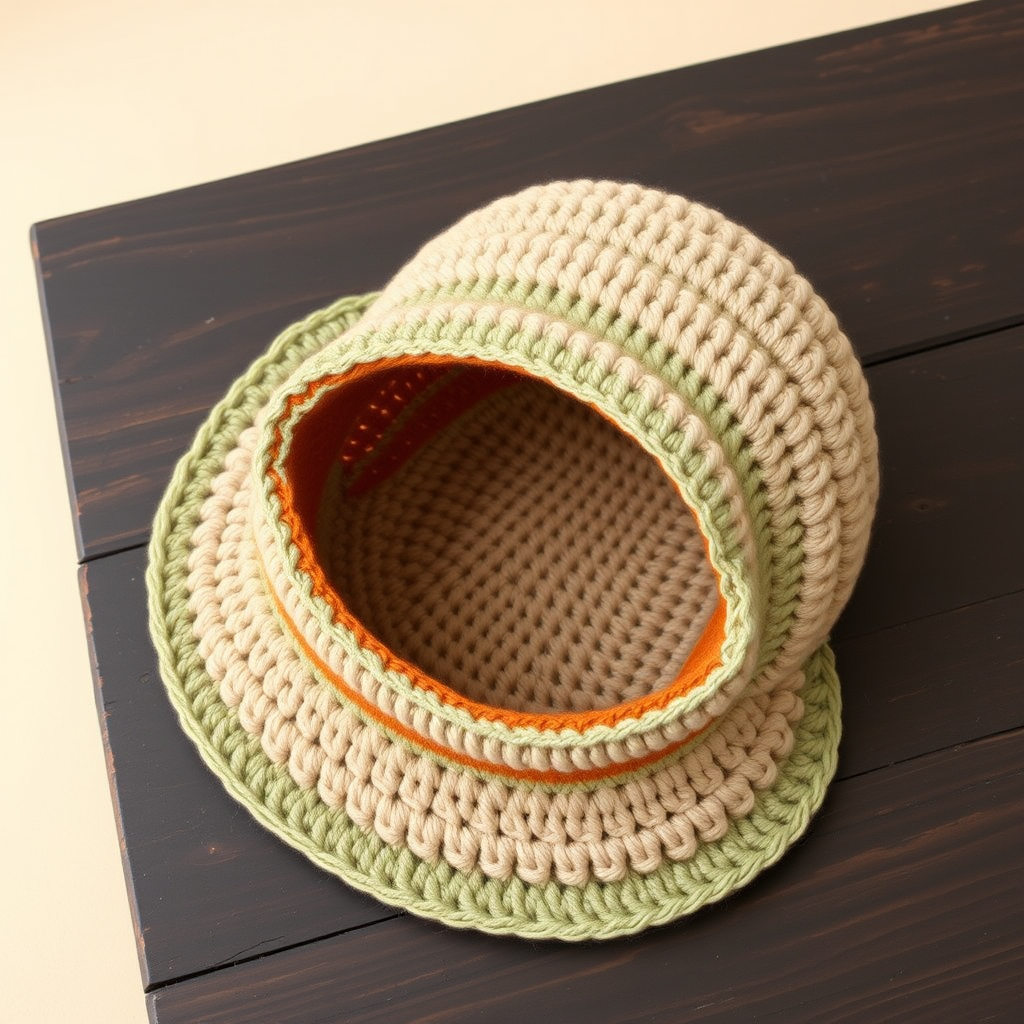
The Sunlit Dune Visor Hat Free Pattern – A Crocheted Ode to Desert Mornings
Imagine the quiet warmth of a sunrise over rolling sands, the crisp air of a coastal morning, and the soft, breathable texture of handcrafted cotton against your skin. That's the essence of the Sunlit Dune Visor Hat. This pattern combines the crisp structure of a classic brim with the gentle, flexible comfort of crochet, resulting in a versatile accessory that's perfect for sunny days, beach strolls, and everything in between. With its elegant stitchwork and earthy palette of Dune, Terracotta, and Sage, this hat is more than just a project—it's a wearable piece of art that evokes the serene beauty of desert landscapes.
Whether you're a seasoned crocheter looking for a quick weekend project or a beginner eager to expand your skills, this pattern is designed to be approachable and rewarding. The crown is worked in simple rounds, and the brim is shaped with easy decreases, making it a fantastic way to practice reading patterns and understanding construction. Let's dive in and create something beautiful together.
Materials Needed
Before you begin, gather the following supplies. Having everything ready will make your crafting session smooth and enjoyable.
Yarn
- Worsted weight cotton or cotton-blend yarn (approx. 150-180 yards total) in three shades:
- Dune (light sand): For the crown – approximately 80-90 yards
- Terracotta (warm clay): For the brim – approximately 60-70 yards
- Sage (soft olive): For the edging – approximately 10-15 yards
Hook & Notions
- US G/6 (4.0 mm) crochet hook
- Tapestry needle (for weaving in ends and blocking)
- Stitch markers (optional, but helpful for keeping track of rounds)
- Scissors
Gauge
16 single crochet (sc) x 18 rows = 4 inches (10 cm) in single crochet. Be sure to check your gauge to ensure the hat fits properly. If your gauge is off, adjust your hook size accordingly.
Step-by-Step Instructions
Follow these detailed instructions carefully. The pattern is divided into three main sections: the Crown, the Brim, and the Edging. Take your time, and don't hesitate to refer back to the abbreviations if needed.
Abbreviations Used
- ch: chain
- sc: single crochet
- sc2tog: single crochet two together (decrease)
- sl st: slip stitch
- st(s): stitch(es)
- rnd(s): round(s)
Part 1: The Crown (Worked in Rounds)
The crown is worked in continuous rounds, starting from a magic ring. This creates a seamless, smooth dome that fits comfortably on your head.
- Round 1: With Dune yarn, make a magic ring. Work 8 single crochet (sc) into the ring. Pull the tail to tighten the ring closed. Join with a slip stitch (sl st) to the first sc. (8 stitches)
- Round 2: Chain 1 (ch 1). Work 2 sc into each stitch around. Join with a sl st to the first sc. (16 stitches)
- Round 3: Ch 1. *Sc in the next stitch, 2 sc in the next stitch.* Repeat from * to * around. Join with a sl st. (24 stitches)
- Round 4: Ch 1. *Sc in the next 2 stitches, 2 sc in the next stitch.* Repeat from * to * around. Join with a sl st. (32 stitches)
- Round 5: Ch 1. *Sc in the next 3 stitches, 2 sc in the next stitch.* Repeat from * to * around. Join with a sl st. (40 stitches)
- Round 6: Ch 1. *Sc in the next 4 stitches, 2 sc in the next stitch.* Repeat from * to * around. Join with a sl st. (48 stitches)
- Round 7: Ch 1. *Sc in the next 5 stitches, 2 sc in the next stitch.* Repeat from * to * around. Join with a sl st. (56 stitches)
- Rounds 8-12: Ch 1. Sc in each stitch around. Join with a sl st to the first sc of the round. (56 stitches each round) – This forms the crown depth. The hat should now cover the top of your head down to your forehead.
Pro Tip: To ensure a smooth join, work the ch 1 at the beginning of each round loosely, and when you join with a sl st, insert your hook into the first actual sc of the round (not the ch 1).
Part 2: The Brim (Worked in Rows)
Now we'll create the visor brim. This is worked back and forth in rows along the front half of the crown, using Terracotta yarn. The decreases shape the brim into a gentle curve that widens at the front.
- Setup: Turn your work so you are looking at the front edge of the crown. Identify the center front stitch. Attach Terracotta yarn with a sl st to this first stitch of the front edge.
- Row 1: Ch 1. Sc in the same stitch (where you attached the yarn). Sc in the next 27 stitches (working across the front half of the crown). Turn. (28 stitches)
- Row 2: Ch 1. Sc2tog (single crochet two together). Sc in the next 24 stitches. Sc2tog. Turn. (26 stitches)
- Row 3: Ch 1. Sc in each stitch across. Turn. (26 stitches)
- Row 4: Ch 1. Sc2tog. Sc in the next 22 stitches. Sc2tog. Turn. (24 stitches)
- Row 5: Ch 1. Sc in each stitch across. Turn. (24 stitches)
- Row 6: Ch 1. Sc2tog. Sc in the next 20 stitches. Sc2tog. Turn. (22 stitches)
- Row 7: Ch 1. Sc in each stitch across. Turn. (22 stitches)
- Row 8: Ch 1. Sc2tog. Sc in the next 18 stitches. Sc2tog. Turn. (20 stitches)
- Row 9: Ch 1. Sc in each stitch across. Turn. (20 stitches)
- Row 10: Ch 1. Sc2tog. Sc in the next 16 stitches. Sc2tog. Turn. (18 stitches)
- Row 11: Ch 1. Sc in each stitch across. Turn. (18 stitches)
- Row 12: Ch 1. Sc2tog. Sc in the next 14 stitches. Sc2tog. Turn. (16 stitches)
- Row 13: Ch 1. Sc in each stitch across. Turn. (16 stitches)
- Row 14: Ch 1. Sc2tog. Sc in the next 12 stitches. Sc2tog. Turn. (14 stitches)
- Row 15: Ch 1. Sc in each stitch across. Turn. (14 stitches)
- Row 16: Ch 1. Sc2tog. Sc in the next 10 stitches. Sc2tog. Turn. (12 stitches)
- Row 17: Ch 1. Sc in each stitch across. Turn. (12 stitches)
- Row 18: Ch 1. Sc2tog. Sc in the next 8 stitches. Sc2tog. Turn. (10 stitches)
- Row 19: Ch 1. Sc in each stitch across. Turn. (10 stitches)
- Row 20: Ch 1. Sc2tog. Sc in the next 6 stitches. Sc2tog. Turn. (8 stitches)
- Row 21: Ch 1. Sc in each stitch across. Turn. (8 stitches)
- Row 22: Ch 1. Sc2tog. Sc in the next 4 stitches. Sc2tog. Turn. (6 stitches)
- Row 23: Ch 1. Sc in each stitch across. Turn. (6 stitches)
- Row 24: Ch 1. Sc2tog. Sc in the next 2 stitches. Sc2tog. Turn. (4 stitches)
- Row 25: Ch 1. Sc2tog. Sc2tog. Turn. (2 stitches)
- Row 26: Ch 1. Sc2tog. Fasten off, leaving a tail for weaving. (1 stitch)
Understanding the Decreases: The sc2tog (single crochet two together) is a simple decrease. Insert your hook into the next stitch, yarn over, pull up a loop (2 loops on hook). Insert your hook into the following stitch, yarn over, pull up a loop (3 loops on hook). Yarn over and pull through all 3 loops on your hook. This combines two stitches into one, creating the tapered shape of the brim.
Part 3: Brim Edging (Optional but Recommended)
Adding the Sage edging not only gives the hat a beautiful pop of color but also helps stabilize the brim, keeping its shape and preventing stretching.
- Attach Yarn: With Sage yarn, attach with a sl st to the outer edge of the brim, at one of the corners.
- Work the Edging: Work a round of single crochet (sc) evenly around the entire brim edge. To keep the corners flat and prevent curling, work 2 sc in each corner stitch. Continue around the entire perimeter of the brim.
- Finish: Join with a sl st to the first sc. Fasten off and weave in the end.
Part 4: Finishing Touches
- Weave in Ends: Using your tapestry needle, carefully weave in all loose ends from the color changes and the magic ring. Make sure to weave them in securely so they don't come undone with wear.
- Blocking: Blocking is essential for this hat to achieve its final shape. Gently wet the hat with lukewarm water (or use a steam iron on a low setting, holding it above the hat). Shape the hat on a flat surface or a hat form. Pay special attention to the brim, gently curving it outward and ensuring it lies flat. Allow it to dry completely before wearing.
Blocking Tip: If you want a stiffer brim, you can use a mixture of water and a small amount of fabric stiffener or starch when blocking. This will help the brim hold its shape even on windy days.
Your Sunlit Dune Visor Hat Awaits
Congratulations! You've just completed your very own Sunlit Dune Visor Hat. This beautiful accessory is a testament to your skill and creativity. The combination of the warm Dune crown, the rich Terracotta brim, and the delicate Sage edging creates a piece that's both stylish and functional. Whether you're heading to the beach, exploring a new city, or simply enjoying a sunny afternoon in your garden, this hat will keep you shaded in comfort and style.
We'd love to see your finished creation! Share your photos on social media using the hashtag #SunlitDuneVisor and tag us so we can admire your work. Happy crocheting!