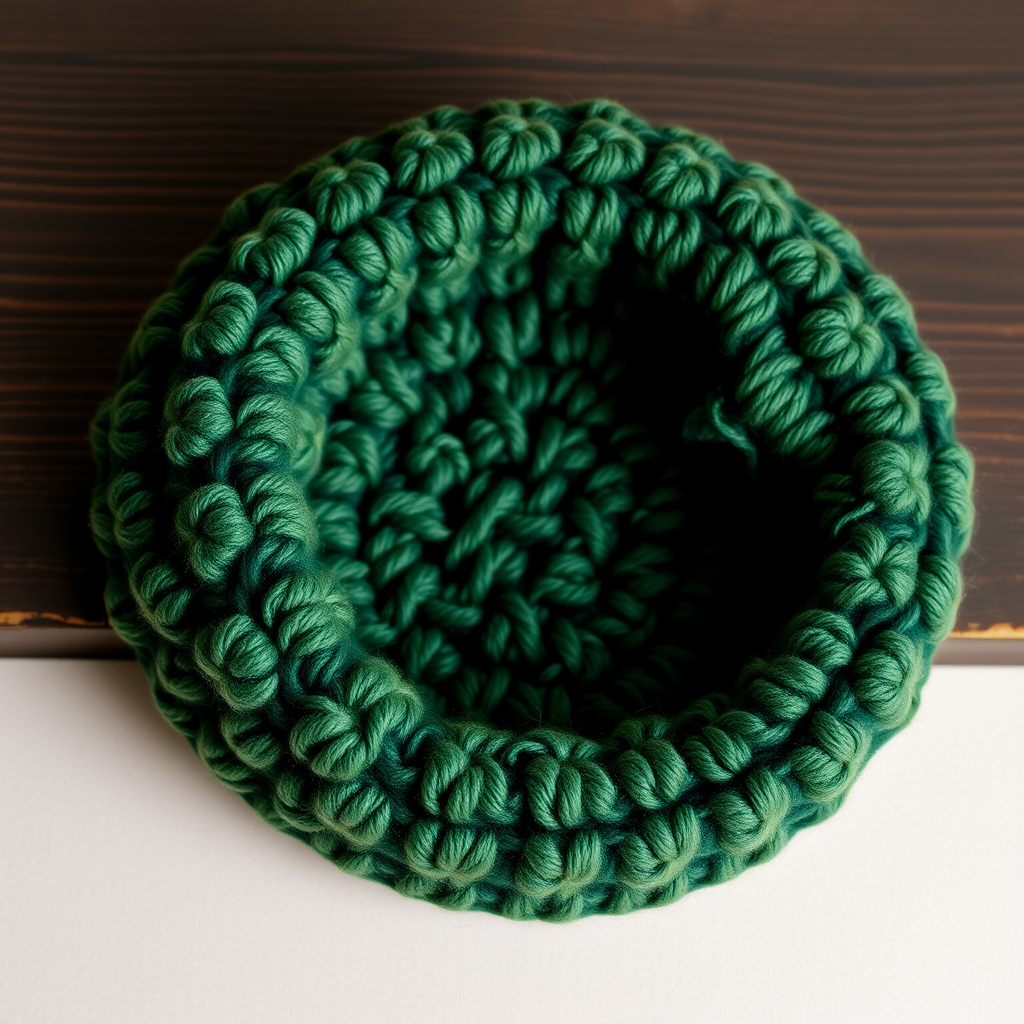
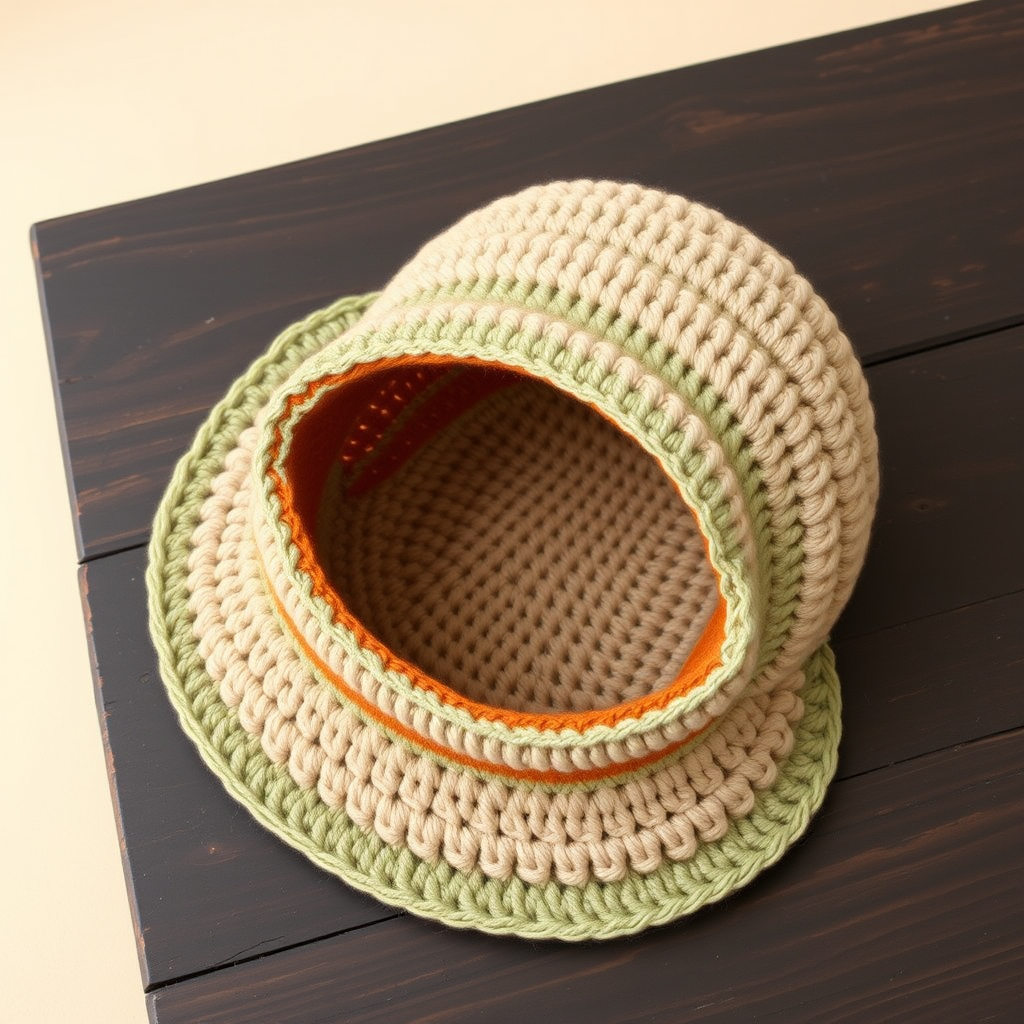
Emberglow Slouchy Beanie Free Pattern – Crochet a Cozy Ombre Cloud Hat

Emberglow Slouchy Beanie Free Pattern – Crochet a Cozy Ombre Cloud Hat
Wrap yourself in the warmth of a handcrafted ombre beanie that transitions from deep burgundy to soft blush, perfect for chilly days. This beginner-friendly pattern uses simple single crochet stitches to create a plush, slouchy fit that feels like a gentle hug. The Emberglow Slouchy Beanie is not just a hat—it's a wearable piece of art that showcases the beauty of color gradients while keeping you cozy all winter long.
Whether you're new to crochet or a seasoned maker looking for a quick weekend project, this pattern is designed with clarity and simplicity in mind. The continuous spiral rounds mean no visible seams, and the color changes are strategically placed to create a smooth, professional-looking ombre effect. Let's dive into this delightful project that will become your new favorite accessory!
Materials Needed
Before you begin, gather these simple supplies. The beauty of this pattern lies in its minimal requirements—just yarn, a hook, and a bit of patience!
Yarn
- Worsted weight yarn in 3 shades (approx 200g total):
- Color A: Deep Burgundy (for the brim and first section)
- Color B: Rust (for the middle transition)
- Color C: Blush Pink (for the crown and slouchy body)
Hook & Notions
- 5.5 mm (I-9) crochet hook
- Stitch marker (to mark the beginning of each round)
- Yarn needle (for weaving in ends)
- Scissors
Gauge
14 sc x 16 rows = 4 inches (10 cm) in single crochet. Be sure to check your gauge to ensure the perfect fit. If your gauge is off, adjust your hook size accordingly.
Step-by-Step Instructions
This pattern is worked in continuous spiral rounds, meaning you'll never join at the end of a round—just keep going! Use a stitch marker to keep track of where each round begins. The color changes are what create that gorgeous gradient effect, so follow along carefully.
Getting Started: The Foundation
Foundation: With Color A (Deep Burgundy), make a magic ring. If you're not familiar with the magic ring technique, it's a simple way to start a project in the round with no hole in the center. Insert your hook into the ring, yarn over, and pull through to create your first loop.
Round 1: The Beginning
Work 6 single crochet (sc) into the magic ring. Pull the tail tight to close the ring completely. You should now have 6 stitches. Place your stitch marker in the first stitch of this round. (6 sts)
Round 2: Doubling Up
Work 2 sc in each stitch around. This means you'll make two single crochets into every stitch from the previous round. This doubling increases your stitch count. (12 sts)
Round 3: Adding Evenly
Now we'll start the increase pattern: *Sc in next st, 2 sc in next st* repeat around. This means you'll single crochet once into the first stitch, then twice into the next stitch, and repeat this sequence all the way around. (18 sts)
Round 4: Continuing Increases
Follow the same logic: *Sc in next 2 sts, 2 sc in next st* repeat around. You're now single crocheting into two stitches, then doubling up in the third. (24 sts)
Round 5: Growing the Circle
Continue the pattern: *Sc in next 3 sts, 2 sc in next st* repeat around. (30 sts)
Round 6: More Growth
Keep going: *Sc in next 4 sts, 2 sc in next st* repeat around. (36 sts)
Round 7: Expanding Further
Almost there: *Sc in next 5 sts, 2 sc in next st* repeat around. (42 sts)
Round 8: Nearing Full Width
Continue: *Sc in next 6 sts, 2 sc in next st* repeat around. (48 sts)
Round 9: Almost Perfect Circle
Just a bit more: *Sc in next 7 sts, 2 sc in next st* repeat around. (54 sts)
Round 10: Full Circle Complete
Final increase round: *Sc in next 8 sts, 2 sc in next st* repeat around. (60 sts)
Your circle should now measure approximately 6-7 inches in diameter, which is perfect for an adult-sized beanie. If you need a smaller or larger hat, adjust the number of increase rounds accordingly.
Rounds 11-12: Straight Sides Begin
Now we stop increasing and work even: Sc in each stitch around for two rounds. This begins the sides of your beanie. (60 sts)
Color Change to B: The Rust Transition
In the last stitch of Round 12, you'll make the color change. Here's how: When you insert your hook into the last stitch and yarn over with Color A, pull through the loop, then yarn over with Color B (Rust) and pull through both loops on your hook to complete the single crochet. Cut Color A, leaving a tail to weave in later. This seamless color change creates a smooth transition.
Rounds 13-18: Rust Section
With Color B, sc in each stitch around for six rounds. This creates the beautiful middle section of your ombre effect. (60 sts)
Color Change to C: Blush Pink
Just like before, in the last stitch of Round 18, complete the single crochet with Color C (Blush Pink) and cut Color B. This transition from rust to blush will create that dreamy gradient.
Rounds 19-28: Blush Body
With Color C, sc in each stitch around for ten rounds. This is the main body of your slouchy beanie. (60 sts)
Rounds 29-32: Adding Slouch
Continue with Color C, sc in each stitch around for four more rounds. This extra length is what creates that relaxed, slouchy silhouette that drapes beautifully at the back of your head. (60 sts)
Decrease for Crown: Shaping the Top
Now we'll decrease to close the top of the beanie. The decreases are the reverse of our increases, creating a neat, rounded crown.
Round 33: First Decrease
*Sc in next 8 sts, sc2tog* repeat around. To sc2tog (single crochet two together): insert your hook into the next stitch, yarn over, pull through (2 loops on hook), insert into the next stitch, yarn over, pull through (3 loops on hook), yarn over, pull through all 3 loops. This decreases your stitch count by one. (54 sts)
Round 34: Continuing Decreases
*Sc in next 7 sts, sc2tog* repeat around. (48 sts)
Round 35: More Shaping
*Sc in next 6 sts, sc2tog* repeat around. (42 sts)
Round 36: Closing In
*Sc in next 5 sts, sc2tog* repeat around. (36 sts)
Round 37: Tighter Still
*Sc in next 4 sts, sc2tog* repeat around. (30 sts)
Round 38: Nearly Done
*Sc in next 3 sts, sc2tog* repeat around. (24 sts)
Round 39: Almost Closed
*Sc in next 2 sts, sc2tog* repeat around. (18 sts)
Round 40: Closing Fast
*Sc in next st, sc2tog* repeat around. (12 sts)
Round 41: Final Decrease
Sc2tog around – this means you'll work sc2tog in every pair of stitches. (6 sts)
Finishing Touches
Cut your yarn, leaving a long tail (about 8-10 inches). Thread the tail through a yarn needle, then weave it through the remaining 6 stitches. Pull tight to close the hole completely, and secure with a knot. Weave in all loose ends throughout the beanie, being careful to hide them within the stitches.
Creating the Brim
Fold up the bottom edge of your beanie—the first 10 rounds (the burgundy section)—to create a nice, thick brim. This folded brim adds warmth and structure to the hat. The natural curl of the fabric will help it stay in place.
Optional Embellishments
For an extra touch of charm, consider adding a faux fur pom-pom or a yarn pom-pom made from Color C (Blush Pink). A pom-pom adds a playful, finished look to your beanie. To make a yarn pom-pom, wrap yarn around a pom-pom maker or a piece of cardboard, tie it tightly in the middle, and trim the loops to create a fluffy ball. Attach it securely to the top of the beanie.
Tips for Perfect Results
- Keep your tension consistent: This is key to achieving an even fabric. Try to maintain the same tightness throughout your project.
- Use the stitch marker diligently: Since you're working in a spiral, it's easy to lose track of where rounds begin. Always move your marker up after completing each round.
- Weave in ends as you go: When you change colors, weave in the tails immediately to avoid a messy finish at the end.
- Block your beanie: If your beanie looks a bit uneven, gently steam block it to even out the stitches and set the shape.
Your Emberglow Slouchy Beanie is now complete! This cozy, stylish accessory is perfect for gifting or keeping for yourself. The ombre gradient from deep burgundy through rust to blush pink creates a stunning visual effect that will turn heads wherever you go. Enjoy the warmth and satisfaction of wearing something you made with your own hands!
Happy crocheting, and don't forget to share your beautiful creation with fellow crafters. This pattern is perfect for beginners looking to expand their skills and for experienced makers wanting a quick, satisfying project. The Emberglow Slouchy Beanie is more than just a hat—it's a statement piece that celebrates the art of handmade craftsmanship.