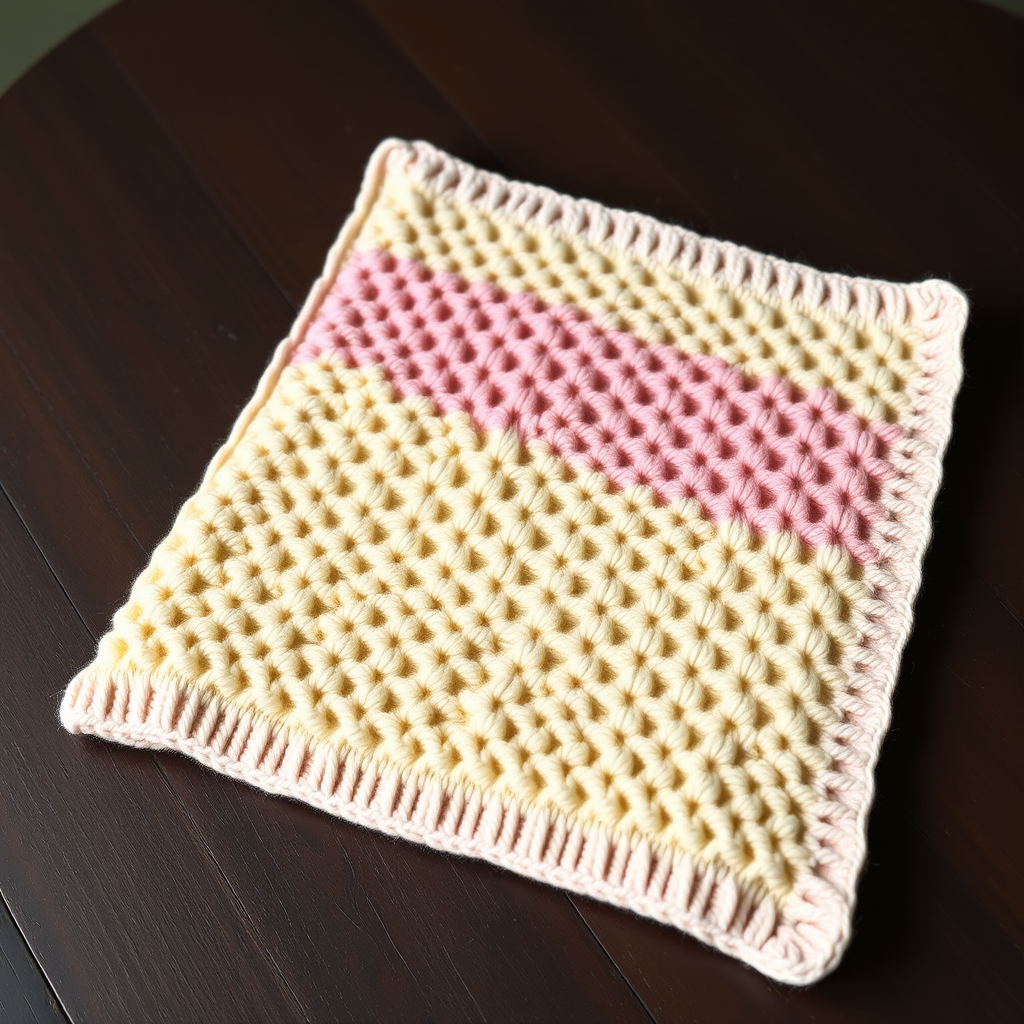
Heirloom Honeycomb Bobble Baby Blanket Free Pattern – Knit a Sweet Textured Cloud
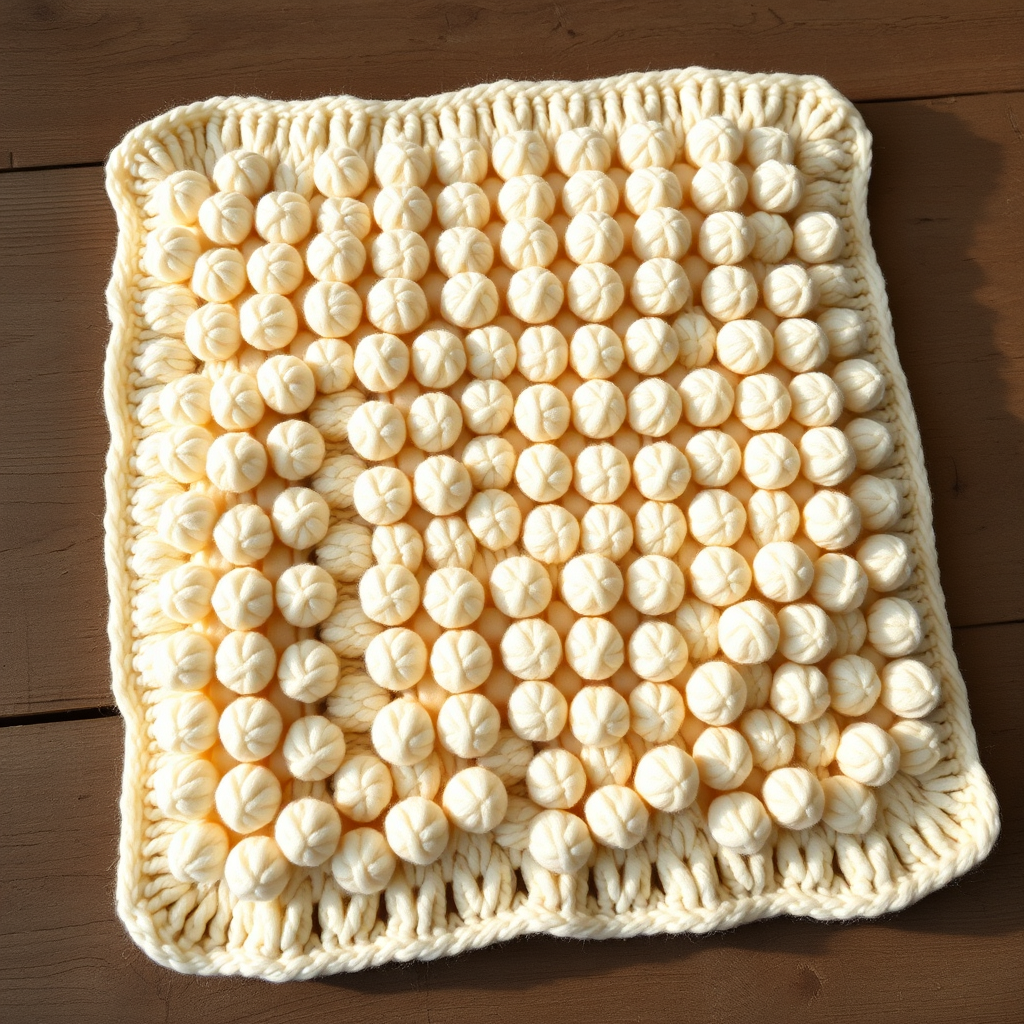
Heirloom Honeycomb Bobble Baby Blanket Free Pattern – Knit a Sweet Textured Cloud
There is something truly magical about wrapping a newborn in a handmade blanket—especially one that feels like a soft, squishy cloud. The Heirloom Honeycomb Bobble Baby Blanket is exactly that: a timeless, textured treasure that combines the charm of classic bobble stitches with the cozy warmth of cream-colored yarn. Whether you're knitting for your own little one, a grandchild, or as a heartfelt gift for a baby shower, this pattern is designed to be both beginner-friendly and deeply rewarding.
The all-over honeycomb bobble texture is surprisingly simple to knit. Once you master the "make bobble" (MB) technique, you'll find yourself in a soothing rhythm, watching the plump, raised bumps form a beautiful staggered grid. The result is a dense, tactile surface that babies adore—perfect for sensory play and snuggle time. Plus, the neat garter-stitch border frames the pattern beautifully, giving the blanket a polished, heirloom-quality finish.
In this comprehensive guide, I'll walk you through every step—from gathering your materials to binding off that final stitch. By the end, you'll have a gorgeous, 30" x 36" blanket that will be cherished for generations. Let's dive in!
Materials Needed
Before you begin, gather the following supplies. Having everything ready will make your knitting experience smooth and enjoyable.
Yarn
- Weight: Worsted weight (Category 4) cotton or cotton-blend yarn
- Color: Soft cream (or any light, neutral shade you prefer)
- Amount: Approximately 1200 yards (1097 meters)
Tip: Cotton yarn is ideal for baby blankets because it's breathable, durable, and gets softer with each wash. A cotton-blend with a touch of acrylic or bamboo adds extra squishiness.
Needles
- Size: US 7 (4.5 mm) knitting needles
- Type: Straight or circular (circular needles are great for holding many stitches comfortably)
Other Supplies
- Tapestry needle (for weaving in ends)
- Scissors
- Stitch markers (optional, but helpful for keeping track of pattern repeats)
- Blocking mats and pins (for finishing)
Gauge
18 stitches and 24 rows = 4 inches (10 cm) in stockinette stitch (after blocking).
Always knit a gauge swatch before starting! This ensures your blanket comes out the correct size. If your gauge is off, adjust your needle size accordingly.
Step-by-Step Instructions
Now, let's get to the fun part—knitting your blanket! Follow these detailed instructions carefully, and you'll have a beautiful heirloom piece in no time.
Finished Size
Approximately 30 inches (76 cm) wide by 36 inches (91 cm) long.
Abbreviations
- k = knit
- p = purl
- k2tog = knit two together
- yo = yarn over
- MB = make bobble (k1, p1, k1, p1, k1) into same stitch, then pass the 2nd, 3rd, 4th, and 5th stitches over the 1st stitch – one bobble made.
Pattern Notes
- The blanket is worked flat in one piece.
- The bobble pattern is a multiple of 6 + 2 stitches.
- Always slip the first stitch of each row knitwise for a neat edge.
Cast On
Loosely cast on 128 stitches. Using a stretchy cast-on method (like the long-tail or knitted cast-on) will ensure your edge isn't too tight.
Border (Worked in Garter Stitch)
Rows 1–8: Knit all stitches.
This creates a lovely, ridged border that frames the bobble pattern beautifully.
Body Pattern
Now, you'll begin the honeycomb bobble pattern. Remember to slip the first stitch of every row knitwise for a clean edge.
Row 1 (RS): K1 (edge), *k2, MB, k3*, repeat from * to * until 1 stitch remains, k1 (edge).
Explanation: You'll knit 2 stitches, then make a bobble in the next stitch, then knit 3 stitches. Repeat this sequence across the row, ending with your edge stitch.
Row 2 (WS): K1 (edge), purl all stitches, k1 (edge).
Explanation: This row is worked in purl stitch, which helps the bobbles pop forward on the right side.
Row 3 (RS): K1 (edge), *k5, MB*, repeat from * to * until 1 stitch remains, k1 (edge).
Explanation: This row staggers the bobbles. You'll knit 5 stitches, then make a bobble in the next stitch. This offset creates the honeycomb effect.
Row 4 (WS): K1 (edge), purl all stitches, k1 (edge).
Row 5 (RS): K1 (edge), *k2, MB, k3*, repeat from * to * until 1 stitch remains, k1 (edge).
Explanation: This repeats Row 1, aligning the bobbles vertically.
Row 6 (WS): K1 (edge), purl all stitches, k1 (edge).
Row 7 (RS): K1 (edge), *k5, MB*, repeat from * to * until 1 stitch remains, k1 (edge).
Explanation: This repeats Row 3, completing the staggered pattern.
Row 8 (WS): K1 (edge), purl all stitches, k1 (edge).
Repeat Rows 1–8 until the blanket measures approximately 32 inches (81 cm) from the cast-on edge, ending with a Row 8 (a wrong-side row).
Border (Worked in Garter Stitch)
Rows 1–8: Knit all stitches.
This mirrors the bottom border, creating a symmetrical frame around your beautiful bobble pattern.
Bind Off
Bind off all stitches loosely. To keep the edge stretchy, you can use a larger needle (e.g., US 8 or 9) for the bind-off row, or use a stretchy bind-off method like the "Jeny's Surprisingly Stretchy Bind-Off."
Finishing
- Weave in all ends with a tapestry needle. Be sure to weave them in securely on the wrong side of the blanket.
- Block the blanket gently to even out the bobbles and open up the stitch pattern. Soak the blanket in lukewarm water with a mild wool wash, gently squeeze out excess water (never wring), and lay flat on blocking mats. Pin the edges to the desired dimensions (30" x 36") and allow to dry completely.
- Lay flat to dry. Once dry, your blanket is ready to be gifted or enjoyed!
Tips for Perfect Bobbles
- Keep tension even: When making a bobble, don't pull the yarn too tight, or the bobble will be difficult to form. Relax your hands and let the stitches sit naturally.
- Count your stitches: The pattern is a multiple of 6 + 2. With 128 stitches, you'll have 21 full repeats plus 2 edge stitches. If you lose count, just check that your bobbles are aligning in the staggered honeycomb pattern.
- Use stitch markers: Place a marker every 6 stitches (after the first edge stitch) to help you keep track of your repeats, especially if you're new to bobble patterns.
Why You'll Love This Pattern
This blanket is more than just a knitting project—it's a labor of love. The honeycomb bobble texture is visually stunning and incredibly tactile, making it a sensory delight for babies. The cream color is timeless and versatile, fitting seamlessly into any nursery decor. And because it's made with durable cotton yarn, it can be washed and used again and again, becoming softer and more cherished with every snuggle.
Whether you're a seasoned knitter looking for a satisfying project or a beginner ready to learn the bobble stitch, this pattern is perfect. The repetitive nature of the rows is meditative, and the end result is a stunning heirloom piece that will be passed down for generations.
So grab your yarn and needles, pour yourself a cup of tea, and let's knit a cloud of honeycomb bobbles for that special little one in your life. Happy knitting!