Poncho Knitting Patterns
Bindi Blossom Poncho Free Pattern
Anonymous
•
July 18, 2026
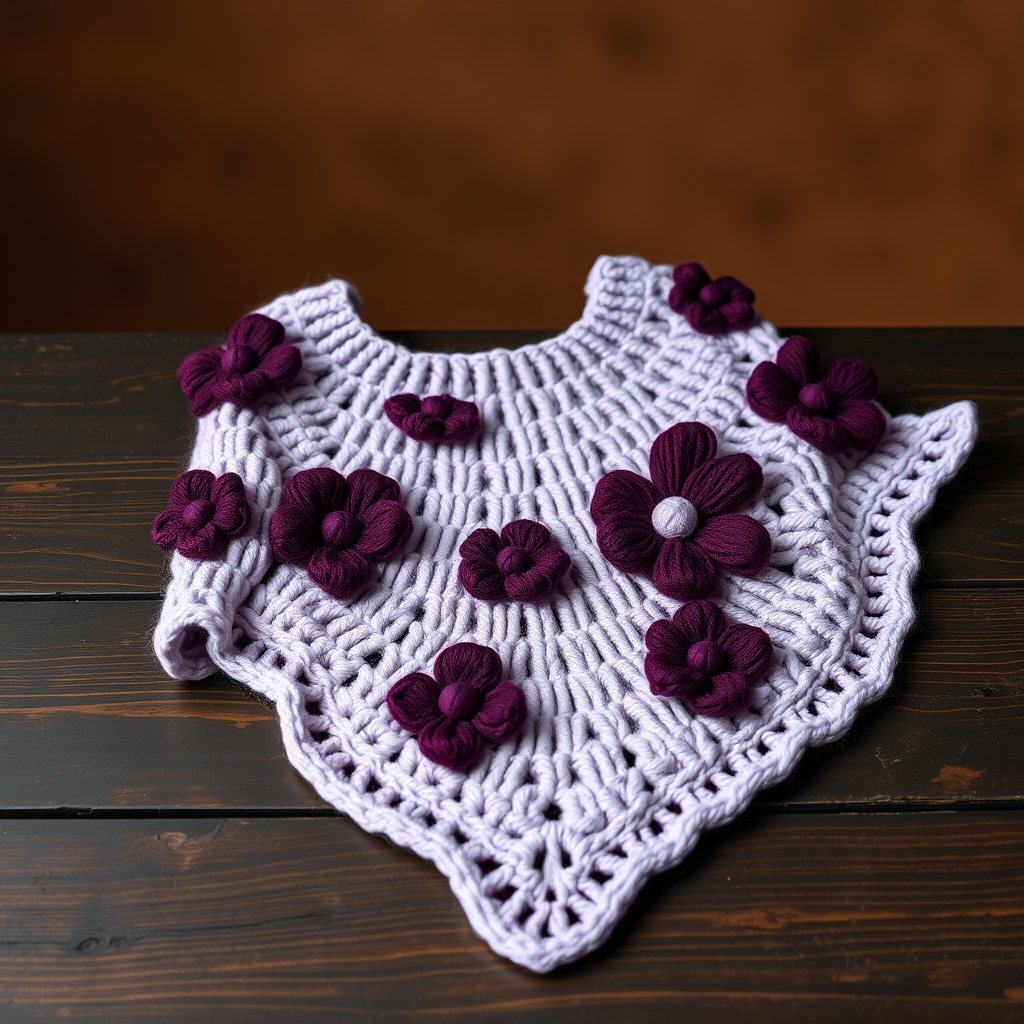
Bindi Blossom Poncho Free Pattern
Introduction
Embrace the elegance of nature with the Bindi Blossom Poncho, a stunning knitted piece that combines intricate floral motifs with a flowing silhouette. Perfect for adding a touch of sophistication to any outfit, this cozy poncho will keep you warm while making a stylish statement. Whether you're a beginner or an experienced knitter, this free pattern will guide you step-by-step to create your own beautiful poncho.
Materials Needed
- Yarn: Worsted weight yarn in soft lavender and deep plum
- Needles: US 9 (5.5mm) knitting needles
- Gauge: 18 stitches and 24 rows = 4 inches in stockinette stitch
Step-by-Step Instructions
- Cast On: Begin by using the long-tail cast-on method to cast on 120 stitches onto your US 9 knitting needles. Ensure your stitches are not too tight to allow for easy knitting.
- Create the Border: Work in garter stitch (knit every row) for 4 inches. This will create a nice, textured border at the bottom of your poncho.
- Switch to Stockinette Stitch: After completing the border, switch to stockinette stitch. To do this, knit one row and then purl the next row. Continue alternating these rows until your piece measures 20 inches from the cast-on edge.
- Begin Floral Motif Section: Now it’s time to add the beautiful floral motifs. Follow the chart provided for the blossom pattern. Repeat the motif across the row, ensuring that you maintain the correct stitch count.
- Continue in Pattern: Keep working in the floral motif pattern until your piece measures 36 inches from the cast-on edge. Make sure to check your measurements carefully to ensure a perfect fit.
- Create the Top Border: Once you reach the desired length, work another 4 inches in garter stitch for the top border, just like you did at the bottom.
- Bind Off: Bind off your stitches loosely to ensure that the edge of your poncho remains flexible and comfortable to wear.
- Seam the Sides: Fold the poncho in half lengthwise. Seam the sides together, leaving a 12-inch opening at the top for the neck. Make sure your seams are secure but not too tight.
- Weave in Ends: Finally, take the time to weave in all loose ends using a tapestry needle. This will give your poncho a clean finish and ensure that no yarn ends are visible.
Congratulations! You have now completed your Bindi Blossom Poncho. Enjoy wearing your beautiful, handmade creation that adds a touch of elegance and coziness to your wardrobe!