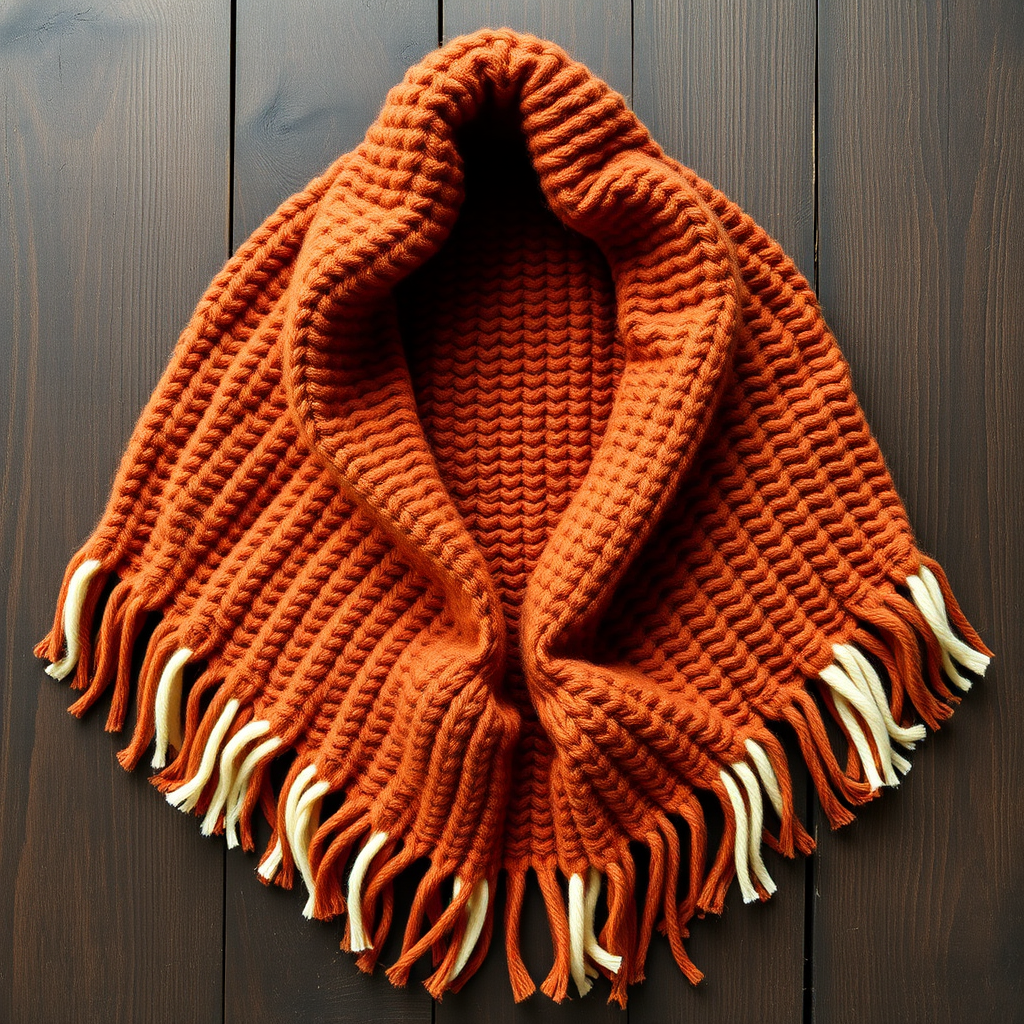
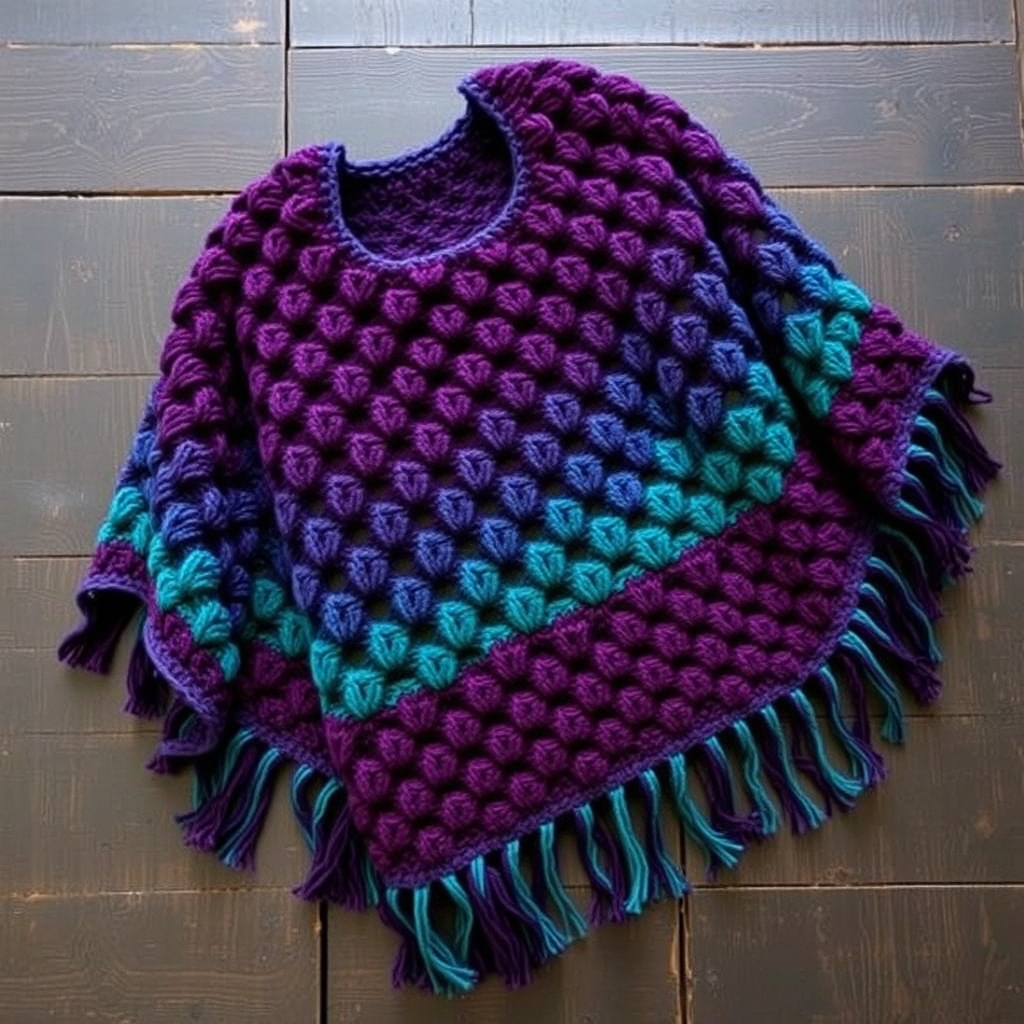
Bubble Gum Cloud Poncho Free Pattern – Knit a Marshmallow Dream Wrap

Wrap Yourself in a Marshmallow Dream: The Bubble Gum Cloud Poncho
Imagine wrapping yourself in a fluffy, pastel dream on a chilly evening. That's exactly what you'll create with this Bubble Gum Cloud Poncho—an oversized, cloud-soft wrap knitted in a delicate bubble lace stitch. This pattern is perfect for beginners who want to tackle something beautiful yet achievable, and the result is a stunning, cozy layer that feels like a warm hug. The airy lace texture and dreamy pink hue make it a standout piece for lazy weekends or stylish layering. Let's dive into creating your very own marshmallow dream wrap!
Materials Needed: Gather Your Cloud-Making Supplies
Before you begin, ensure you have everything ready. This project uses simple, bulky yarn and a large needle, making it quick to knit up.
- Yarn: Lion Brand Scarfie (or any bulky weight yarn) in 'Cupcake' (pink) – 3 skeins (approx. 600g / 900m). The gradient effect of Scarfie yarn adds a beautiful, subtle color shift.
- Needles: US 10.5 (6.5mm) circular knitting needles with a 32-inch cable. The long cable is essential for holding all your stitches comfortably.
- Gauge: 14 stitches and 20 rows = 4 inches in stockinette stitch (after blocking). Tip: Always knit a swatch to ensure your gauge matches, so your poncho drapes perfectly.
- Extras: A tapestry needle for seaming and weaving in ends, scissors, and a crochet hook (optional, for adding fringe).
Step-by-Step Instructions: Knit Your Cloud Poncho
This poncho is knitted flat in two identical rectangles, then seamed at the shoulders. The bubble lace pattern is simple to memorize and creates a beautiful, airy texture. Follow these detailed instructions carefully, and you'll have a gorgeous poncho in no time.
Abbreviations
- CO: Cast on
- K: Knit
- P: Purl
- Yo: Yarn over
- K2tog: Knit two together (right-leaning decrease)
- SSK: Slip, slip, knit (left-leaning decrease)
- Rep: Repeat
- St(s): Stitch(es)
The Bubble Lace Pattern (Multiple of 6 + 2)
This 8-row repeat is the heart of your poncho. It's surprisingly simple once you get into the rhythm. The yarn overs create the airy holes, while the decreases form the subtle "bubble" texture.
- Row 1 (RS): K2, *yo, SSK, K2, K2tog, yo, K2*; rep from * to end.
- Row 2 (WS): Purl all sts.
- Row 3: K1, *yo, SSK, K2, K2tog, yo, K2*; rep from * to last st, K1.
- Row 4: Purl all sts.
- Row 5: K2, *K2tog, yo, K2, yo, SSK, K2*; rep from * to end.
- Row 6: Purl all sts.
- Row 7: K1, *K2tog, yo, K2, yo, SSK, K2*; rep from * to last st, K1.
- Row 8: Purl all sts.
Note: The pattern shifts by one stitch on Rows 3 and 7 to create the staggered bubble effect. Pay close attention to the starting K1 or K2.
Rectangle 1 (Make 2)
Follow these steps to create the first of two identical panels. The garter stitch borders prevent curling and give a neat finish.
- Cast On: CO 74 sts.
- Bottom Border: Knit 4 rows in garter stitch (knit every row). This creates a sturdy, non-curling edge.
- Main Body: Begin the Bubble Lace Pattern. Work Rows 1-8 of the pattern repeatedly until the piece measures 24 inches from the cast-on edge. Important: Always end with a Row 8 (a purl row) to ensure the pattern is aligned for the top border.
- Top Border: Knit 4 rows in garter stitch for the top edge. This will form part of the neckline.
- Bind Off: Bind off loosely in knit. Tip: Use a larger needle or a stretchy bind-off method to keep the edge flexible.
Repeat the entire process to create Rectangle 2.
Finishing: Seaming Your Poncho
Now it's time to transform your two rectangles into a wearable poncho. This seaming technique is simple and creates a clean, professional look.
- Lay Out Your Pieces: Lay both rectangles flat with the right sides facing up. Place them side by side so the long edges are vertical. The top edges (with the garter stitch border) will be the neckline.
- Seam the Shoulders: Using a tapestry needle and a length of yarn, seam the top 8 inches of the two rectangles together, starting from the top edge and working downwards. Use a mattress stitch or a simple whip stitch. This creates the shoulder seam and leaves a 16-inch opening in the center for your neck.
- Weave in Ends: Carefully weave in all loose yarn ends with your tapestry needle to secure them.
- Blocking: This step is crucial! Gently wet-block your poncho to open up the lace pattern and even out the stitches. Lay it flat to dry, shaping it to your desired dimensions. Blocking will transform your knitting from "homemade" to "handmade."
Optional: Add Boho Fringe
For extra flair, add a simple fringe to the bottom edges. Cut 12-inch strands of yarn, fold each in half, and pull the loop through the edge stitches using a crochet hook. Pull the ends through the loop and tighten. Trim the fringe evenly for a polished look.
And there you have it—your very own Bubble Gum Cloud Poncho! This dreamy, cozy wrap is perfect for snuggling up or adding a touch of handmade charm to any outfit. Enjoy your new favorite piece!