Amber Leaf Cascade Poncho Free Knitting Pattern – Textured Autumn Layers

Embrace Autumn with the Amber Leaf Cascade Poncho
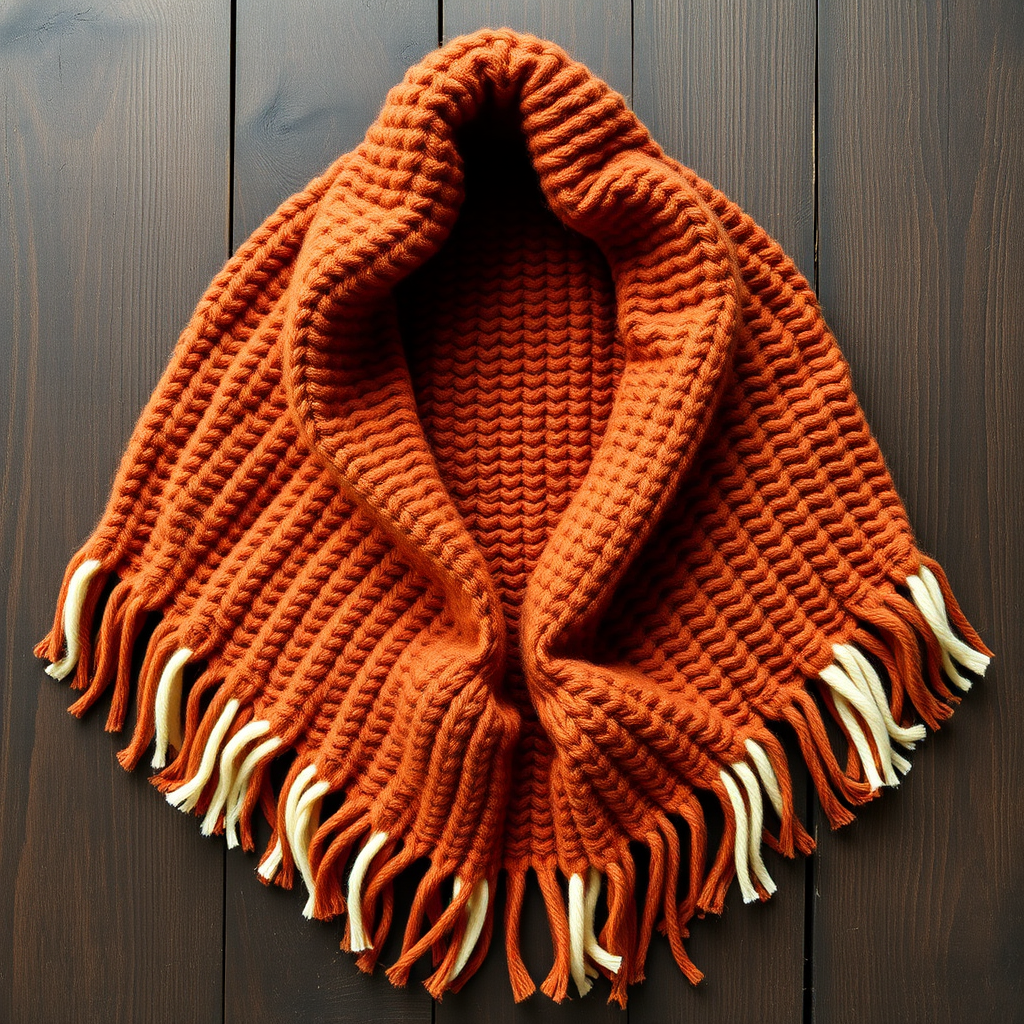
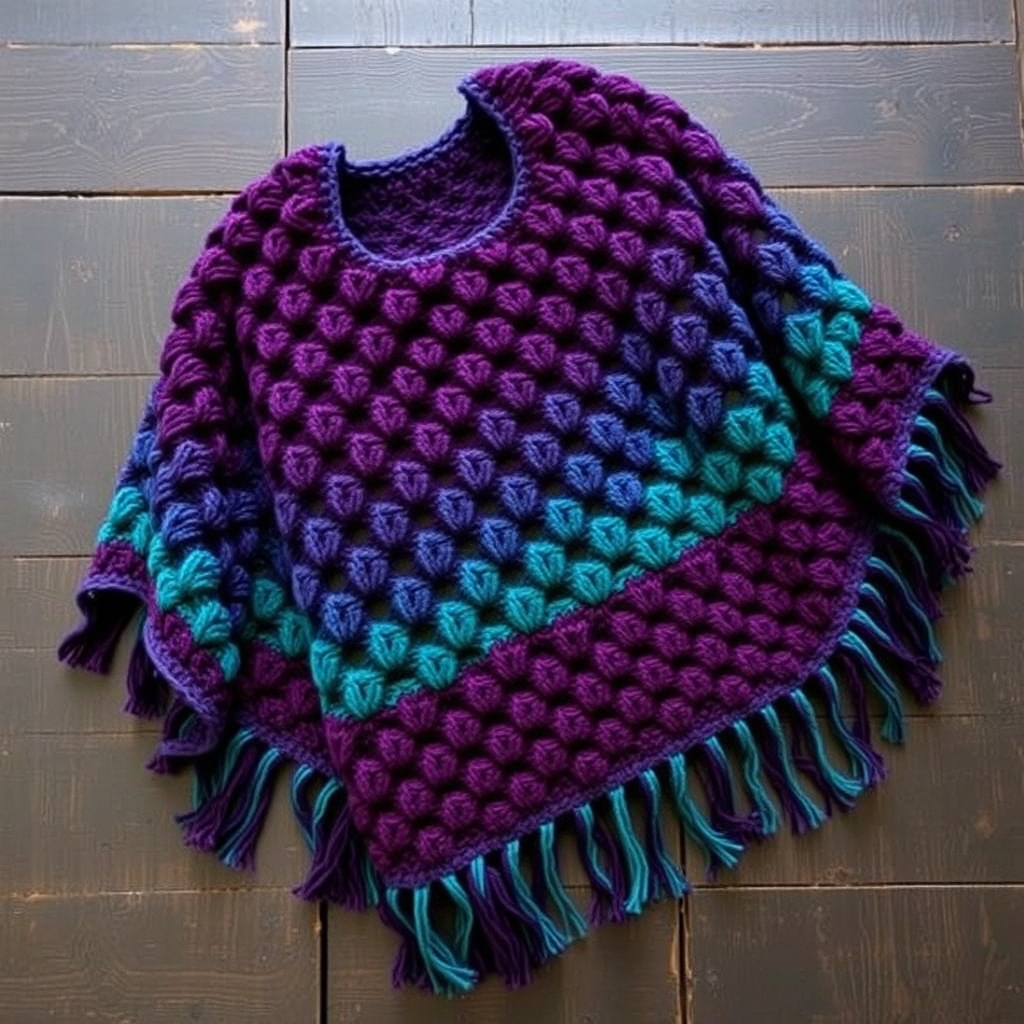
As the air turns crisp and the leaves begin their vibrant dance, there's no better time to wrap yourself in a handmade treasure. The Amber Leaf Cascade Poncho is more than just a knitting project; it's a wearable piece of autumn art. This free knitting pattern guides you through creating a uniquely textured poncho featuring a cascading leaf motif that transitions beautifully from rich amber gold to deep, moody burgundy.
Knitted flat in two identical panels using soft, chunky worsted weight yarn, this pattern is surprisingly approachable. It combines rustic charm with a modern, relaxed silhouette, making it a statement layer for any fall wardrobe. Whether you're a seasoned knitter looking for a rhythmic, meditative project or a confident beginner ready for a rewarding challenge, this poncho is the perfect companion for cozy evenings and crisp morning strolls.
Materials Needed
Before you begin, gather your supplies. This project is all about the rich, warm palette, so choose yarns that make your heart sing with autumnal joy.
- Yarn: Worsted weight yarn in 3 colors:
- Color A (Amber Gold): Approx. 200g
- Color B (Burnt Orange): Approx. 200g
- Color C (Deep Burgundy): Approx. 200g
- Needles: US 9 (5.5mm) circular knitting needles, 24-inch length (or size needed to obtain gauge).
- Notions: Stitch markers, tapestry needle for weaving in ends, scissors.
Gauge: 18 stitches and 24 rows = 4 inches in stockinette stitch. Always take time to check your gauge to ensure your poncho drapes perfectly.
Step-by-Step Instructions
This poncho is knitted flat in two identical panels, then seamed at the shoulders and sides, leaving openings for the arms. Each panel features a repeating leaf lace pattern that cascades diagonally, creating a sense of movement and depth.
Panel (Make 2)
Cast On: With Color A, cast on 80 stitches.
Rows 1-4: Work in garter stitch (knit every row) for a neat, sturdy edge.
Row 5 (Right Side): Switch to Color B. Knit 4 stitches (garter border), place marker, then begin the leaf pattern: *K1, yo, k2tog, k3, yo, k2tog, k1, yo, k2tog, k3, yo, k2tog, k1* – repeat from * to * until 4 stitches remain, knit 4.
Row 6 (Wrong Side): Knit 4, purl until 4 stitches remain, knit 4. (This maintains the garter border while working the body in stockinette.)
Rows 7-18: Continue in the leaf pattern, working the yarn overs (yo) and decreases (k2tog) as established to create the leaf shape. On Row 12, switch to Color C for the center of the leaf to add a beautiful depth of color, then switch back to Color B on Row 16.
Row 19: Switch to Color C entirely. Knit 4, then work the leaf pattern in reverse (mirror image) for the next 72 stitches, knit 4. (To mirror, you will work the pattern from the end to the beginning, creating a symmetrical leaf.)
Rows 20-30: Continue in the reverse leaf pattern, maintaining the garter stitch borders on each side.
Row 31: Switch to Color A. Knit 4, then work in stockinette stitch (knit on right side, purl on wrong side) for the next 72 stitches, knit 4. Continue in stockinette with garter borders for 20 rows (through Row 50).
Row 51: Begin the second leaf cascade. Switch to Color B and repeat Rows 5-30, but this time start the leaf pattern 8 stitches in from the border to create a staggered, cascading effect.
Row 81: Switch to Color A and work in stockinette with garter borders for 20 rows (through Row 100).
Row 101: Switch to Color C and work the leaf pattern again, this time starting 16 stitches in from the border for a further staggered effect.
Row 131: Switch to Color A and work in stockinette for 10 rows (through Row 140).
Row 141: Work in garter stitch for 4 rows, then bind off loosely. (A loose bind-off ensures the bottom edge retains its stretch.)
Finishing
- Blocking: Block both panels to the same measurements (approx. 20 inches wide by 30 inches long). This is crucial for even seams and a professional finish.
- Shoulder Seams: Place panels together with right sides facing. Sew the shoulder seams for 4 inches from the top edge on each side, leaving the center 12 inches open for the neck.
- Side Seams: Sew the side seams from the bottom up for 10 inches, leaving the top 20 inches open for armholes.
- Neck Edging: Turn the poncho right side out. Pick up stitches around the neck edge and work 4 rounds of garter stitch in Color A, then bind off. (This creates a clean, sturdy neckline.)
- Weave in Ends: Weave in all loose ends securely with a tapestry needle.
- Optional Fringe: For an extra touch of rustic charm, add a simple fringe along the bottom edge using all three colors, alternating them for a playful, textured look.
Once finished, your Amber Leaf Cascade Poncho will be a stunning, cozy addition to your autumn wardrobe. The textured leaf lace, combined with the rich color transitions, creates a garment that is both visually striking and incredibly comfortable. Enjoy the process, and happy knitting!