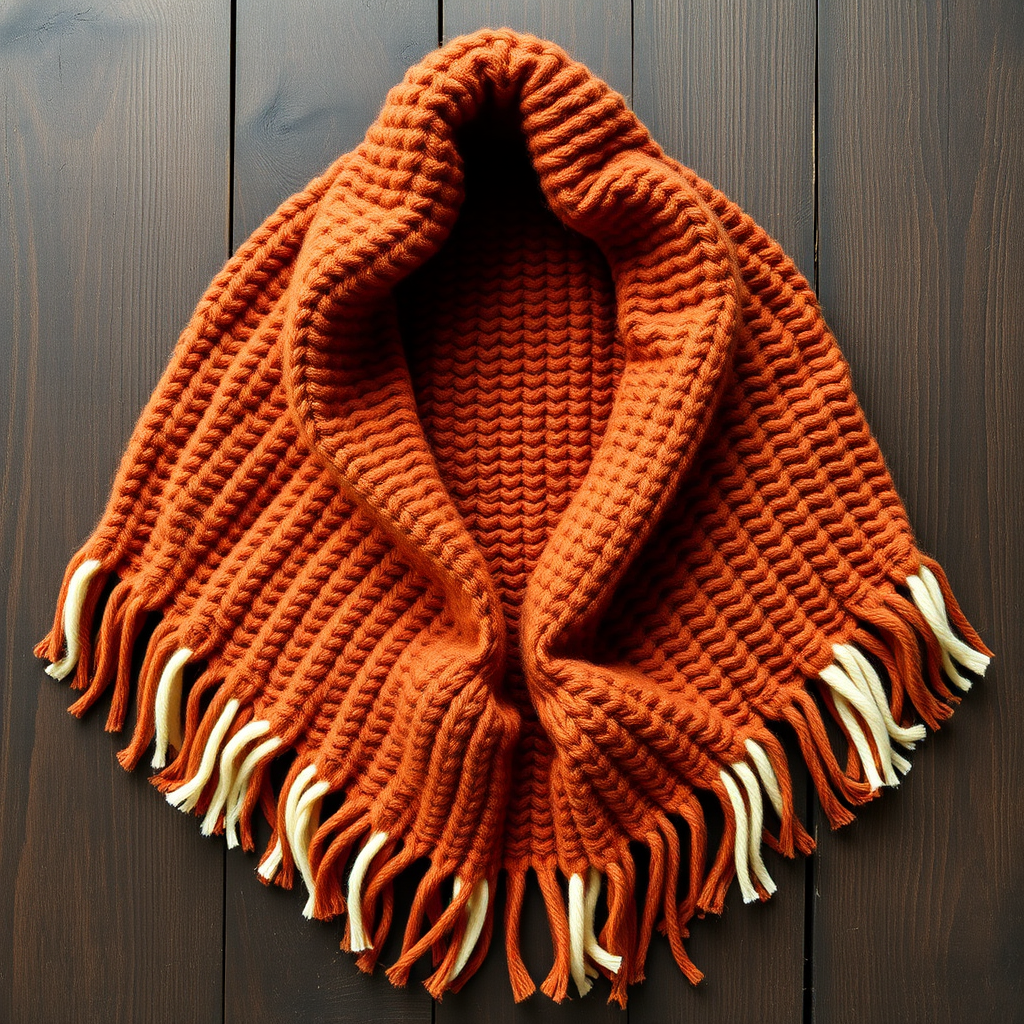
Regal Cascade Poncho Free Pattern – A Knitted Diamond Lattice Wrap
Regal Cascade Poncho Free Pattern – A Knitted Diamond Lattice Wrap
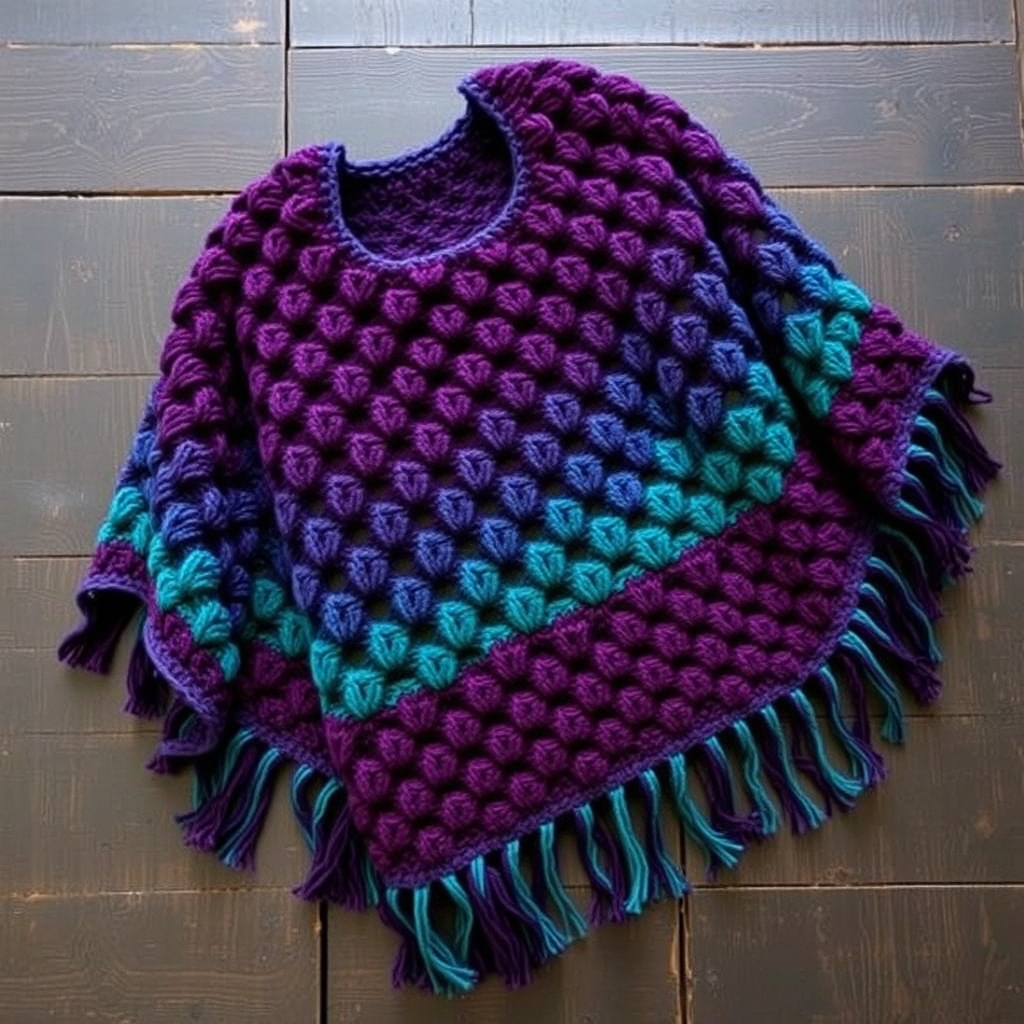
Wrap yourself in the timeless elegance of a diamond lattice poncho, crafted with a rich jewel-toned palette and luxurious texture. This free pattern guides you through creating a regal, cozy garment that turns every outfit into a statement. The striking diamond lattice stitch pattern creates a textured, woven appearance that is both sophisticated and inviting, while the deep amethyst, sapphire blue, and emerald green color bands add a touch of royal flair. Whether you're a seasoned knitter or a confident beginner, this pattern is designed to be accessible and rewarding, resulting in a flowing, cozy wrap that drapes beautifully over the shoulders.
Materials Needed
Before you begin, gather the following materials to ensure a smooth and enjoyable knitting experience:
- Yarn: Worsted weight yarn in three colors:
- Deep Amethyst (MC) – approximately 800g
- Sapphire Blue (CC1) – approximately 300g
- Emerald Green (CC2) – approximately 300g
- Needles: US 9 (5.5mm) circular knitting needles, 32-inch cable (or straight needles if preferred)
- Notions: Stitch markers (at least 2), tapestry needle for weaving in ends
- Gauge: 18 stitches and 24 rows = 4 inches in stockinette stitch. Always check your gauge to ensure correct sizing.
Step-by-Step Instructions
This poncho is knitted flat in two identical panels, then seamed at the shoulders. Each panel features a central diamond lattice motif flanked by garter stitch borders. Follow these detailed instructions carefully to create your Regal Cascade Poncho.
Panel 1 (Make 2)
Cast On
With MC (Deep Amethyst), cast on 80 stitches using your preferred method (long-tail cast on works well).
Border
Work 6 rows in garter stitch (knit every row). This creates a neat, sturdy edge for your poncho.
Set Up Row (Right Side)
K6 (garter border), place marker, work Row 1 of Diamond Lattice Chart over the next 68 stitches, place marker, K6 (garter border). This establishes your pattern repeat with a 6-stitch garter border on each side.
Diamond Lattice Chart (worked over 68 stitches)
The diamond lattice pattern is created by alternating knit and purl stitches in a specific sequence. Follow the rows below carefully, repeating the sequence within the asterisks across the 68 stitches between your markers.
- Row 1 (RS): *K1, P1* repeat from * to * across 68 stitches.
- Row 2 (WS): *P1, K1* repeat from * to * across 68 stitches.
- Row 3: *K2, P2* repeat from * to * across 68 stitches.
- Row 4: *P2, K2* repeat from * to * across 68 stitches.
- Row 5: *K3, P3* repeat from * to * across 68 stitches.
- Row 6: *P3, K3* repeat from * to * across 68 stitches.
- Row 7: *K4, P4* repeat from * to * across 68 stitches.
- Row 8: *P4, K4* repeat from * to * across 68 stitches.
- Row 9: *K5, P5* repeat from * to * across 68 stitches.
- Row 10: *P5, K5* repeat from * to * across 68 stitches.
- Row 11: *K6, P6* repeat from * to * across 68 stitches.
- Row 12: *P6, K6* repeat from * to * across 68 stitches.
- Row 13: *K7, P7* repeat from * to * across 68 stitches.
- Row 14: *P7, K7* repeat from * to * across 68 stitches.
- Row 15: *K6, P6* repeat from * to * across 68 stitches.
- Row 16: *P6, K6* repeat from * to * across 68 stitches.
- Row 17: *K5, P5* repeat from * to * across 68 stitches.
- Row 18: *P5, K5* repeat from * to * across 68 stitches.
- Row 19: *K4, P4* repeat from * to * across 68 stitches.
- Row 20: *P4, K4* repeat from * to * across 68 stitches.
- Row 21: *K3, P3* repeat from * to * across 68 stitches.
- Row 22: *P3, K3* repeat from * to * across 68 stitches.
- Row 23: *K2, P2* repeat from * to * across 68 stitches.
- Row 24: *P2, K2* repeat from * to * across 68 stitches.
- Row 25: *K1, P1* repeat from * to * across 68 stitches.
- Row 26: *P1, K1* repeat from * to * across 68 stitches.
Repeat Rows 1-26 for the diamond lattice pattern. Continue working in pattern until the piece measures 22 inches from the cast-on edge, ending with a wrong side row. Tip: Place a removable stitch marker or a piece of contrasting yarn at the 22-inch mark to help you track your progress.
Color Blocking
To achieve the beautiful jewel-tone striping, follow this color sequence:
- Work the first 8 inches in MC (Deep Amethyst).
- Work the next 6 inches in CC1 (Sapphire Blue).
- Work the next 4 inches in CC2 (Emerald Green).
- Work the last 4 inches in MC (Deep Amethyst).
When changing colors, do so at the beginning of a right side row for a clean, crisp color transition. Weave in ends as you go or leave them for the finishing stage.
Neck Shaping
At 22 inches, begin neck shaping. On the next right side row, work across 30 stitches, bind off the center 20 stitches, then work to the end of the row. You will now have two separate sections for the shoulders.
Continue working each side separately. On each right side row, decrease 1 stitch at the neck edge (the edge closest to the bound-off stitches) 4 times. This will shape a gentle curve for the neck opening.
Work even (without decreases) until the panel measures 26 inches from the cast-on edge. Bind off all stitches loosely. Tip: Use a larger needle or a loose bind-off method to prevent the edge from being too tight.
Repeat for Panel 2
Make a second panel identically to the first. Ensure both panels are the same size and shape before proceeding.
Finishing
With right sides together, sew the shoulder seams from the outer edge inward for 6 inches on each side, leaving the center 14 inches open for the neck. Use a mattress stitch or a whip stitch for a secure, invisible seam.
Weave in all loose ends using a tapestry needle, being careful to secure them neatly on the wrong side of the fabric.
Block gently to the specified measurements. This will even out the stitches and enhance the diamond lattice texture. Lay flat to dry.
Optional Fringe
Add a touch of bohemian flair with optional fringe:
- Cut 12-inch lengths of MC, CC1, and CC2 yarn.
- Fold each length in half, pull the folded loop through an edge stitch along the bottom edge of the poncho, and pull the ends through the loop to secure.
- Alternate colors every 2 inches along the bottom edge for a playful, colorful finish.
Your Regal Cascade Poncho is now complete! Enjoy the luxurious texture and rich colors as you drape it over your shoulders for a cozy, elegant look. This pattern is perfect for gifting or for treating yourself to a handmade masterpiece.