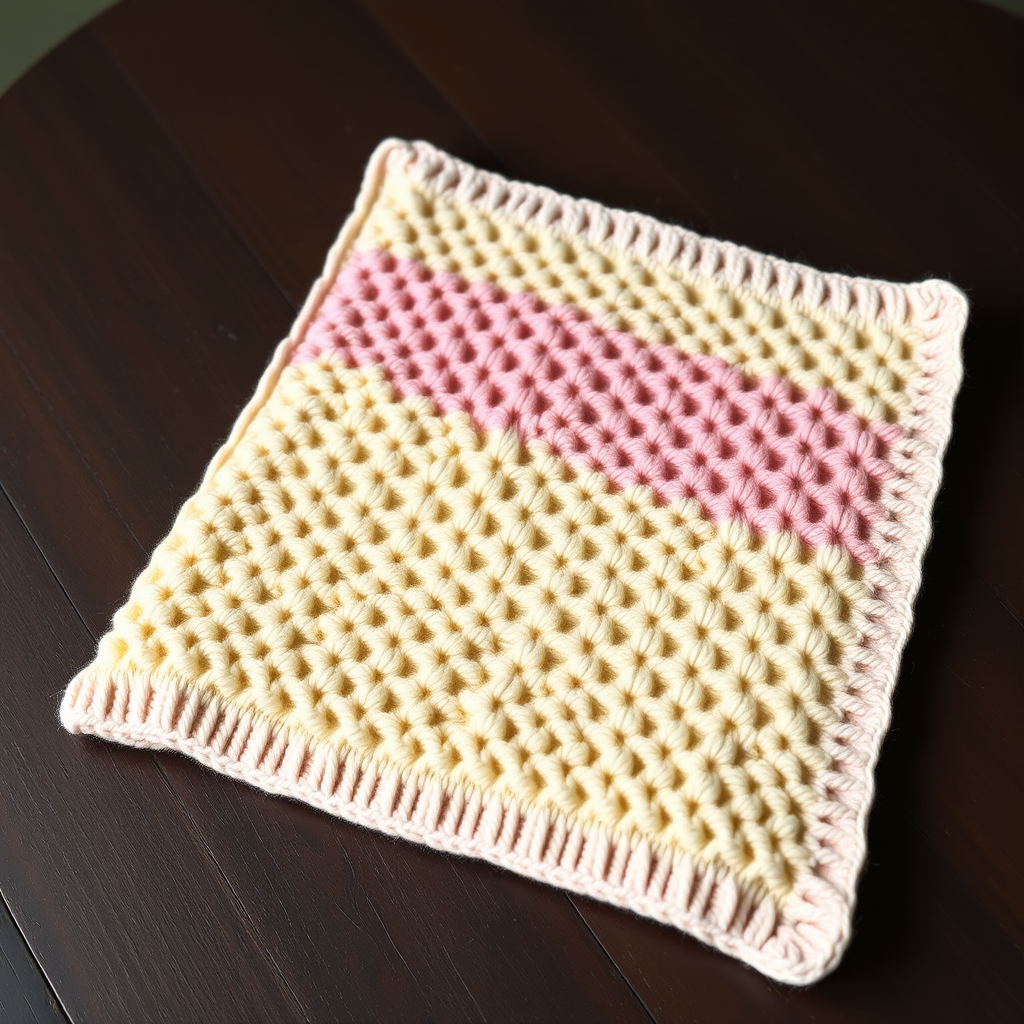
Aurora Skies Ribbed Baby Blanket Free Pattern – A Knitted Lullaby of Twilight Stripes and Cloud-Soft Ribs

Wrap Your Little One in Twilight: Introducing the Aurora Skies Ribbed Baby Blanket
There is something truly magical about creating a handmade heirloom for a new arrival. The Aurora Skies Ribbed Baby Blanket is more than just a piece of nursery decor; it is a knitted lullaby. This pattern captures the serene, gradient beauty of a twilight sky—soft dusk blues, misty lavenders, and cloud whites—translated into a deeply textured, plush fabric that is as comforting to knit as it is to cuddle.
Designed with the beginner in mind, this project is a meditative exercise in repetition. Using a simple 2x2 rib stitch, you will create a stretchy, squishy, and dimensionally rich blanket that looks far more complex than it actually is. The rhythmic color changes mimic the layers of an aurora, making this a joyful and rewarding project that results in a stunning, heirloom-quality piece perfect for baby showers, newborn photography, or simply cozying up in a nursery glider.
Let’s dive into the pattern and knit a piece of the sky for your little star.
Materials Needed: Gathering Your Cloud Kit
Before you cast on, ensure you have the right tools and yarn to make this project smooth sailing. The beauty of this pattern is its simplicity, but the quality of your materials will shine through in the final drape and texture.
Yarn & Colors
You will need Worsted weight (#4) yarn in three harmonious colors. The suggested yarn is Lion Brand Heartland, which offers incredible stitch definition and a soft, durable feel perfect for baby items.
- Color A (Dusk Blue): 350g (approx. 3 skeins) – Suggested: 'Mount Rainier'
- Color B (Misty Lavender): 250g (approx. 2 skeins) – Suggested: 'Yosemite'
- Color C (Cloud White): 200g (approx. 2 skeins) – Suggested: 'Glacier Bay'
Needles & Notions
- US 8 (5.0 mm) circular knitting needle, 32-inch length (or straight needles if you prefer). The long circular needle helps hold the weight of the blanket as it grows.
- Stitch markers (optional, but helpful for counting rows).
- Tapestry needle for weaving in ends.
- Scissors.
Gauge
Getting the right gauge ensures your blanket is the perfect size and has the correct squishy density.
- Gauge: 18 stitches and 24 rows = 4 inches in 2x2 rib pattern (unstretched, slightly relaxed).
Pro Tip: Always knit a swatch first! Wash and block it the way you plan to treat the blanket, then measure. If you have too many stitches, go up a needle size. If you have too few, go down a size.
Step-by-Step Instructions: Knitting the Aurora Sky
This blanket is worked in one piece from the bottom up. The pattern is incredibly repetitive, making it perfect for binge-watching your favorite show or relaxing after a long day. We will build the stripes in a specific order to create that beautiful, balanced gradient.
Abbreviations
- CO: Cast on
- K: Knit
- P: Purl
- Rep: Repeat
- St(s): Stitch(es)
- RS: Right side
- WS: Wrong side
Pattern Notes & Golden Rules
- The Rib: The 2x2 rib is worked as *K2, P2* across, ending with K2 on RS rows. On WS rows, you will "knit the knits and purl the purls" as they appear. This creates the classic vertical columns.
- Color Changes: Always change colors at the beginning of a RS row. This ensures your stripes are clean, crisp, and perfectly horizontal without any jagged edges.
- Yarn Management: You can carry the unused yarn loosely up the side of the work, but for a cleaner finish, it is often easier to cut and weave in ends at each color change. Since the stripes are 20 rows thick, weaving in ends is a quick and tidy option.
Let's Begin: The Foundation
Foundation Row: With Color A (Dusk Blue), CO 120 stitches.
Rows 1-20 (Color A - Bottom Border):
Work in 2x2 rib pattern as established (K2, P2 across, ending K2). Repeat for 20 rows total. This forms the sturdy, stretchy bottom border of your blanket.
Building the Twilight Stripes
Now we begin the rhythmic color play. Follow this sequence carefully. Each color block is exactly 20 rows, creating a balanced, symmetrical design.
Rows 21-40 (Color B - Misty Lavender):
Switch to Color B. Continue in the 2x2 rib pattern for 20 rows.
Rows 41-60 (Color A - Dusk Blue):
Switch back to Color A. Continue in the 2x2 rib pattern for 20 rows.
Rows 61-80 (Color C - Cloud White):
Switch to Color C. Continue in the 2x2 rib pattern for 20 rows.
Rows 81-100 (Color A - Dusk Blue):
Switch back to Color A. Continue in the 2x2 rib pattern for 20 rows.
Rows 101-120 (Color B - Misty Lavender):
Switch to Color B. Continue in the 2x2 rib pattern for 20 rows.
Rows 121-140 (Color A - Dusk Blue):
Switch back to Color A. Continue in the 2x2 rib pattern for 20 rows.
Rows 141-160 (Color C - Cloud White):
Switch to Color C. Continue in the 2x2 rib pattern for 20 rows.
Rows 161-180 (Color A - Dusk Blue):
Switch back to Color A. Continue in the 2x2 rib pattern for 20 rows.
Rows 181-200 (Color B - Misty Lavender):
Switch to Color B. Continue in the 2x2 rib pattern for 20 rows.
Rows 201-220 (Color A - Dusk Blue - Top Border):
Switch back to Color A. Continue in the 2x2 rib pattern for 20 rows. This mirrors the bottom border and completes the main body of the blanket.
Finishing Touches: Binding Off & Weaving
Bind Off: Bind off loosely in pattern with Color A. This means you will knit the knit stitches and purl the purl stitches as you bind them off. Critical Tip: Do not bind off too tightly, or your top edge will pucker and lose the stretchy quality of the rib. Use a needle one size up for binding off if you tend to knit tightly.
Weave in Ends: Thread your tapestry needle and weave in all loose ends securely along the side edges or through the same-colored stitches on the wrong side. This is the secret to a professional-looking finish.
Blocking: Gently block the blanket to relax the stitches and even out the stripes. Do not stretch the ribbing aggressively. Lay it flat on a blocking mat, gently pat it into shape, and pin the edges to define the rectangle. Let it dry completely. This will give your blanket that polished, store-bought look.
Optional Polished Edge
For a more refined, finished look, you can add a simple single crochet border in Color C (Cloud White) around the entire perimeter.
- Work 1 sc in each row-end along the sides and 1 sc in each stitch along the top and bottom.
- Work 3 sc in each corner to help the corners lay flat.
- Join with a slip stitch to the first sc and fasten off. Weave in the ends.
And there you have it—a stunning, cloud-soft, twilight-inspired blanket that is sure to be treasured for years to come. The combination of the squishy ribbed texture and the serene color palette makes this a truly special gift. Happy knitting!