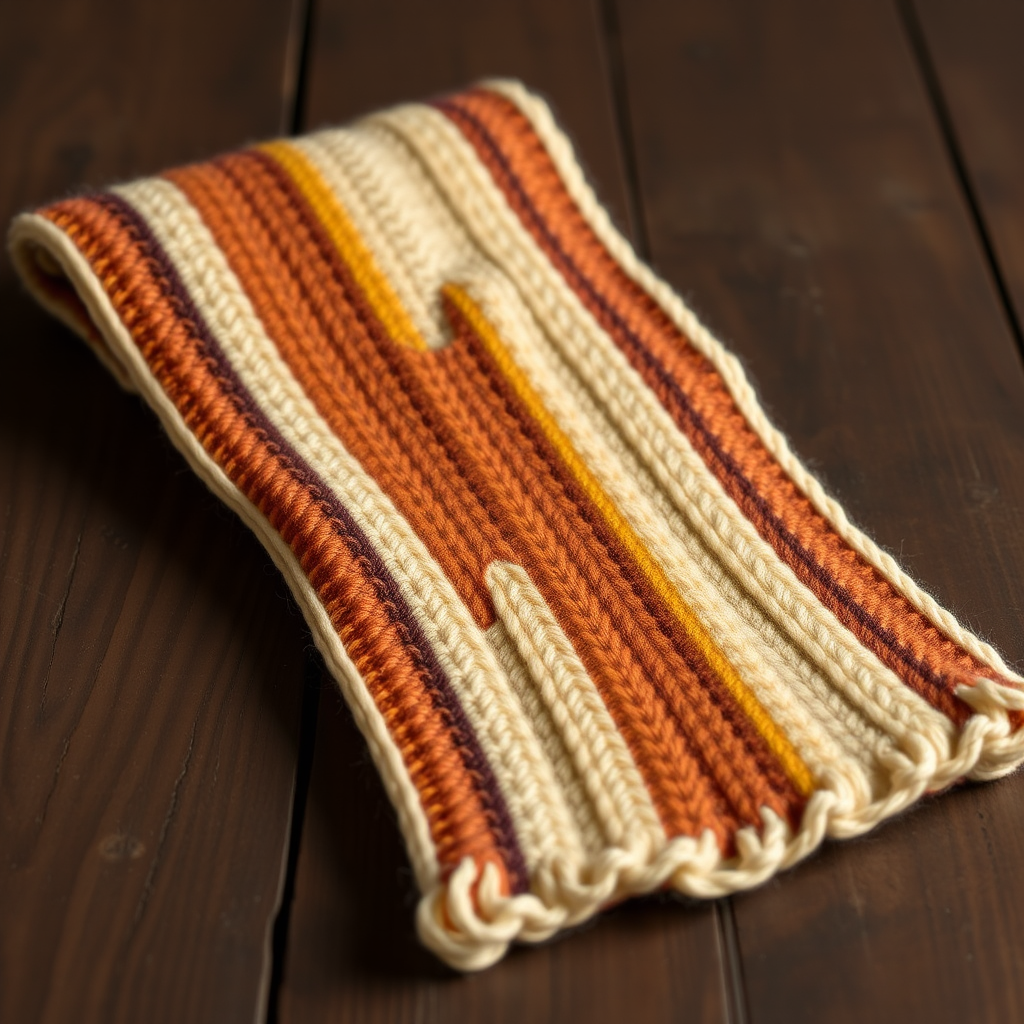
Whispering Pines Basketweave Scarf Free Pattern – Knit a Forest Floor Wrap

Whispering Pines Basketweave Scarf Free Pattern – Knit a Forest Floor Wrap
Wrap yourself in the quiet luxury of a forest floor with this deeply textured basketweave scarf, knit in earthy moss and bark tones. The reversible stitch pattern creates a plush, squishy fabric that feels like a warm hug on chilly days. Whether you're a seasoned knitter or just starting your journey, this beginner-friendly pattern will guide you through creating a stunning, cozy accessory that evokes the serene beauty of a sun-dappled woodland path.
This isn't just a scarf; it's an experience. The alternating blocks of knit and purl stitches create a woven, dimensional texture that is as delightful to touch as it is to behold. The two-tone color scheme—a deep moss green and a warm bark brown—mirrors the natural palette of the forest floor, making this wrap a versatile addition to any autumn or winter wardrobe. Let's dive into this rewarding project that promises both relaxation and a beautiful finished piece.
Materials Needed
Before you begin, gather the following materials to ensure a smooth and enjoyable knitting session. Having everything at hand will let you focus on the rhythmic, meditative flow of the basketweave pattern.
- Yarn: Worsted weight yarn in two colors:
- Color A (Moss Green): 220 yards (approx. 2 skeins)
- Color B (Bark Brown): 180 yards (approx. 2 skeins)
- Knitting Needles: US 9 (5.5 mm) knitting needles. Straight needles are perfect for this flat-knit project.
- Other Tools: Tapestry needle for weaving in ends, scissors, and a tape measure or ruler.
- Blocking Supplies (Optional but Recommended): Blocking mats, T-pins, and a spray bottle or steam iron to finish your scarf beautifully.
Step-by-Step Instructions
This pattern is designed with clarity in mind. Follow each step carefully, and you'll be amazed at how quickly the beautiful basketweave texture emerges. The key is to maintain a consistent tension and to enjoy the process.
Finished Measurements & Gauge
Finished Measurements: Approximately 8 inches wide x 60 inches long (length is adjustable).
Gauge: 16 stitches and 20 rows = 4 inches in basketweave pattern (blocked). Always take time to check your gauge to ensure your scarf turns out the correct size.
Abbreviations
- CO: Cast on
- K: Knit
- P: Purl
- sl: Slip stitch purlwise
- rep: Repeat
- st(s): Stitch(es)
Pattern Notes
- The scarf is worked flat in one piece, making it easy to manage and perfect for on-the-go knitting.
- The basketweave pattern is a multiple of 8 stitches + 4 edge stitches. Our cast-on of 36 stitches fits this perfectly.
- We use a slipped stitch edge for a neat, professional, and finished look on both sides.
Step 1: Cast On
With Color A (Moss Green), cast on 36 stitches using your preferred method. A long-tail cast-on works beautifully here, providing a stretchy yet sturdy edge.
Step 2: Edge Setup
These two rows create a clean, polished border for your scarf.
- Row 1 (Right Side): Sl 1, K to last st, P1.
- Row 2 (Wrong Side): Sl 1, P to last st, K1.
Note: Always slip the first stitch of every row purlwise with the yarn in front to create a neat, braided edge.
Step 3: Basketweave Pattern
Now for the heart of the scarf! Repeat the following 16-row pattern until the scarf measures approximately 58 inches from the cast-on edge, ending with Row 16. This creates the beautiful, woven texture.
- Rows 1-2 (RS): Sl 1, K3, *P4, K4; rep from * to last 4 sts, K3, P1.
- Rows 3-4 (WS): Sl 1, P3, *K4, P4; rep from * to last 4 sts, P3, K1.
- Rows 5-6: Repeat Rows 1-2.
- Rows 7-8: Repeat Rows 3-4.
- Rows 9-10: Sl 1, P3, *K4, P4; rep from * to last 4 sts, P3, K1.
- Rows 11-12: Sl 1, K3, *P4, K4; rep from * to last 4 sts, K3, P1.
- Rows 13-14: Repeat Rows 9-10.
- Rows 15-16: Repeat Rows 11-12.
Pro Tip: Place a stitch marker after the first 4 stitches and before the last 4 stitches. This will help you keep track of the edge stitches and the pattern repeat, ensuring your basketweave blocks stay perfectly aligned.
Step 4: Color Change
After completing 16 rows of the basketweave pattern in Color A, it's time to introduce Color B (Bark Brown).
- Cut Color A, leaving a 6-inch tail for weaving in later.
- Join Color B at the beginning of the next row (Row 1 of the pattern).
- Work 16 rows of the same basketweave pattern in Color B.
- Continue alternating colors every 16 rows until you have used approximately 220 yards of Color A and 180 yards of Color B, or until the scarf reaches your desired length. Important: Always end with a complete 16-row pattern repeat to maintain symmetry.
Step 5: Final Edge
Once you've reached your desired length and completed a full pattern repeat, work the edge setup rows to mirror the beginning of your scarf.
- Row 1 (RS): Sl 1, K to last st, P1.
- Row 2 (WS): Sl 1, P to last st, K1.
Step 6: Bind Off
Bind off loosely in pattern with the current color. This means you will knit the knit stitches and purl the purl stitches as they appear. Binding off in pattern is crucial for maintaining the stretch and drape of the basketweave fabric.
Once all stitches are bound off, cut your yarn, leaving a 6-inch tail, and pull it through the last loop. Weave in all ends securely with your tapestry needle.
Step 7: Blocking
Blocking is the magical final step that transforms your knitting from good to absolutely stunning.
- Wet Block: Soak your scarf in lukewarm water with a drop of mild wool wash for 15-20 minutes.
- Gently Squeeze: Carefully squeeze out excess water. Do not wring or twist, as this can felt the wool.
- Lay Flat: Lay the scarf flat on a clean towel and roll it up to remove more moisture.
- Pin to Size: Place the scarf on blocking mats and pin it to the desired dimensions (8 inches wide x 60 inches long).
- Dry: Allow it to dry completely. Once dry, unpin and enjoy your beautifully even, textured masterpiece.
Alternatively, you can steam block by holding a steam iron just above the fabric without touching it. This is quicker but less effective at fully relaxing the fibers.
Congratulations! You've just created a stunning Whispering Pines Basketweave Scarf. This cozy, rustic wrap is perfect for crisp autumn walks, cozy evenings by the fire, or as a heartfelt handmade gift. The textured pattern and earthy tones will make it a cherished piece for years to come. Happy knitting!