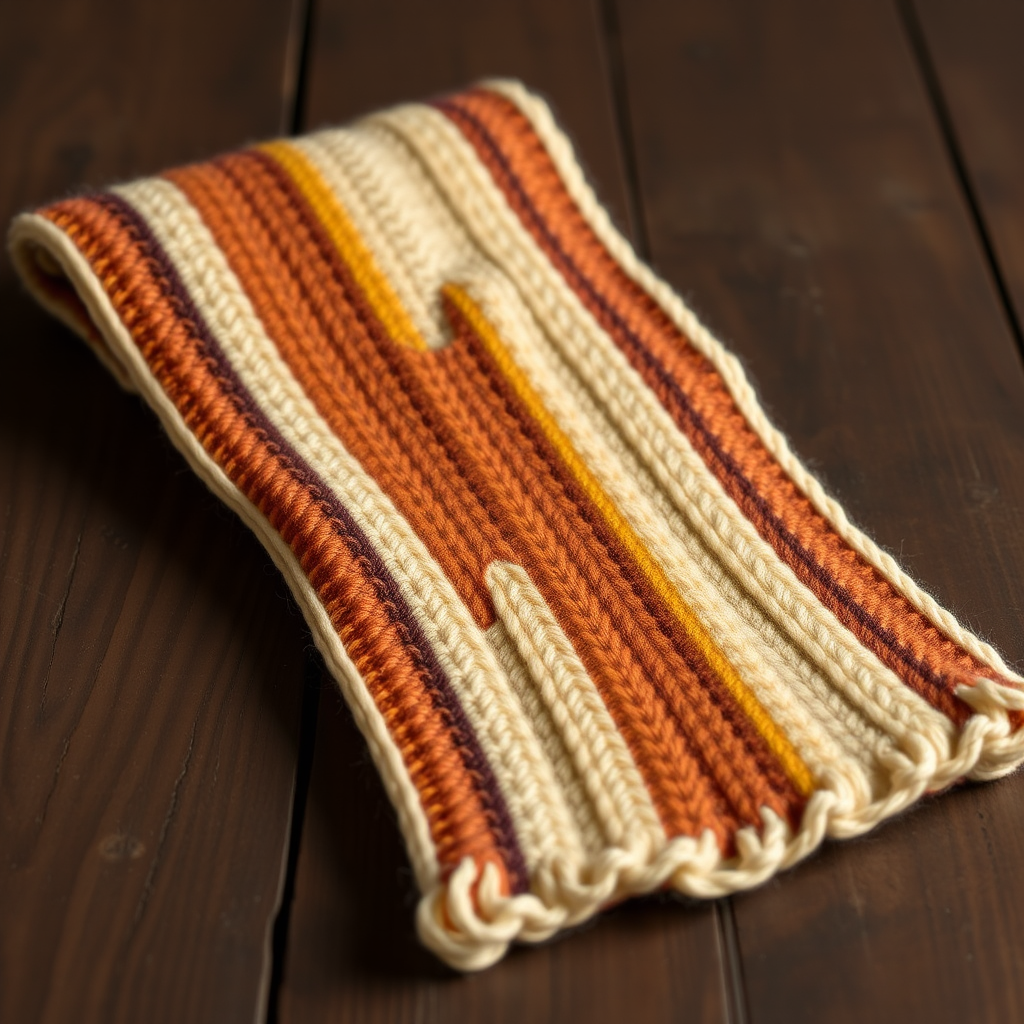
Nocturne Web Scarf Free Pattern – A Knitted Moonlit Spider Silk Wrap

Nocturne Web Scarf Free Pattern – A Knitted Moonlit Spider Silk Wrap
Wrap yourself in the delicate yet dramatic beauty of a moonlit spider web with this uniquely textured scarf. The openwork lace panels and subtle cable spine create a sophisticated, gothic-inspired accessory that is both cozy and striking. This free knitting pattern is perfect for intermediate knitters looking to expand their lace and cable skills while creating a truly statement piece. The deep charcoal black yarn catches the light beautifully, revealing the intricate web-like motifs that evoke the mystery of a midnight garden.
Whether you're crafting for yourself or searching for a memorable handmade gift, the Nocturne Web Scarf delivers on both style and substance. The pattern is worked flat in one piece, making it portable and easy to manage. With a memorizable 12-row repeat, you'll find yourself falling into a soothing rhythm as the spider web emerges from your needles.
Materials Needed
Before you begin your knitting journey, gather the following materials to ensure a smooth and enjoyable crafting experience:
Yarn
- Worsted weight yarn in deep charcoal black (approximately 400g / 800m)
- Suggested yarn: Lion Brand Wool-Ease in 'Charcoal' – this blend of wool and acrylic provides excellent stitch definition and durability
Needles and Tools
- US 8 (5.0mm) knitting needles – straight or circular (circular needles can accommodate the growing length of the scarf)
- Cable needle – for creating the central cable spine
- Stitch markers – to help track pattern repeats
- Tapestry needle – for weaving in ends
- Blocking pins and mat – for finishing and shaping the lace
Gauge
- 18 stitches and 24 rows = 4 inches in stockinette stitch (after blocking)
- Gauge is important for achieving the correct dimensions, but this scarf is forgiving – slight variations will not ruin the final result
Step-by-Step Instructions
This scarf is worked flat in one piece, with a central cable spine and two mirrored lace web panels. The pattern is a 12-row repeat that is easy to memorize once you understand the structure. Take your time with the first repeat, and you'll soon find your rhythm.
Special Stitches
Before you begin, familiarize yourself with these special stitches used throughout the pattern:
- C4B (Cable 4 Back): Slip 2 stitches to cable needle, hold to back of work, knit 2 stitches from left needle, then knit 2 stitches from cable needle.
- C4F (Cable 4 Front): Slip 2 stitches to cable needle, hold to front of work, knit 2 stitches from left needle, then knit 2 stitches from cable needle.
- Yo (Yarn Over): Bring yarn to front of work, then over the right needle to create a new loop – this creates an eyelet hole in the lace.
- K2tog (Knit 2 Together): Insert right needle through two stitches on left needle knitwise, wrap yarn, and knit them together – this decreases one stitch.
- SSK (Slip, Slip, Knit): Slip 2 stitches knitwise one at a time to right needle, then insert left needle through the front of both slipped stitches and knit them together – this decreases one stitch with a left-leaning slant.
- P2tog (Purl 2 Together): Insert right needle through two stitches on left needle purlwise, wrap yarn, and purl them together – this decreases one stitch on the purl side.
Pattern Instructions
Cast on 42 stitches loosely. You may want to use a larger needle or a long-tail cast on to ensure the edge remains flexible.
Row 1 (Right Side): K2, *yo, k2tog, k4, yo, k2tog, k4, yo, k2tog, k2, C4B, k2, yo, k2tog, k4, yo, k2tog, k4, yo, k2tog,* k2. (Repeat from * to * once more, then end with k2 – total 42 sts)
Let's break this down: You'll begin with 2 knit stitches for the edge. Then you'll work the lace pattern section, which consists of three sets of (yo, k2tog, k4) – these create the web-like eyelets. After the third set, you'll knit 2, work a C4B cable, knit 2 more, then repeat the three sets of (yo, k2tog, k4). This completes one half of the scarf. Repeat this entire section once more, then finish with 2 knit stitches for the opposite edge.
Row 2 (Wrong Side): Purl all stitches.
Row 3: K2, *yo, k2tog, k4, yo, k2tog, k4, yo, k2tog, k2, C4F, k2, yo, k2tog, k4, yo, k2tog, k4, yo, k2tog,* k2.
Note: This row is identical to Row 1, except you'll work a C4F instead of C4B. This alternation creates the braided cable spine.
Row 4: Purl all stitches.
Row 5: K2, *yo, k2tog, k4, yo, k2tog, k4, yo, k2tog, k2, k4, k2, yo, k2tog, k4, yo, k2tog, k4, yo, k2tog,* k2.
Note: In this row, instead of working a cable, you'll simply knit 4 stitches in the center. This allows the cable to relax and creates the subtle wave effect in the spine.
Row 6: Purl all stitches.
Row 7: K2, *yo, k2tog, k4, yo, k2tog, k4, yo, k2tog, k2, C4B, k2, yo, k2tog, k4, yo, k2tog, k4, yo, k2tog,* k2.
Row 8: Purl all stitches.
Row 9: K2, *yo, k2tog, k4, yo, k2tog, k4, yo, k2tog, k2, C4F, k2, yo, k2tog, k4, yo, k2tog, k4, yo, k2tog,* k2.
Row 10: Purl all stitches.
Row 11: K2, *yo, k2tog, k4, yo, k2tog, k4, yo, k2tog, k2, k4, k2, yo, k2tog, k4, yo, k2tog, k4, yo, k2tog,* k2.
Row 12: Purl all stitches.
Continuing the Pattern
Repeat Rows 1-12 until the scarf measures approximately 70 inches (or your desired length), ending with a Row 12 to ensure the wrong side is facing you for the bind off.
Bind off: On the next right-side row, bind off loosely in pattern. This means you'll work the stitches as they appear (knit the knits, purl the purls, and work the yarn overs as regular stitches) while binding off. This ensures the edge remains stretchy and complements the lace pattern.
Finishing Touches
Weave in all ends using your tapestry needle, being careful to follow the path of the yarn to keep the ends invisible.
Blocking is essential for this pattern to truly shine. The lace panels need to be opened up to reveal their full web-like beauty. Follow these steps for professional results:
- Soak the scarf in lukewarm water with a gentle wool wash for 15-20 minutes.
- Gently squeeze out excess water – do not wring or twist.
- Lay the scarf flat on a clean towel and roll it up to remove additional moisture.
- Place the scarf on a blocking mat and pin it out to the desired dimensions.
- Pin out the points of the web panels – the yarn overs and decreases create natural points along the edges. Stretch these gently to create a dramatic, organic shape that evokes spider silk.
- Allow to dry completely before unpinning – this may take 24-48 hours depending on humidity.
Tips for Success
- Use stitch markers to separate the pattern repeats – this will help you catch mistakes early and keep your place when interrupted.
- Count your stitches after each row until you're comfortable with the pattern. Each repeat should maintain 42 stitches total.
- Keep your tension even – the lace pattern will look best with consistent yarn overs and decreases.
- Don't be afraid to rip back if you make a mistake – the pattern is forgiving and you'll quickly get back on track.
- Consider adding fringe to the ends for extra drama, though the scalloped edges created by the lace are beautiful on their own.
Once blocked, your Nocturne Web Scarf will transform from a humble knitted rectangle into a stunning, gothic-inspired accessory that captures the mystery of a moonlit spider web. The combination of smooth stockinette, raised cables, and airy openwork creates a sophisticated texture that's both cozy and striking. Whether draped elegantly over dark autumn layers or worn as a statement piece, this scarf is sure to become a treasured addition to your handmade wardrobe.
Happy knitting, and may your needles weave magic worthy of the midnight hour!