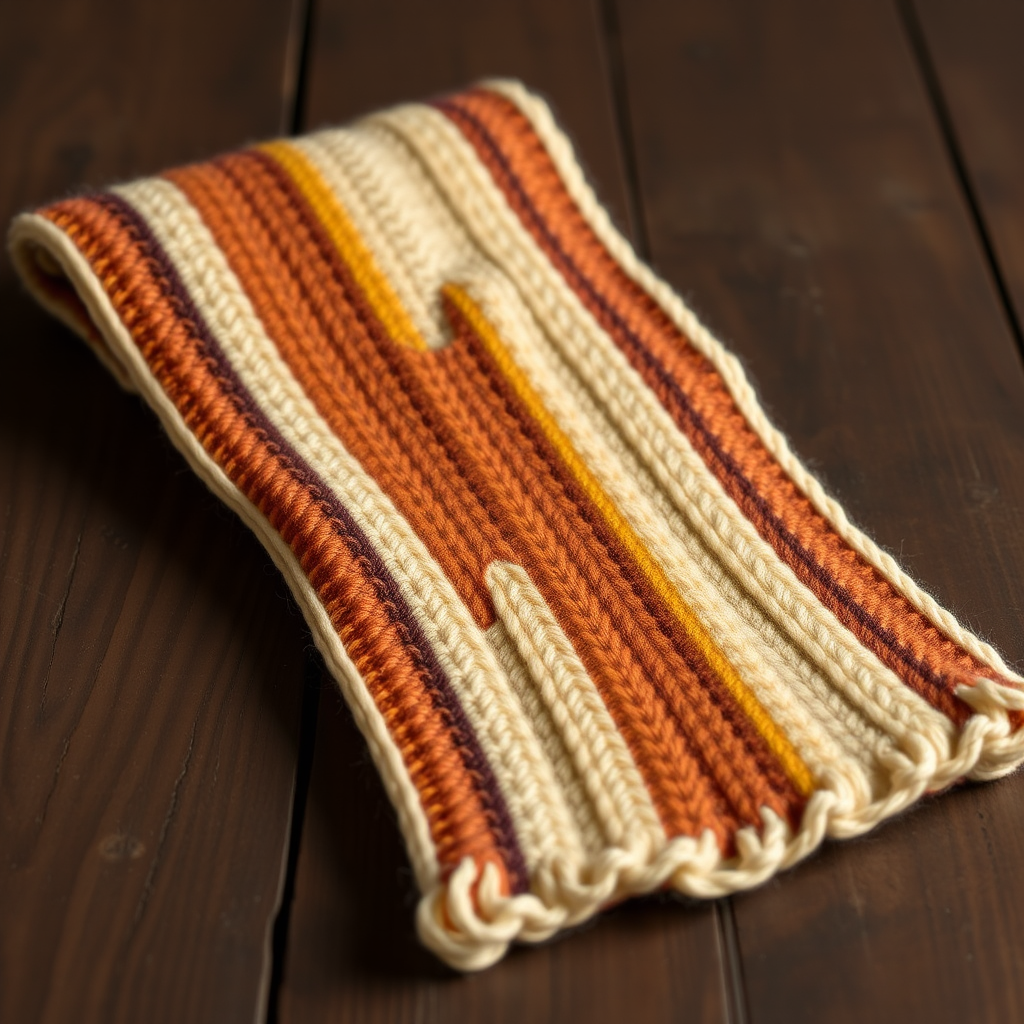
Gilded Fern Scarf Free Pattern – Knit a Luxurious Leaf Motif Wrap

The Gilded Fern Scarf: A Luxurious Leaf Motif Knitting Pattern
Wrap yourself in the opulent texture of the Gilded Fern Scarf, where deep emerald and rich gold yarns intertwine in a delicate leaf lace pattern. This elegant accessory adds a touch of botanical luxury to any winter ensemble, transforming a simple scarf into a statement piece. The combination of a classic lace motif with a modern metallic accent creates a truly unique handmade treasure. Whether you're an experienced knitter looking for a rewarding project or a confident beginner ready for a challenge, this pattern offers a beautiful journey into the world of textured lace knitting.
The Gilded Fern Scarf is worked flat in a repeating 16-row pattern that alternates between the deep, calming tones of emerald green and the shimmering brilliance of metallic gold. The result is a long, rectangular wrap that drapes gracefully, with a neat garter stitch border framing the intricate fern-like leaves. The openwork holes and delicate decreases create a fabric that is both visually stunning and surprisingly cozy.
Materials Needed
Before you begin, gather the following materials to ensure a smooth and enjoyable knitting experience:
- Yarn: Worsted weight yarn in two colors:
- Main Color (MC): Emerald green – approximately 350 grams (about 770 yards)
- Contrast Color (CC): Metallic gold – approximately 150 grams (about 330 yards)
- Needles: US 7 (4.5mm) knitting needles. A circular needle (24 inches or longer) can be used to accommodate the growing number of stitches, but straight needles work perfectly fine.
- Other Tools: Tapestry needle for weaving in ends, stitch markers (optional but helpful), and blocking pins/mat for finishing.
Gauge: 20 stitches and 28 rows = 4 inches in stockinette stitch. While gauge is important for size, the lace pattern is forgiving. However, matching gauge will ensure your scarf has the intended drape and dimensions.
Pattern Notes & Abbreviations
This pattern is designed to be accessible, but it does involve lace techniques. Please review the following notes and abbreviations before starting:
Pattern Notes
- The scarf is worked flat, back and forth in rows.
- Slip the first stitch of every row purlwise to create a neat, chain-like edge.
- The leaf motif is created using yarn overs (increases) paired with decreases (K2tog and SSK) to maintain the stitch count.
- Color changes occur every 8 rows, creating distinct bands of emerald and gold.
Abbreviations
- K = Knit
- P = Purl
- YO = Yarn Over (bring yarn to front, then over the needle to the back, creating a new loop)
- K2tog = Knit two stitches together (right-leaning decrease)
- SSK = Slip, slip, knit (left-leaning decrease: slip two stitches knitwise one at a time, then knit them together through the back loop)
- K3tog = Knit three stitches together (central decrease)
- MC = Main Color (Emerald)
- CC = Contrast Color (Gold)
- RS = Right Side (the front of the scarf)
- WS = Wrong Side (the back of the scarf)
Step-by-Step Instructions
Follow these detailed instructions carefully. The pattern is broken down into sections for clarity. Remember to slip the first stitch of every row purlwise for a polished edge.
Cast On & Border
Cast On: With MC (emerald), cast on 45 stitches using your preferred method (long-tail cast on is recommended for a stretchy edge).
Border (Rows 1-6): Work in garter stitch (knit every stitch across every row) for 6 rows. This creates a solid, non-curling border. Remember to slip the first stitch of each row purlwise.
Main Pattern (Repeat Rows 1-16)
This is the heart of the pattern. The 16-row repeat creates the fern leaf motif. The pattern is written with a repeat section between the asterisks (*). Work the stitches before the asterisk, then repeat the section between the asterisks across the row, and finish with the stitches after the asterisk.
Row 1 (RS): Slip 1, K2, *YO, K2tog, K3, SSK, YO, K1, YO, K2tog, K3, SSK, YO, K1; repeat from * to last 3 stitches, K3.
Row 2 (WS): Slip 1, Purl all stitches to end.
Row 3: Slip 1, K2, *K1, YO, K2tog, K2, SSK, YO, K3, YO, K2tog, K2, SSK, YO, K2; repeat from * to last 3 stitches, K3.
Row 4: Slip 1, Purl all stitches.
Row 5: Slip 1, K2, *K2, YO, K2tog, K1, SSK, YO, K5, YO, K2tog, K1, SSK, YO, K3; repeat from * to last 3 stitches, K3.
Row 6: Slip 1, Purl all stitches.
Row 7: Slip 1, K2, *K3, YO, K2tog, SSK, YO, K7, YO, K2tog, SSK, YO, K4; repeat from * to last 3 stitches, K3.
Row 8: Slip 1, Purl all stitches.
Row 9: Slip 1, K2, *K4, YO, K3tog, YO, K9, YO, K3tog, YO, K5; repeat from * to last 3 stitches, K3.
Row 10: Slip 1, Purl all stitches.
Row 11: Slip 1, K2, *K3, SSK, YO, K1, YO, K2tog, K7, SSK, YO, K1, YO, K2tog, K4; repeat from * to last 3 stitches, K3.
Row 12: Slip 1, Purl all stitches.
Row 13: Slip 1, K2, *K2, SSK, YO, K3, YO, K2tog, K5, SSK, YO, K3, YO, K2tog, K3; repeat from * to last 3 stitches, K3.
Row 14: Slip 1, Purl all stitches.
Row 15: Slip 1, K2, *K1, SSK, YO, K5, YO, K2tog, K3, SSK, YO, K5, YO, K2tog, K2; repeat from * to last 3 stitches, K3.
Row 16: Slip 1, Purl all stitches.
Color Changes & Repeating the Pattern
To achieve the beautiful alternating color bands, follow this color sequence:
- Work Rows 1-8 in MC (Emerald).
- Work Rows 9-16 in CC (Gold).
Continue repeating this 16-row pattern, alternating colors every 8 rows, until the scarf measures approximately 60 inches from the cast-on edge. It's best to end with a complete Row 16 to ensure the pattern is symmetrical. When changing colors, simply start the new color at the beginning of a row, leaving a tail to weave in later.
Final Border & Bind Off
Border (Rows 1-6): Once your scarf reaches the desired length, switch back to MC (Emerald) and work in garter stitch (knit every row) for 6 rows. This mirrors the cast-on border and completes the design.
Bind Off: Bind off all stitches knitwise on the next row. This creates a stretchy edge that matches the cast-on. Cut the yarn, leaving a 6-inch tail, and pull it through the last loop.
Finishing & Blocking
Weave in all loose ends using a tapestry needle, being careful to weave them into the wrong side of the work so they are invisible from the front.
Blocking: This step is crucial for lace patterns. Gently wash the scarf in lukewarm water with a mild wool wash. Press out excess water (do not wring). Lay the scarf flat on a blocking mat or towel. Gently stretch it to open up the lace pattern and even out the stitches. Pin the edges to hold the shape, especially along the scalloped edges created by the yarn overs. Allow it to dry completely before unpinning. This will transform your knitting, making the leaf motifs crisp and defined.
Your Gilded Fern Scarf is now complete! The combination of the deep emerald and shimmering gold creates a truly luxurious accessory that you'll be proud to wear or gift. The intricate leaf pattern is a testament to your skill, and the soft, cozy fabric will keep you warm in style for many winters to come.