Scarf Knitting Patterns

Aurora Borealis Drift Scarf Free Pattern – A Knitted Northern Lights Wrap

Anonymous August 11, 2026

Aurora Borealis Drift Scarf: A Knitted Northern Lights Wrap

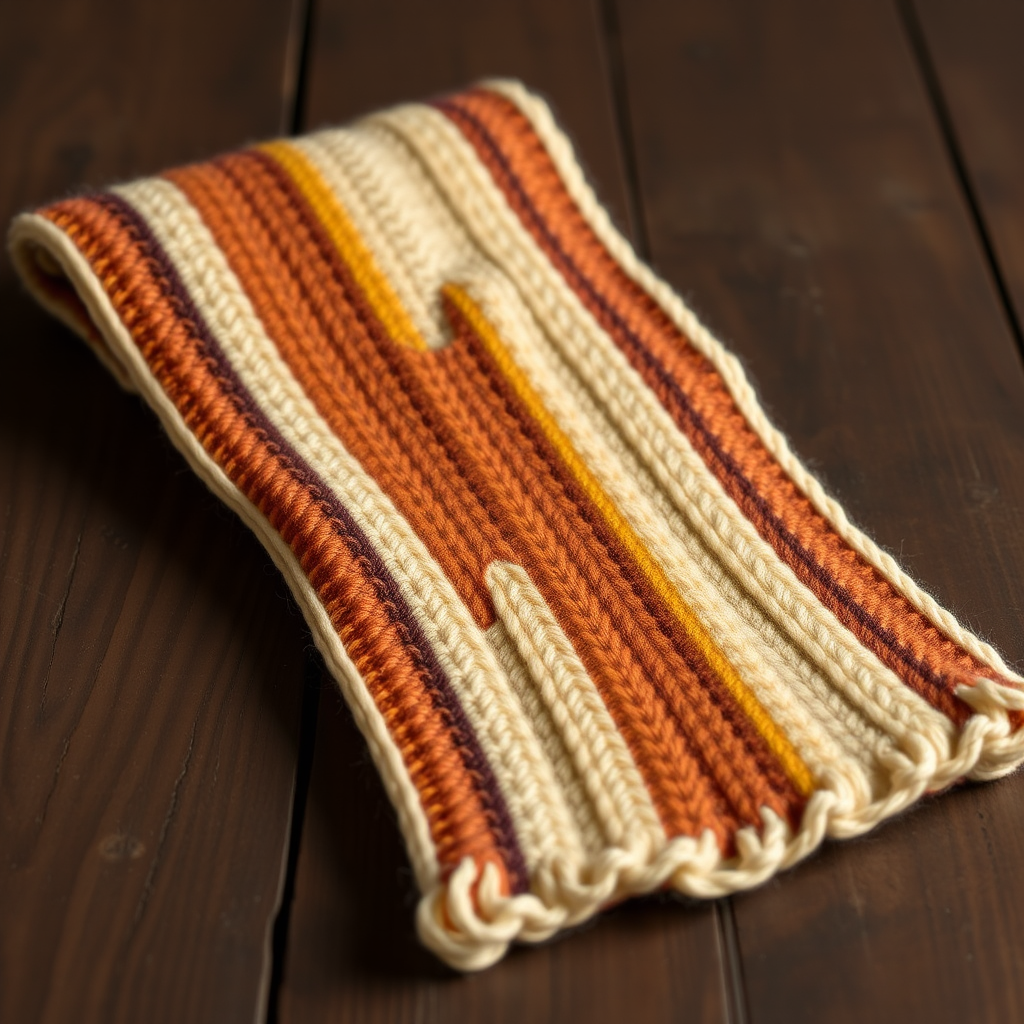
Wrap yourself in the ethereal dance of the northern lights with this mesmerizing knitted scarf. The shifting gradient of deep teal, midnight purple, and soft dusty rose creates a wearable piece of art that captures the magic of a polar night. Using a simple slip-stitch mosaic technique, this pattern produces a gentle, wavy texture reminiscent of drifting aurora curtains—all while being surprisingly beginner-friendly. The clean, finished edges and seamless color transitions make this scarf a stunning statement piece for any winter wardrobe.

Materials Needed

Before you begin, gather the following supplies to ensure a smooth knitting experience:

  • Yarn: Worsted weight yarn in 3 colors:
    • Color A: Deep Teal (approximately 120g)
    • Color B: Midnight Purple (approximately 115g)
    • Color C: Dusty Rose (approximately 115g)
    Total approximately 350g.
  • Needle: US 8 (5.0 mm) circular knitting needle, 32-inch length (for working flat with plenty of room for stitches)
  • Notions: Tapestry needle for weaving in ends, stitch markers (optional), crochet hook (for optional fringe)
  • Gauge: 18 stitches and 24 rows = 4 inches in stockinette stitch (adjust needle size if needed to match gauge)

Step-by-Step Instructions

This scarf is knitted flat in one piece, using a simple slip-stitch mosaic technique to create the illusion of drifting waves. The pattern is worked in sections of color, with slipped stitches carrying the yarn up the sides to create a clean, finished edge. The entire scarf measures approximately 60 inches in length and 8 inches in width when blocked.

Abbreviations

  • CO: Cast on
  • K: Knit
  • P: Purl
  • Sl: Slip stitch purlwise (insert needle as if to purl, slip stitch from left to right needle without working it)
  • K2tog: Knit two stitches together
  • Yo: Yarn over
  • RS: Right side
  • WS: Wrong side

Section 1: Deep Teal Base

This section creates a solid stockinette foundation that frames the mosaic pattern beautifully.

  • Row 1 (RS): With Color A, CO 40 stitches.
  • Row 2 (WS): K all stitches.
  • Row 3 (RS): K all stitches.
  • Row 4 (WS): K all stitches.
  • Rows 5-20: Repeat Rows 3-4 eight more times. You will now have a 20-row stockinette base (10 knit rows visible on the RS).

Section 2: Mosaic Wave Pattern (First Band)

This is where the magic happens! The slip-stitch technique creates the illusion of waves without complex colorwork. Remember to always slip stitches purlwise with the yarn in back on RS rows and yarn in front on WS rows (unless otherwise noted).

  • Row 21 (RS): With Color A, K1, *Sl 1, K3* repeat from * to * until last 3 stitches, Sl 1, K2.
  • Row 22 (WS): With Color A, K1, *Sl 1, K3* repeat from * to * until last 3 stitches, Sl 1, K2.
  • Row 23 (RS): With Color B, K1, *K1, Sl 1, K2* repeat from * to * until last 3 stitches, K1, Sl 1, K1.
  • Row 24 (WS): With Color B, K1, *K1, Sl 1, K2* repeat from * to * until last 3 stitches, K1, Sl 1, K1.
  • Row 25 (RS): With Color B, K1, *Sl 1, K3* repeat from * to * until last 3 stitches, Sl 1, K2.
  • Row 26 (WS): With Color B, K1, *Sl 1, K3* repeat from * to * until last 3 stitches, Sl 1, K2.
  • Row 27 (RS): With Color C, K1, *K2, Sl 1, K1* repeat from * to * until last 3 stitches, K2, Sl 1.
  • Row 28 (WS): With Color C, K1, *K2, Sl 1, K1* repeat from * to * until last 3 stitches, K2, Sl 1.
  • Row 29 (RS): With Color C, K1, *Sl 1, K3* repeat from * to * until last 3 stitches, Sl 1, K2.
  • Row 30 (WS): With Color C, K1, *Sl 1, K3* repeat from * to * until last 3 stitches, Sl 1, K2.

Section 3: Gradient Transition

This section mirrors the first wave band but shifts the pattern offset, creating a seamless gradient effect as the colors transition back through the spectrum.

  • Row 31 (RS): With Color A, K1, *K2, Sl 1, K1* repeat from * to * until last 3 stitches, K2, Sl 1.
  • Row 32 (WS): With Color A, K1, *K2, Sl 1, K1* repeat from * to * until last 3 stitches, K2, Sl 1.
  • Row 33 (RS): With Color A, K1, *Sl 1, K3* repeat from * to * until last 3 stitches, Sl 1, K2.
  • Row 34 (WS): With Color A, K1, *Sl 1, K3* repeat from * to * until last 3 stitches, Sl 1, K2.
  • Row 35 (RS): With Color B, K1, *K1, Sl 1, K2* repeat from * to * until last 3 stitches, K1, Sl 1, K1.
  • Row 36 (WS): With Color B, K1, *K1, Sl 1, K2* repeat from * to * until last 3 stitches, K1, Sl 1, K1.
  • Row 37 (RS): With Color B, K1, *Sl 1, K3* repeat from * to * until last 3 stitches, Sl 1, K2.
  • Row 38 (WS): With Color B, K1, *Sl 1, K3* repeat from * to * until last 3 stitches, Sl 1, K2.
  • Row 39 (RS): With Color C, K1, *K2, Sl 1, K1* repeat from * to * until last 3 stitches, K2, Sl 1.
  • Row 40 (WS): With Color C, K1, *K2, Sl 1, K1* repeat from * to * until last 3 stitches, K2, Sl 1.
  • Row 41 (RS): With Color C, K1, *Sl 1, K3* repeat from * to * until last 3 stitches, Sl 1, K2.
  • Row 42 (WS): With Color C, K1, *Sl 1, K3* repeat from * to * until last 3 stitches, Sl 1, K2.

Section 4: Repeat Sections 2 and 3

To create the full length of the scarf with three wave bands, repeat Rows 21-42 two more times. This will give you a total of three complete wave bands, each transitioning through the full color gradient.

  • First repeat: Work Rows 21-42 once more (this creates the second wave band).
  • Second repeat: Work Rows 21-42 again (this creates the third wave band).

After completing all three wave bands, you should have worked a total of 126 rows in the mosaic pattern section.

Section 5: Deep Teal Ending

This final section mirrors the beginning, creating a balanced, symmetrical design.

  • Row 1 (RS): With Color A, K all stitches.
  • Row 2 (WS): K all stitches.
  • Row 3 (RS): K all stitches.
  • Row 4 (WS): K all stitches.
  • Rows 5-20: Repeat Rows 3-4 eight more times (total 20 rows of stockinette).

Finishing

  • Bind off: Bind off loosely on the RS with Color A. To ensure a stretchy edge, bind off using a larger needle or use a stretchy bind-off method like the "knit two together" bind-off.
  • Weave in ends: Use a tapestry needle to weave in all loose ends carefully, following the path of the yarn through the stitches to hide them completely.
  • Blocking: Block the scarf gently to open up the stitch pattern and even out the edges. Soak in lukewarm water with a mild wool wash, gently squeeze out excess water (never wring), roll in a towel to remove moisture, then lay flat to dry, gently shaping to the desired dimensions. This step is crucial for achieving the beautiful drape and defined stitch pattern.

Optional Fringe

Add a touch of bohemian flair with a colorful fringe that echoes the gradient of the scarf:

  • Cut 12-inch lengths of each color yarn.
  • For each fringe, take 3 strands (one of each color), fold them in half to create a loop.
  • Using a crochet hook, pull the loop through the cast-on edge from front to back.
  • Pull the loose ends through the loop and tighten gently to secure.
  • Repeat every 2 stitches along both short edges of the scarf.
  • Trim the fringe ends evenly for a polished look.

Your Aurora Borealis Drift Scarf is now complete! The combination of the slip-stitch mosaic pattern and the carefully chosen gradient colors creates a stunning accessory that truly captures the magic of the northern lights. The clean stockinette borders frame the wavy pattern beautifully, and the optional fringe adds an extra touch of whimsy. This scarf makes a wonderful gift for a loved one—or a beautiful treat for yourself. Enjoy wrapping yourself in the ethereal beauty of the polar night!


Also Check Out: We think you'd love this beautiful pattern on our sister site: The Ember Glow Lattice Candle Holder: A Free Crochet Pattern for a Textured, Illuminated Centerpiece