Garland Crochet Patterns
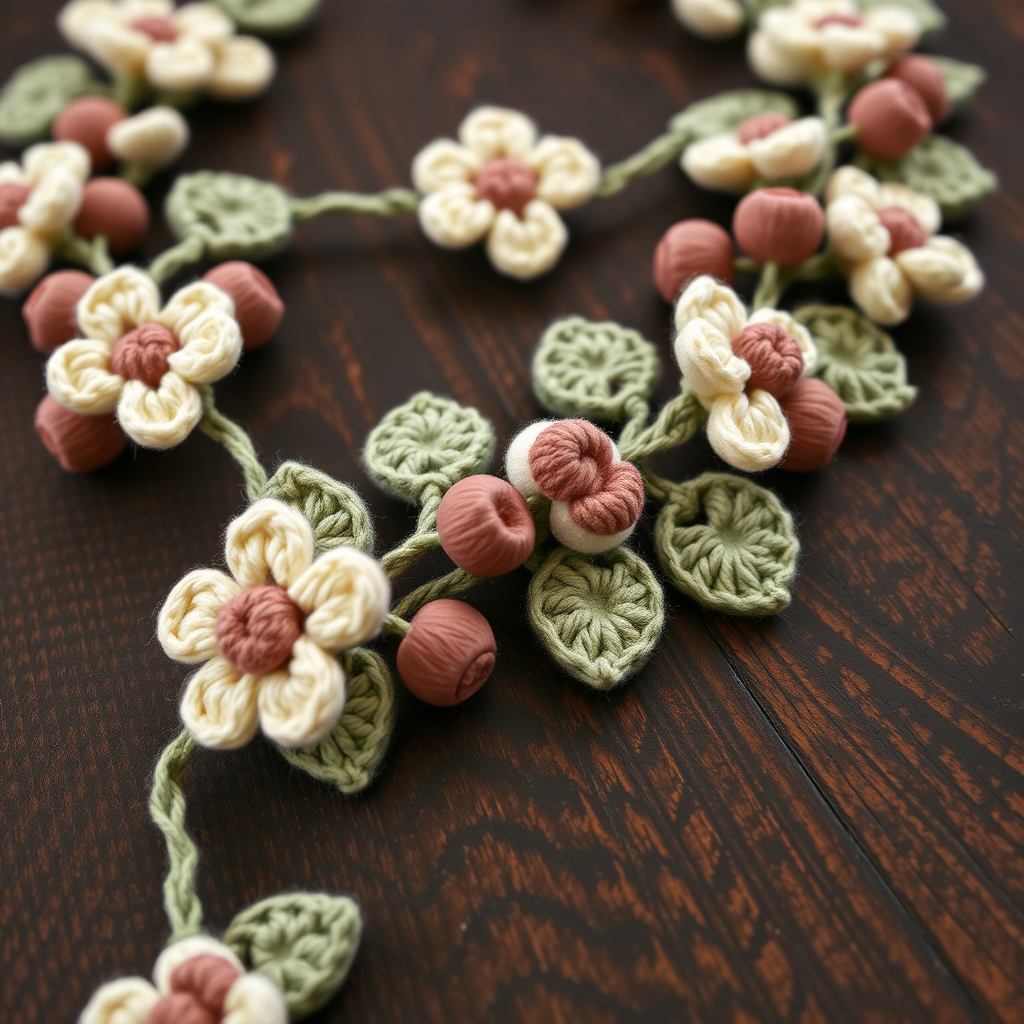
Whimsical Woodland Vine and Leaf Garland Free Pattern
Anonymous
•
July 05, 2026

Whimsical Woodland Vine and Leaf Garland Free Pattern
Introduction
Bring the enchanting beauty of the forest into your home with this Whimsical Woodland Vine and Leaf Garland. Perfect for adding a touch of nature-inspired charm to any space, this garland features intricate leaf motifs and delicate vine tendrils. Whether you're decorating for a special occasion or simply want to brighten up your living space, this garland is a delightful addition that you can easily create at home.
Materials Needed
- Lightweight cotton yarn in shades of green and brown
- 3.5 mm crochet hook
- Scissors
- Tapestry needle for weaving in ends
Step-by-Step Instructions
Creating the Leaves
- Start with a magic ring. To create a magic ring, wrap the yarn around your fingers to form a loop, then pull a loop of yarn through the center of the ring.
- Round 1: Chain 1 (Ch 1), then work 6 single crochet (sc) stitches into the ring. Join the round with a slip stitch (sl st) to the first sc.
- Round 2: Ch 1, then work 2 sc in each sc around. Join with sl st to the first sc (you will have 12 sc now).
- Round 3: Ch 1, then (sc in next sc, 2 sc in next sc) around. Join with sl st to the first sc (you will have 18 sc).
- Round 4: Ch 1, then (sc in next 2 sc, 2 sc in next sc) around. Join with sl st to the first sc (you will have 24 sc).
- Round 5: Ch 1, then (sc in next 3 sc, 2 sc in next sc) around. Join with sl st to the first sc (you will have 30 sc).
- Fasten off the yarn and weave in the ends using a tapestry needle. This completes one leaf.
Creating the Vine
- To create the vine, chain 100 stitches. This will form the base for attaching your leaves.
- Fasten off the vine and cut the yarn, leaving a long tail for attaching the leaves.
Assembling the Garland
- Position the leaves along the vine at intervals that you find visually appealing. You can place them closer together for a fuller look or further apart for a more delicate appearance.
- Using the long tail from the vine or a new piece of yarn, sew each leaf onto the vine securely. Make sure to stitch through the base of each leaf to ensure they stay in place.
- Once all leaves are attached, check for any loose ends and weave them in with your tapestry needle.
Final Touches
Your Whimsical Woodland Vine and Leaf Garland is now complete! Hang it in your favorite space to enjoy the natural charm it brings. This garland is not only a beautiful decoration but also a wonderful project to showcase your crochet skills. Happy crafting!
Also Check Out: We think you'd love this beautiful pattern on our sister site: The Twisted Vine Headband Free Pattern