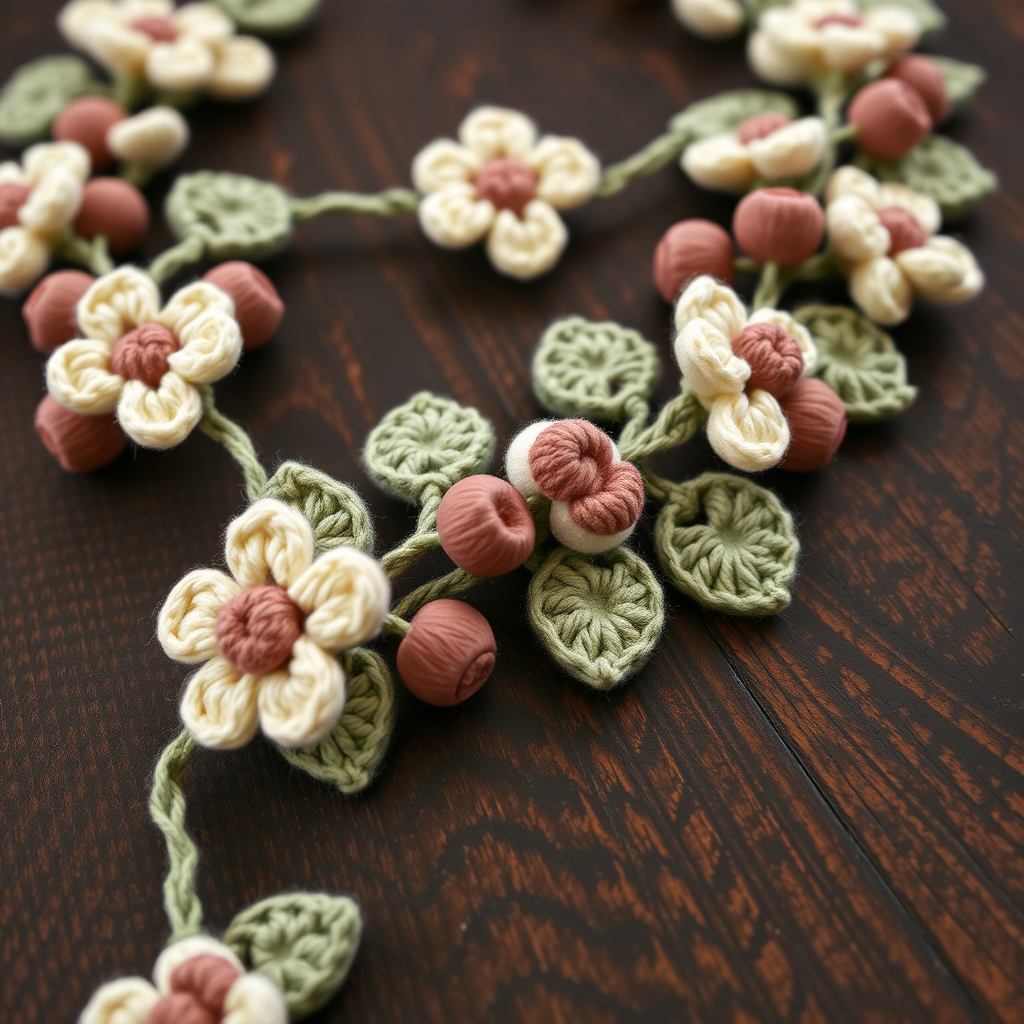
Crochet Clover Leaves

Crochet Clover Leaves Pattern
These delightful crochet clover leaves are quick to make and can be used in many projects! The pattern is written for three different shades of green yarn, giving a natural look. Follow these step-by-step instructions to create your own clovers!
Materials
- Worsted weight yarn in three colors: Light Green, Medium Green, and Dark Green
- Size G (4.0 mm) crochet hook
- Scissors
- Tapestry needle
- Stitch markers (optional)
Gauge
The gauge is not critical for this project. Just ensure your stitches are tight enough to hold shape.
Abbreviations
- ch - chain
- sc - single crochet
- dc - double crochet
- sl st - slip stitch
- tr - treble crochet
Instructions
Round 1: Using Light Green yarn, make a magic circle.
Chain 3 (counts as first dc), then work 2 dc into the magic circle.
Ch 2, then work 3 dc into the magic circle.
Ch 2 again, then work 3 dc into the magic circle.
Ch 2 once more, then work 2 dc into the magic circle.
Pull the magic circle tight, and sl st to the top of the starting ch 3 to close the round.
You will have a circular shape with four petal-like sections.
Cut the yarn and pull through the final loop. Knot securely, and weave in ends.
Round 2: Using Medium Green yarn, join the yarn to any ch-2 space from Round 1 with a sl st.
Ch 3, then work 2 dc into the same ch-2 space.
Ch 1, then work 3 dc into the next ch-2 space, followed by ch 1.
Repeat this for the remaining ch-2 spaces (total of 4 times).
Finish the round by joining with a sl st to the top of the starting ch 3.
Cut the yarn and pull through the final loop. Knot securely, and weave in ends.
Round 3: Using Dark Green yarn, join the yarn to any ch-1 space from Round 2 with a sl st.
Ch 2 (counts as first half double crochet), then work 1 hdc into the same ch-1 space.
Next, ch 1 and work 2 hdc into the next ch-1 space.
Repeat this for the remaining ch-1 spaces around.
Join with a sl st to the top of the ch-2 to finish the round.
Cut the yarn and pull through the final loop. Knot securely, and weave in ends.
Finishing
Once you have completed all clovers, you can embellish them with buttons or beads in the center for extra detail, or leave them as is for a natural look. These clovers can be attached to hats, bags, or made into a lovely garland!