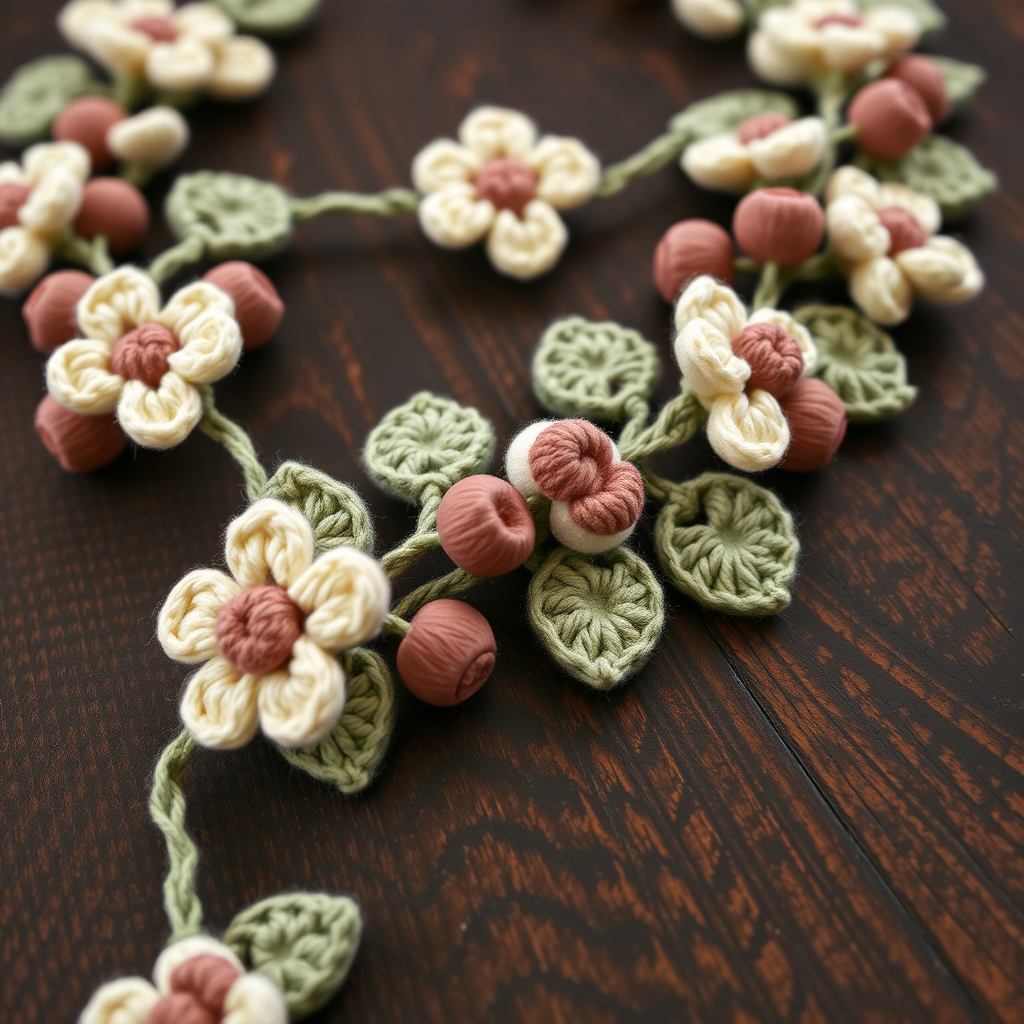
Garland Crochet Patterns
Enchanted Forest Vine and Leaf Garland Free Pattern
Anonymous
•
July 07, 2026

Enchanted Forest Vine and Leaf Garland Free Pattern
Introduction
Bring the magic of the forest into your home with this enchanting vine and leaf garland. Perfect for adding a touch of nature to any space, this pattern combines intricate leaf motifs with delicate vines. Whether you’re decorating for a special occasion or simply want to enhance your everyday decor, this garland will surely add a whimsical charm to your surroundings.
Materials Needed
- Yarn: Lightweight cotton yarn in forest green and moss green
- Hook: 3.5 mm crochet hook
- Gauge: 22 stitches and 30 rows = 4 inches in single crochet
- Tapestry needle: For attaching leaves to the vine
Step-by-Step Instructions
Creating the Vine
- Start with a Magic Ring: Make a magic ring to begin your project.
- Round 1: Chain 1, then work 6 single crochet (sc) into the ring. Join with a slip stitch (sl st) to the first sc. (You should have 6 stitches.)
- Round 2: Chain 1, then work 2 sc in each stitch around. Join with sl st to the first sc. (You should have 12 stitches.)
- Round 3: Chain 1, then (sc in the next stitch, 2 sc in the next stitch) around. Join with sl st to the first sc. (You should have 18 stitches.)
- Round 4: Chain 1, then (sc in the next 2 stitches, 2 sc in the next stitch) around. Join with sl st to the first sc. (You should have 24 stitches.)
- Continue Increasing: Keep increasing in this manner until the circle measures approximately 4 inches across. Make sure to join each round with a slip stitch to the first sc.
- Fasten Off: Once the desired size is achieved, fasten off your work and cut the yarn, leaving a long tail for attaching leaves later.
Making the Leaves
- Chain 10: Start by chaining 10 stitches.
- First Leaf Stitch: In the 2nd chain from the hook, work 1 single crochet (sc).
- Next Stitches: In the next chain, work 1 half double crochet (hdc), then in the next 3 chains, work 1 double crochet (dc) in each.
- Continue Leaf Shape: In the next chain, work 1 hdc, and in the last 3 chains, work 1 sc in each.
- Fasten Off: Once the leaf shape is formed, fasten off and cut the yarn, leaving a long tail for sewing.
Assembling the Garland
- Attach Leaves to Vine: Use a tapestry needle to attach the leaves to the vine. Space them evenly along the length of the vine for a balanced look.
- Final Touch: Adjust the positioning of the leaves as needed to create a natural, organic appearance.
Now your Enchanted Forest Vine and Leaf Garland is complete! Drape it across a mantel, hang it on a wall, or use it to decorate for a special event. Enjoy the beauty of nature in your home!
Also Check Out: We think you'd love this beautiful pattern on our sister site: The Nordic Snowfall Beanie Free Pattern