The Whispering Willow Wrap Free Pattern – A Knitted Forest of Cascading Leaves

The Whispering Willow Wrap Free Pattern – A Knitted Forest of Cascading Leaves
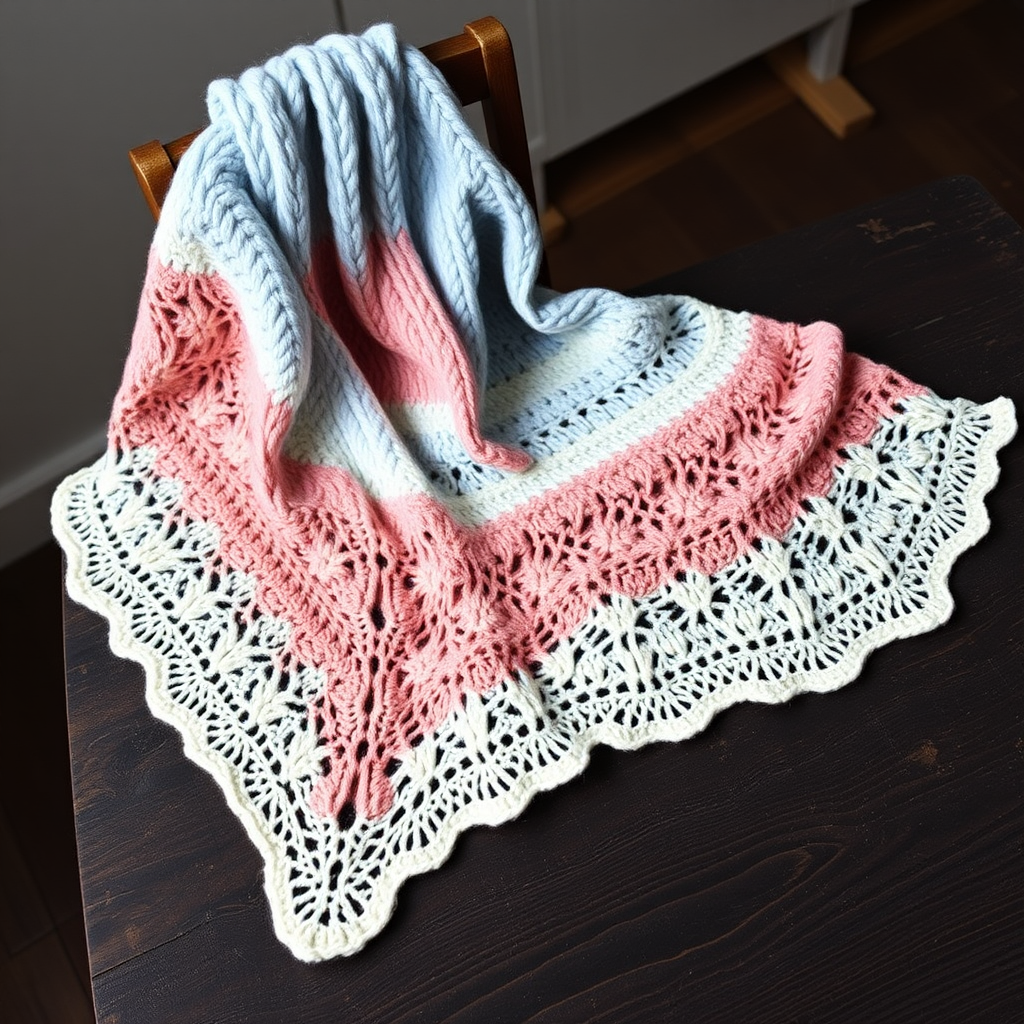
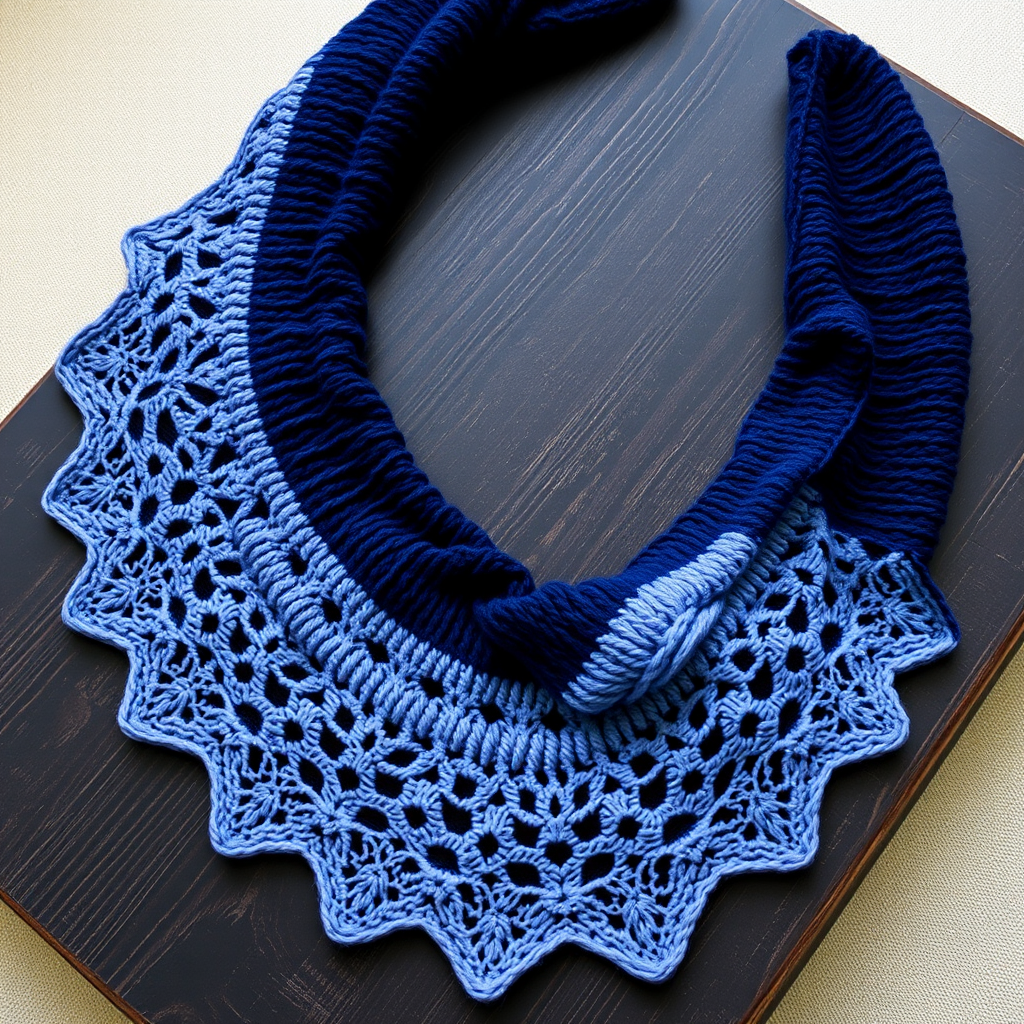
Wrap yourself in the serene beauty of a woodland canopy with this crescent-shaped shawl, where delicate leaf motifs cascade down a backdrop of soft, textured stitches. This pattern offers a meditative knitting experience, perfect for those who love nature-inspired elegance. Whether you're curling up with a good book or taking a twilight stroll, this wrap is your cozy companion. Let's dive into creating this stunning piece together!
Materials Needed
Before you begin your knitting journey, gather these essential supplies. Having everything ready ensures a smooth, uninterrupted crafting session.
- Yarn: Worsted weight yarn in two colors:
- Main Color (MC): Sage Green – approximately 600 yards
- Contrast Color (CC): Cream – approximately 200 yards
- Needle: US 8 (5.0 mm) circular knitting needle, 32-inch or longer (the long cable is crucial for holding the growing number of stitches)
- Notions: Stitch markers (at least 2), tapestry needle for weaving in ends, blocking pins and mats
Gauge
18 stitches and 24 rows = 4 inches in stockinette stitch (blocked). While gauge isn't critical for a shawl's fit, matching it ensures you use the correct amount of yarn and achieve the intended drape. Always knit a swatch and block it before measuring!
Step-by-Step Instructions
Pattern Notes & Abbreviations
Important Notes: This shawl is worked from the top center down, increasing on each side and at the center. The leaf motif is created using yarn overs and decreases. Always slip the first stitch of each row purlwise with yarn in front for a neat, professional edge. Blocking is absolutely essential to open up the lace and define the beautiful leaves.
Abbreviations:
- k = knit
- p = purl
- yo = yarn over
- k2tog = knit two together (right-leaning decrease)
- ssk = slip, slip, knit (left-leaning decrease)
- pm = place marker
- sm = slip marker
- MC = main color
- CC = contrast color
Setup: Casting On and Establishing the Base
Let's start at the very beginning. This simple cast-on creates the foundation for your entire shawl.
- With MC, cast on 3 stitches using your preferred method (long-tail is recommended).
- Row 1 (WS): k3.
- Row 2 (RS): k1, yo, k1, yo, k1 (you now have 5 stitches).
- Row 3: k1, p to last stitch, k1. (Remember: slip the first stitch purlwise with yarn in front, then knit the last stitch.)
- Row 4: k1, yo, k1, yo, pm (center marker), yo, k1, yo, k1 (you now have 9 stitches).
- Row 5: k1, p to last stitch, k1.
Increase Section: Building the Crescent Shape (Worked in MC)
This section creates the gentle curve of the shawl. The increases are placed at the edges and at the center marker, forming the crescent silhouette.
- Row 6 (RS): k1, yo, k to marker, yo, sm, k1, yo, k to last stitch, yo, k1. (This adds 4 stitches: one at each edge and one on each side of the center stitch.)
- Row 7: k1, p to last stitch, k1.
- Repeat Rows 6-7 until you have 45 stitches total (approximately 9 repeats of the increase rows). End with a WS row (Row 7).
Leaf Motif Section: The Cascading Forest (Worked in MC)
Now for the magic! The shawl is divided into two halves by the center marker. You'll work the following 12-row pattern on each half, maintaining the edge stitches and center stitch as established. The pattern naturally expands as you repeat it, creating the cascading leaf effect.
Row 1 (RS): k1, yo, *k2, yo, ssk, k1, k2tog, yo, k2, yo, ssk, k1, k2tog, yo, k2* repeat from * to * until 2 stitches before marker, yo, sm, k1, yo, repeat from * to * on second half, ending with yo, k1.
Row 2 and all WS rows: k1, p to last stitch, k1.
Row 3: k1, yo, *k3, yo, ssk, k1, k2tog, yo, k3, yo, ssk, k1, k2tog, yo, k3* repeat, yo, sm, k1, yo, repeat, yo, k1.
Row 5: k1, yo, *k4, yo, ssk, k1, k2tog, yo, k4, yo, ssk, k1, k2tog, yo, k4* repeat, yo, sm, k1, yo, repeat, yo, k1.
Row 7: k1, yo, *k5, yo, ssk, k1, k2tog, yo, k5, yo, ssk, k1, k2tog, yo, k5* repeat, yo, sm, k1, yo, repeat, yo, k1.
Row 9: k1, yo, *k6, yo, ssk, k1, k2tog, yo, k6, yo, ssk, k1, k2tog, yo, k6* repeat, yo, sm, k1, yo, repeat, yo, k1.
Row 11: k1, yo, *k7, yo, ssk, k1, k2tog, yo, k7, yo, ssk, k1, k2tog, yo, k7* repeat, yo, sm, k1, yo, repeat, yo, k1.
Row 12 (WS): k1, p to last stitch, k1.
Repeat this 12-row pattern until the shawl measures approximately 20 inches from the center cast-on edge, ending with a WS row (Row 12). Note: The stitch count increases with each repeat, so the pattern will naturally expand. Don't worry if the repeats don't line up perfectly at the edges—the increases will accommodate the growth.
Contrast Border: A Creamy Finish (Worked in CC)
Time to add that beautiful cream contrast! This garter stitch border frames the leafy body perfectly.
- Switch to CC.
- Work in garter stitch (knit every row) for 6 rows, while continuing the increases on RS rows as before: k1, yo, k to marker, yo, sm, k1, yo, k to last stitch, yo, k1.
- On WS rows, simply knit all stitches (no purling needed in garter stitch).
Picot Bind-Off: The Delicate Final Touch
This bind-off creates a charming scalloped edge that echoes the leaf motifs. It's easier than it looks!
- With CC, bind off as follows: k2, *insert left needle into the two stitches on right needle, k2tog through back loop, k1, repeat from * until all stitches are bound off.
- This creates a delicate picot edge that adds a professional, finished look.
Finishing: Bringing It All Together
- Weave in all ends carefully with your tapestry needle, making sure to secure them on the wrong side of the work.
- Block the shawl gently but thoroughly. This is the most important step for lace! Soak the shawl in lukewarm water with a drop of wool wash for 20-30 minutes.
- Gently squeeze out excess water (never wring!). Lay the shawl on blocking mats and pin out the leaf motifs to open up the lace and define each leaf. Stretch it to the desired dimensions.
- Allow to dry completely before unpinning. This will transform your knitting into a beautifully draped, professional-looking shawl.
Congratulations! You've created your very own Whispering Willow Wrap. This nature-inspired piece is perfect for gifting or keeping for yourself. The meditative rhythm of the leaf pattern makes it a joy to knit, and the finished result is a stunning accessory that captures the quiet elegance of a forest in every stitch. Happy knitting!