Aurora Borealis Driftwood Shawl Free Pattern – Knit a Celestial Gradient Wrap

Knit the Aurora Borealis Driftwood Shawl: A Free Gradient Wrap Pattern
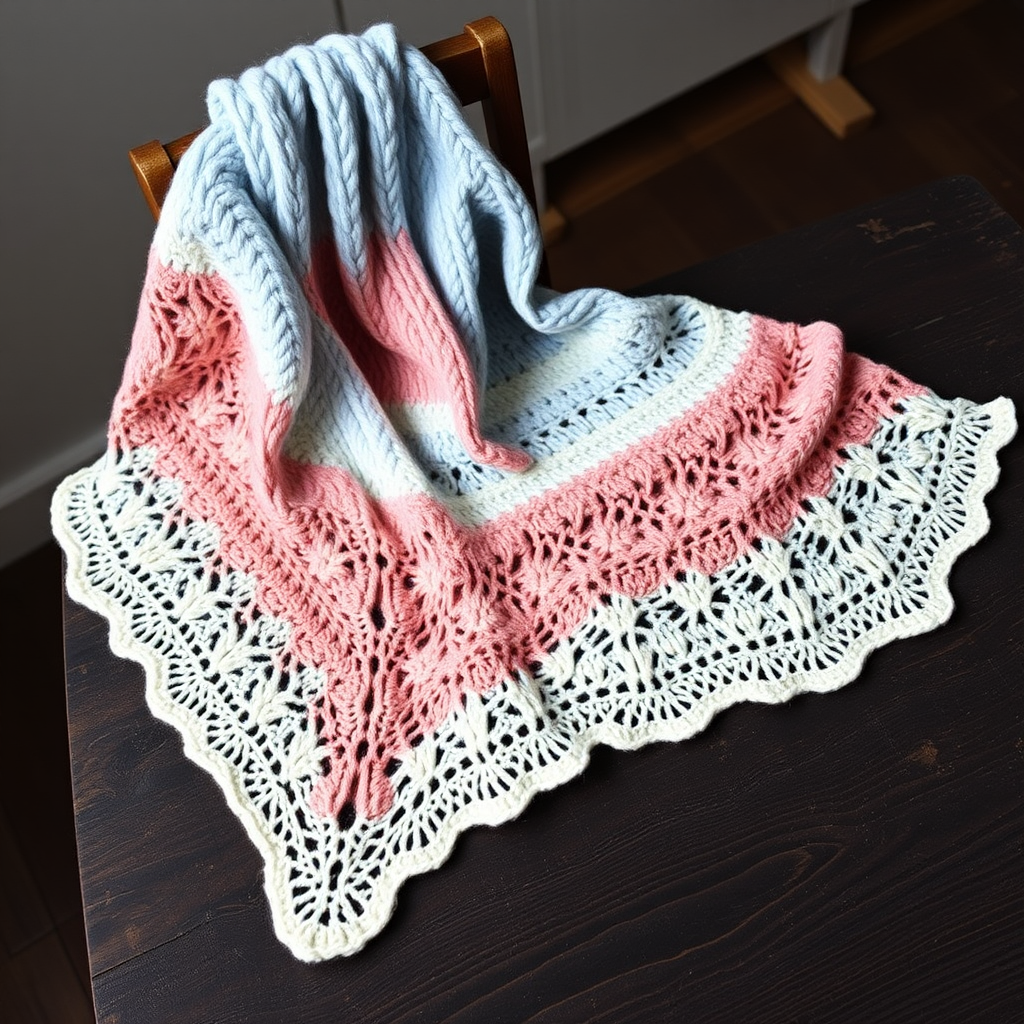
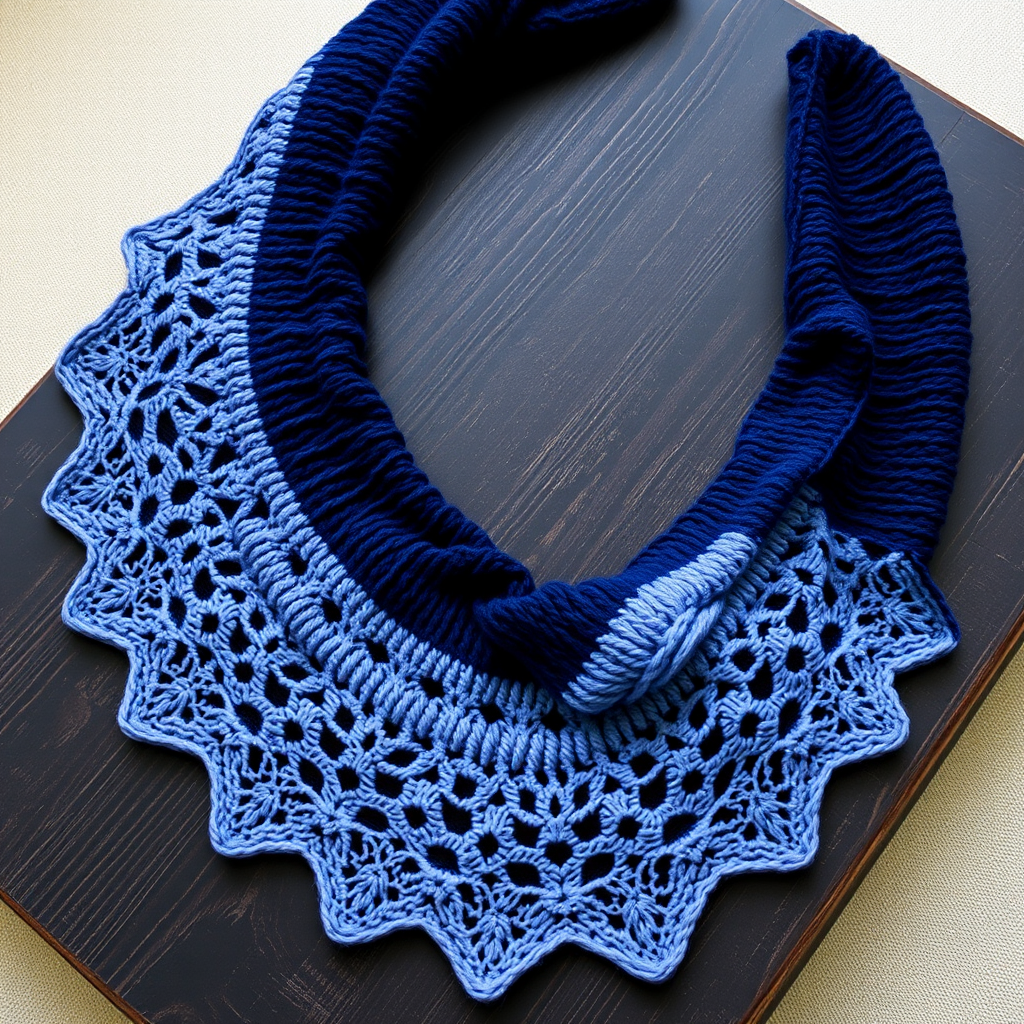
Wrap yourself in the shifting colors of the northern lights with this mesmerizing gradient knit shawl. The Aurora Borealis Driftwood Shawl captures the ethereal beauty of the night sky in a wearable, handcrafted accessory. Featuring a unique driftwood lace edge and a seamless color transition from deep teal to pale mint, this pattern is perfect for cozy evenings and makes a stunning handmade gift. Whether you're an intermediate knitter looking for a rewarding project or a confident beginner ready for a challenge, this celestial wrap will become a treasured piece in your wardrobe.
Materials Needed
Before you begin, gather the following materials to ensure a smooth knitting experience:
- Yarn: Fingering weight yarn in 4 colors – Deep Teal (Color A), Midnight Blue (Color B), Soft Lavender (Color C), and Pale Mint (Color D) – approximately 400g total (about 100g of each color).
- Needles: US 6 (4.0 mm) circular knitting needle with a 32-inch cable (long enough to accommodate the growing stitch count).
- Notions: Stitch markers (at least 2), a tapestry needle for weaving in ends, and a lifeline (scrap yarn or thread) for safety.
- Gauge: 20 stitches and 28 rows = 4 inches in stockinette stitch (blocked). Gauge is important for achieving the correct drape and size, so take time to swatch.
Step-by-Step Instructions
Getting Started: The Garter Tab Cast-On
Note: This shawl is knit from the top down, starting with a garter tab cast-on. Use a lifeline after every 10 rows for safety – this will save you hours of frustration if you need to rip back.
- Cast On: Using Color A (Deep Teal), cast on 3 stitches.
- Knit 6 rows of garter stitch (knit every row). You will have a small rectangular tab.
- Now, rotate the work: pick up 3 stitches along the side edge of the tab, and then pick up 3 stitches from the cast-on edge. You should now have 9 stitches on your needle.
Set-Up Row (Wrong Side)
This row establishes the structure of the shawl with two increase points that will form the triangular shape.
- K3, place marker, P3, place marker, K3.
Increase Section (Rows 1-20)
This section creates the initial shape of the shawl with simple yarn-over increases.
- Row 1 (Right Side): K3, yo, knit to marker, yo, slip marker, K3, yo, knit to marker, yo, slip marker, K3. (This adds 4 stitches – one on each side of the two markers).
- Row 2 (Wrong Side): K3, purl to last 3 stitches, K3. (Always keep the first and last 3 stitches in garter stitch for a neat edge).
- Repeat Rows 1-2 until you have 49 stitches on your needle (about 10 repeats of the increase rows).
Color Transition: Introducing Color B
Now we begin the celestial gradient. Switch to Color B (Midnight Blue) and continue the same increase pattern, but add a subtle eyelet detail in the center.
- Continue the increase pattern (Row 1 and Row 2 as above) for 20 more rows.
- However, on the Right Side rows, work the center 3 stitches (between the two markers) in a simple eyelet pattern: K1, yo, k2tog, yo, K1. This creates a delicate ladder effect that mimics the shimmer of starlight.
- Continue the garter stitch edges and the yarn-over increases on each side of the markers as before.
Main Body: Feather-and-Fan Lace
Switch to Color C (Soft Lavender). This is where the shawl truly blossoms with the intricate feather-and-fan lace pattern.
- Row 1 (Right Side): K3, yo, *K2tog, yo, K1, yo, K2tog* repeat from * to marker, yo, slip marker, K3, yo, work feather-and-fan across center (repeat the * pattern across the center section), yo, slip marker, K3, yo, repeat from * to last 3 stitches, K3.
- Row 2 (Wrong Side): K3, purl to last 3 stitches, K3.
- Repeat these 2 rows until the shawl measures 20 inches from the center cast-on, ending with a Wrong Side row. The feather-and-fan pattern creates beautiful, organic waves that echo the driftwood aesthetic.
Final Border: The Driftwood Edge
Switch to Color D (Pale Mint) for the finishing touches. This border adds structure and a whimsical, wavy edge.
- Work 6 rows of garter stitch (knit every row) while continuing the increases on Right Side rows (K3, yo, knit to marker, yo, slip marker, K3, yo, knit to marker, yo, slip marker, K3).
- Picot Bind-Off (on the last Right Side row): Bind off 2 stitches, *slip the stitch back to the left needle, cast on 2 stitches, bind off 4 stitches* repeat from * to end. This creates a delicate, scalloped picot edge that mimics the organic curves of driftwood.
Finishing and Blocking
Blocking is essential for lace knitting – it opens up the pattern and gives the shawl its beautiful drape.
- Weave in all loose ends with a tapestry needle.
- Soak the shawl in lukewarm water with a drop of wool wash for 30 minutes.
- Gently squeeze out excess water (do not wring or twist).
- Lay the shawl on a blocking mat and pin it out to shape, gently stretching the lace points and the picot edge.
- Allow to dry completely before unpinning. This step transforms your knitting into a professional-looking finished piece.
Your Aurora Borealis Driftwood Shawl is now complete! The seamless gradient from deep teal to pale mint, combined with the feather-and-fan lace and wavy picot edge, creates a truly celestial accessory. Drape it over your shoulders on a cool evening, or gift it to someone special – this shawl is a work of art that will be cherished for years to come. Happy knitting!