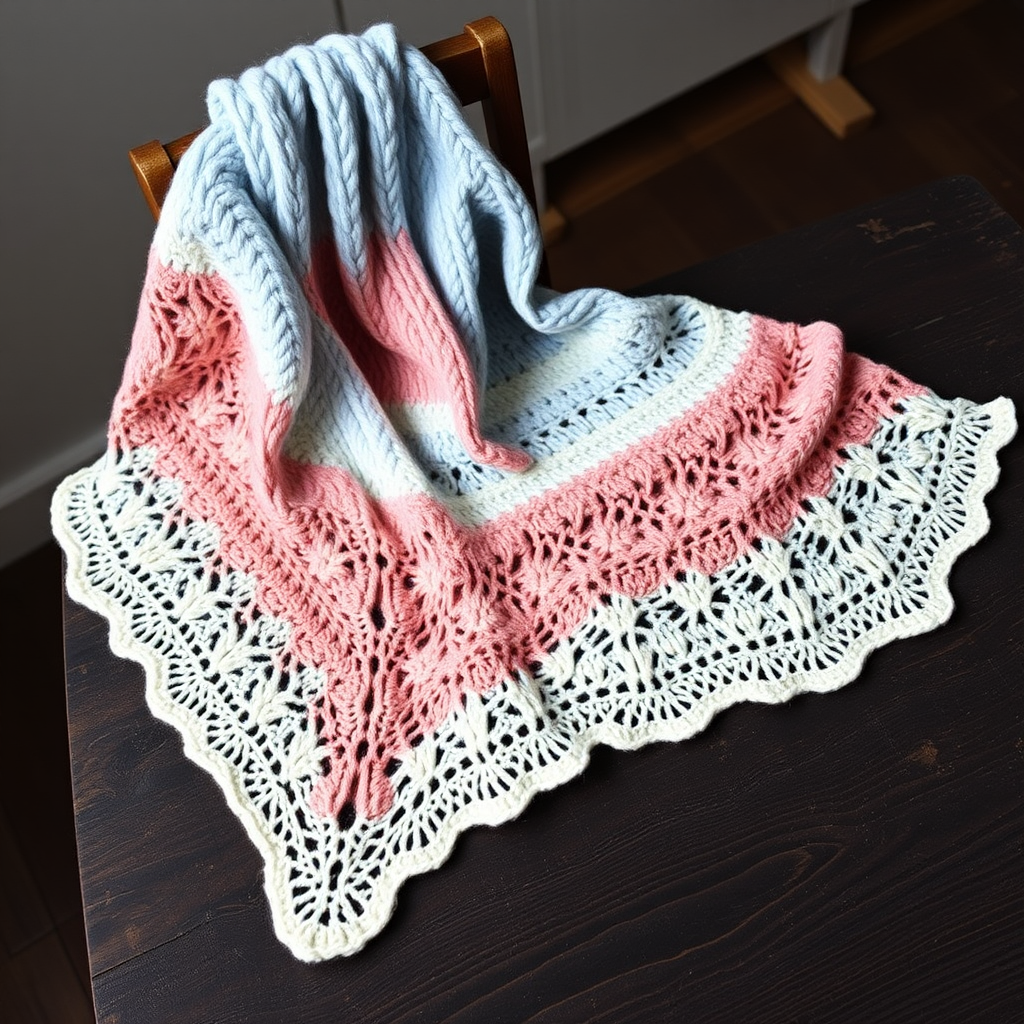
Aurora Lace Crescent Shawl Free Pattern – A Knitted Twilight Sky Wrap
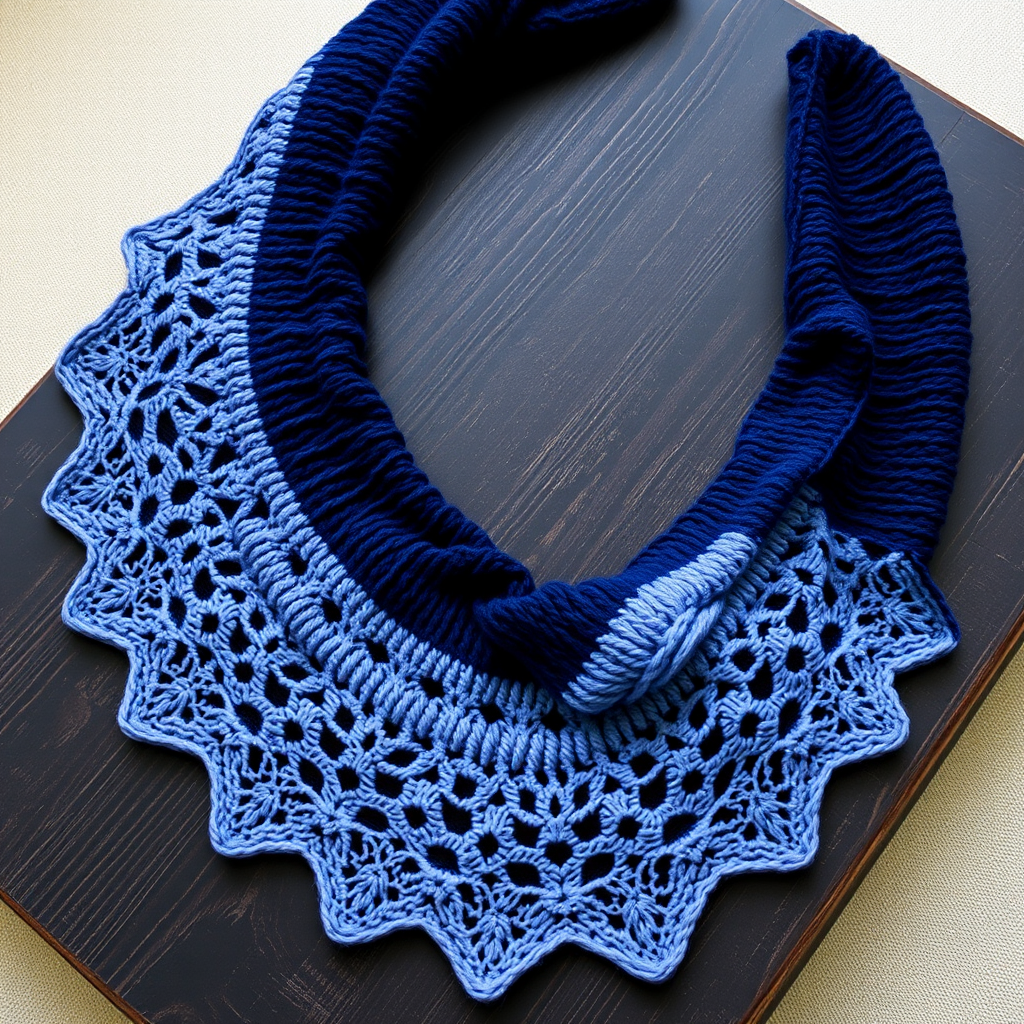
Aurora Lace Crescent Shawl Free Pattern – A Knitted Twilight Sky Wrap
Wrap yourself in the shifting colors of a twilight sky with this crescent-shaped lace shawl, knitted in a gradient of deep blues and soft purples. The delicate eyelet pattern mimics the dance of the aurora borealis, creating a lightweight yet cozy accessory. This free pattern is perfect for intermediate knitters looking to expand their lace skills while creating a stunning, wearable piece of art. The crescent shape drapes beautifully over the shoulders, and the color transitions from deep navy to soft lavender will make you feel like you're carrying a piece of the northern lights with you wherever you go.
Materials Needed
Before you begin your knitting journey, gather the following materials to ensure a smooth and enjoyable crafting experience:
- Yarn: Fingering weight yarn in 3 colors:
- Color A: Deep navy (approx. 150g)
- Color B: Mid-blue (approx. 130g)
- Color C: Soft lavender (approx. 120g)
- Needles: US 6 (4.0 mm) circular knitting needle, 32-inch or longer (to accommodate the growing number of stitches)
- Notions: Stitch markers (at least 2), tapestry needle for weaving in ends, blocking mats and pins
- Optional: Row counter to keep track of your progress
Gauge
20 stitches and 28 rows = 4 inches in stockinette stitch (blocked). While gauge is important for size, this shawl is quite forgiving—even if your gauge is slightly off, the crescent shape will still work beautifully. However, for the best drape and size, try to match the gauge as closely as possible.
Step-by-Step Instructions
Understanding the Construction
This shawl is knitted from the top center down to the curved bottom edge, increasing on both sides to form a crescent shape. The increases happen on every right-side row, creating a gentle arc that widens as you progress. The lace pattern is simple and repetitive, making it easy to memorize while still producing a stunning, intricate-looking result.
Abbreviations
- k = knit
- p = purl
- yo = yarn over
- k2tog = knit two together (decrease)
- ssk = slip, slip, knit (decrease)
- pm = place marker
- sm = slip marker
- RS = right side
- WS = wrong side
Setup Section
With Color A (deep navy), cast on 5 stitches.
Row 1 (RS): k2, yo, k1, yo, k2 — you will now have 7 stitches.
Row 2 (WS): k2, p3, k2
Row 3 (RS): k2, yo, k1, yo, k1, yo, k1, yo, k2 — you will now have 11 stitches.
Row 4 (WS): k2, p7, k2
Begin Increases with Color A
Row 5 (RS): k2, yo, k to last 2 stitches, yo, k2 — this increases 2 stitches (one at each edge).
Row 6 (WS): k2, p to last 2 stitches, k2
Repeat Rows 5-6 until you have 51 stitches, ending with a WS row. This will take approximately 20 increase rows. Place a marker after the first 2 stitches and before the last 2 stitches to mark the increase points—this will help you keep track of your edges as the shawl grows.
Transition to Color B (Mid-Blue)
Cut Color A, leaving a tail of about 6 inches for weaving in later. Join Color B.
Continue repeating Rows 5-6 (increasing on RS rows) until you have 101 stitches, ending with a WS row. The stockinette section with Color B will create a smooth, solid band that transitions beautifully into the lace section.
Begin Lace Pattern
Now you'll start the delicate eyelet pattern that gives this shawl its aurora-inspired beauty. The lace pattern consists of a 4-row repeat that you'll work until you reach the desired stitch count.
Row 1 (RS): k2, yo, *k2tog, yo* repeat from * to * until 3 stitches before end, k1, yo, k2 — this increases 2 stitches.
Row 2 (WS): k2, p to last 2 stitches, k2
Row 3 (RS): k2, yo, *yo, ssk* repeat from * to * until 3 stitches before end, k1, yo, k2 — this increases 2 stitches.
Row 4 (WS): k2, p to last 2 stitches, k2
Repeat Rows 1-4, continuing to increase on every RS row, until you have 151 stitches, ending with a WS row. The lace pattern alternates between k2tog and ssk decreases, creating a subtle diagonal movement in the eyelets that mimics the flowing dance of the northern lights.
Transition to Color C (Soft Lavender)
Cut Color B, leaving a tail for weaving in. Join Color C.
Continue repeating the lace pattern rows (Rows 1-4) until you have 201 stitches, ending with a WS row. The soft lavender section will be the largest portion of the shawl, creating that beautiful gradient effect from dark to light.
Edging
The edging adds a final flourish to your shawl, creating a slightly scalloped edge that complements the lace pattern.
Row 1 (RS): k2, yo, *k2tog, yo* repeat from * to * until 3 stitches before end, k1, yo, k2 — this increases 2 stitches.
Row 2 (WS): k2, p to last 2 stitches, k2
Repeat these two rows 3 more times (total 8 rows of edging). This will give you a total of 209 stitches when complete.
Bind Off (Loosely)
On the RS, bind off all stitches knitwise, but do not pull tight. This is crucial—a tight bind-off will prevent the shawl from draping properly and may cause the edge to curl. If you tend to bind off tightly, consider using a needle one size larger for the bind-off row. Cut yarn, leaving a tail of about 8 inches, and weave in all ends using your tapestry needle.
Blocking
Blocking is essential for this shawl to open up the lace pattern and achieve the proper crescent shape. Follow these steps for perfect blocking:
- Soak the shawl in lukewarm water with a drop of wool wash for 20 minutes. This allows the fibers to relax and absorb the water evenly.
- Gently squeeze out excess water—do not wring or twist, as this can felt the yarn and ruin your hard work.
- Lay the shawl flat on a clean towel and roll it up to remove additional moisture.
- Place the shawl on a blocking mat and pin out the edges to form a crescent shape, stretching the lace points gently to open up the eyelets.
- Pay special attention to the top edge, which should be relatively straight, and the bottom curved edge, which should be pinned out to show the scalloped lace points.
- Allow to dry completely before unpinning—this can take 24-48 hours depending on humidity.
Tips for Success
- Count your stitches regularly: Especially during the lace sections, it's easy to lose track. Count at the end of each repeat to ensure you haven't dropped or added stitches.
- Use lifelines: If you're new to lace knitting, insert a lifeline (a piece of contrasting thread or thin wire) through all stitches every 10-20 rows. If you make a mistake, you can easily rip back to the lifeline without losing all your progress.
- Keep your edge stitches consistent: The first and last 2 stitches of every row are always knitted, creating a neat garter stitch edge that prevents curling and makes the shawl look polished.
- Choose your yarn wisely: A yarn with good stitch definition, like Malabrigo Sock, will showcase the lace pattern beautifully. Avoid overly fuzzy yarns that can obscure the eyelets.
Wearing and Caring for Your Shawl
This crescent shawl is incredibly versatile—wear it draped over your shoulders for an elegant evening look, or wrap it around your neck as a cozy scarf on chilly days. The lightweight fingering weight yarn makes it perfect for transitional weather.
To care for your finished shawl, hand wash in cold water with a gentle wool wash, and lay flat to dry. Avoid hanging, as the weight of the wet shawl can stretch it out of shape. With proper care, this heirloom-quality piece will last for years and can even be passed down to future generations.
We hope you enjoy knitting this Aurora Lace Crescent Shawl as much as we enjoyed creating the pattern for you. The combination of simple lace techniques and stunning color transitions makes this a rewarding project that you'll be proud to wear or gift. Happy knitting!