Citrus Grove Lace Shawl Free Pattern – Knit a Zesty Lime Garden

Citrus Grove Lace Shawl Free Pattern – Knit a Zesty Lime Garden
Wrap yourself in the refreshing zest of a lime orchard with this airy, textured shawl. The Citrus Grove Lace Shawl combines delicate leaf motifs with a vibrant citrus palette, perfect for cool evenings and sunny days alike. This crescent-shaped shawl is knit from the top down, making it an ideal project for adventurous beginners who want to master lace knitting while creating a stunning, wearable accessory.
With its fingering-weight yarn and simple lace repeat, this pattern is both portable and meditative. The color transitions from lime green to sunny yellow to cream create a subtle gradient effect that mimics the dappled light of a citrus grove. Whether you're new to lace or a seasoned knitter looking for a relaxing project, this shawl delivers beauty and satisfaction in equal measure.
Materials Needed
Before you begin, gather the following supplies. All materials are readily available at your local yarn shop or online.
Yarn
- Fingering weight yarn in three colors:
- Lime Green (MC) – 200g
- Soft Yellow (CC1) – 100g
- Cream (CC2) – 100g
- Total yarn needed: approximately 400g
Needles & Notions
- US 6 (4.0 mm) circular knitting needle, 32 inches or longer (to accommodate the growing number of stitches)
- Stitch markers (at least 2)
- Yarn needle for weaving in ends
- Blocking mats and pins (for finishing)
Gauge
20 stitches and 28 rows = 4 inches in stockinette stitch (blocked). Gauge is important for achieving the correct drape and size, so take a moment to knit a swatch before starting.
Step-by-Step Instructions
This shawl is knit from the top down, starting with a garter tab and increasing outward to form a crescent shape. The lace pattern is a simple repeat that is easy to memorize. Follow along carefully, and you'll have a gorgeous shawl in no time.
Abbreviations
- k = knit
- p = purl
- yo = yarn over
- k2tog = knit two together (right-leaning decrease)
- ssk = slip, slip, knit (left-leaning decrease)
- kfb = knit front and back (increase)
- pm = place marker
- sm = slip marker
- rep = repeat
Garter Tab Cast On
- Cast on 3 stitches with MC (Lime Green).
- Knit 6 rows of garter stitch (all knit). This creates a small tab.
- Turn work 90 degrees clockwise. Pick up and knit 3 stitches along the side edge (one stitch for every two rows).
- Turn work again. Pick up and knit 3 stitches from the cast-on edge. You now have 9 stitches on the needle.
Set-Up Row (Wrong Side)
k3, pm, p3, pm, k3
This establishes your garter stitch borders (3 stitches on each side) and the center panel where the lace will be worked.
Increase Section (Rows 1-12)
This section builds the foundation of your shawl, adding stitches evenly to create the crescent shape.
- Row 1 (RS): k3, sm, yo, k to marker, yo, sm, k3 (2 increases)
- Row 2 (WS): k3, sm, p to marker, sm, k3
Repeat Rows 1-2 until you have 33 stitches total (after 12 rows). Your stitch count should be: 3 border stitches + 27 center stitches + 3 border stitches.
Lace Pattern Section
Now the fun begins! The lace pattern is worked over the center section between the markers. Each 12-row repeat creates a beautiful leaf-and-eyelet motif. The pattern is written to be worked across the entire center section, with the border stitches maintained on each side.
Lace Pattern Rows
- Row 1 (RS): k3, sm, *yo, ssk, k1, k2tog, yo, k1; rep from * to last 3 sts before marker, yo, ssk, k1, k2tog, yo, sm, k3
- Row 2 (WS): k3, sm, purl to marker, sm, k3
- Row 3 (RS): k3, sm, *k1, yo, ssk, k1, k2tog, yo; rep from * to last 2 sts before marker, k1, yo, ssk, k1, k2tog, yo, sm, k3
- Row 4 (WS): k3, sm, purl to marker, sm, k3
- Row 5 (RS): k3, sm, *k2, yo, ssk, k1, k2tog, yo; rep from * to last 1 st before marker, k2, yo, ssk, k1, k2tog, yo, sm, k3
- Row 6 (WS): k3, sm, purl to marker, sm, k3
- Row 7 (RS): k3, sm, *yo, ssk, k1, k2tog, yo, k1; rep from * to last 3 sts before marker, yo, ssk, k1, k2tog, yo, sm, k3
- Row 8 (WS): k3, sm, purl to marker, sm, k3
- Row 9 (RS): k3, sm, *k1, yo, ssk, k1, k2tog, yo; rep from * to last 2 sts before marker, k1, yo, ssk, k1, k2tog, yo, sm, k3
- Row 10 (WS): k3, sm, purl to marker, sm, k3
- Row 11 (RS): k3, sm, *k2, yo, ssk, k1, k2tog, yo; rep from * to last 1 st before marker, k2, yo, ssk, k1, k2tog, yo, sm, k3
- Row 12 (WS): k3, sm, purl to marker, sm, k3
Increasing Between Repeats
Repeat Rows 1-12, but after every 12-row repeat, add an extra increase row to keep the shawl growing evenly:
- Increase Row (RS): k3, sm, yo, k to marker, yo, sm, k3
- Following Row (WS): k3, sm, purl to marker, sm, k3
This ensures your shawl maintains its crescent shape while the lace pattern continues seamlessly.
Color Changes
Follow this color sequence to achieve the beautiful citrus gradient:
- Work the first 3 repeats of the lace pattern in MC (Lime Green).
- Then work 2 repeats in CC1 (Soft Yellow).
- Then work 2 repeats in CC2 (Cream).
- Continue alternating colors in this order (MC, CC1, CC2) until the shawl measures approximately 60 inches across the top edge, or your desired size.
Pro tip: When changing colors, work the first stitch of the new color on a wrong-side row for a cleaner transition. Weave in ends as you go to minimize finishing work.
Edging
Work the edging in MC (Lime Green) to frame your shawl beautifully.
- Row 1 (RS): k3, sm, *yo, k2tog; rep from * to last 3 sts before marker, yo, k2tog, yo, sm, k3
- Row 2 (WS): k3, sm, purl to marker, sm, k3
Repeat these 2 rows 3 more times (total 8 rows of edging). This creates a delicate eyelet border that complements the lace pattern.
Bind Off (Right Side)
Use this stretchy, picot-like bind-off for a beautiful finished edge:
- Knit 2 stitches.
- *Slip both stitches back to the left needle, knit them together through the back loop, knit 1 stitch.*
- Repeat from * until all stitches are bound off.
This technique creates a scalloped, decorative edge that adds a feminine, delicate touch to your shawl.
Finishing
- Weave in all ends with a yarn needle, being careful to secure them on the wrong side.
- Block the shawl gently to open up the lace pattern. Soak in lukewarm water with a mild wool wash for 20-30 minutes.
- Gently squeeze out excess water (do not wring).
- Lay the shawl on blocking mats and pin out the edges to create a beautiful crescent shape. Stretch the lace points gently to showcase the leaf motifs.
- Allow to dry completely before wearing. This can take 24-48 hours depending on humidity.
Tips for Success
- Use lifelines: After every lace repeat, thread a contrasting scrap yarn through the stitches on your needle. If you make a mistake, you can easily rip back to the lifeline without losing your work.
- Count your stitches: The lace pattern maintains a consistent stitch count within each repeat, so if your numbers don't match, check your decreases and yarn overs.
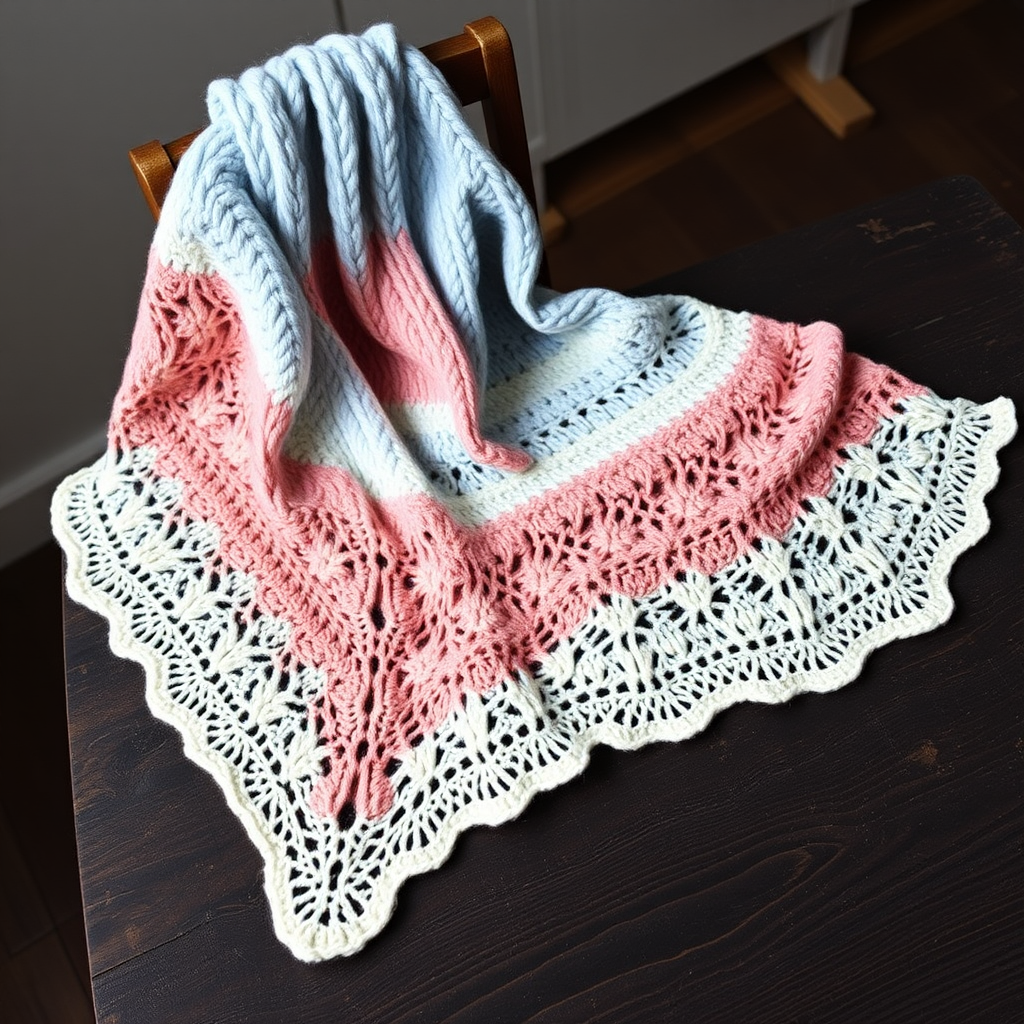
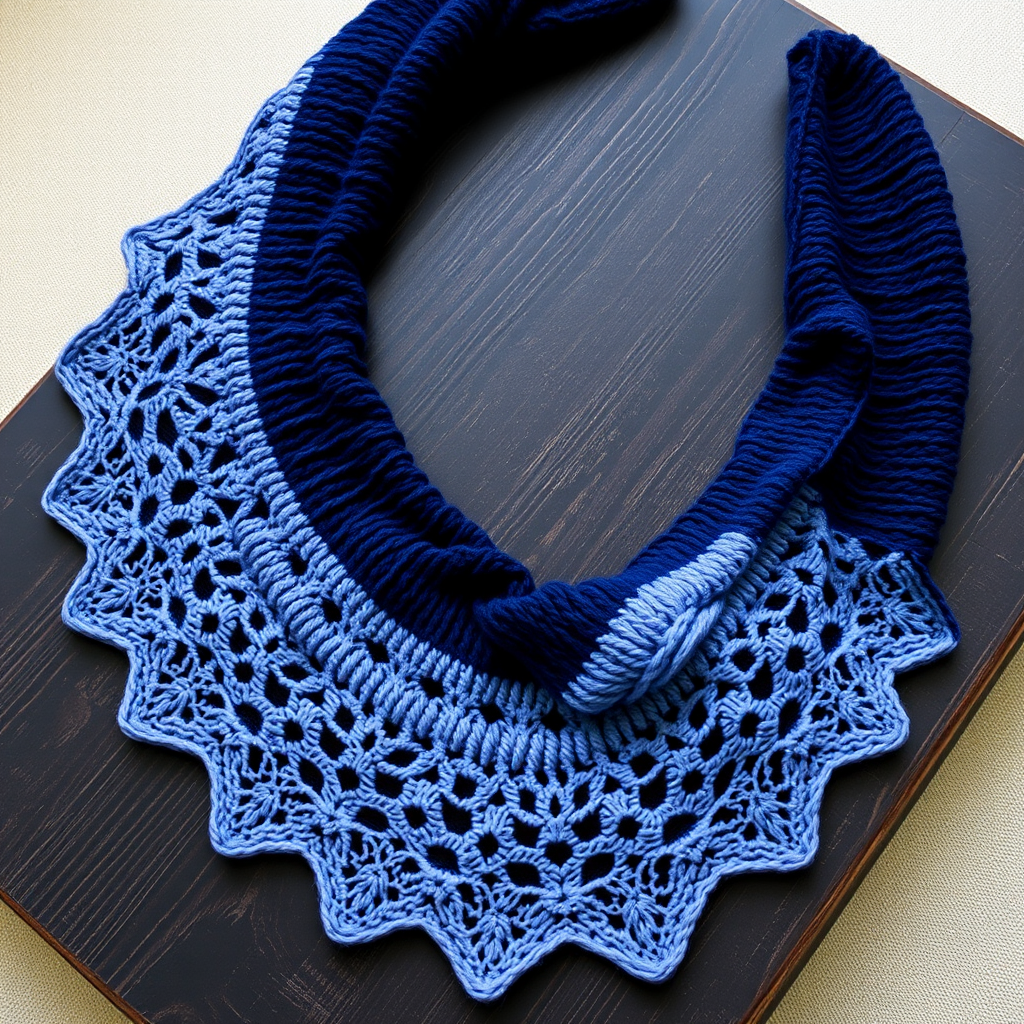
- Blocking is essential: Lace knitting looks like a crumpled mess before blocking. Trust the process – blocking transforms it into the beautiful, airy fabric you see in the photos.
- Choose your yarn wisely: A wool or wool-blend fingering weight yarn will block beautifully and hold its shape. Superwash wools are easier to care for but may stretch more.
Your Citrus Grove Lace Shawl will be a stunning addition to your wardrobe – a fresh, zesty accessory that evokes sun-drenched citrus groves and warm spring breezes. The delicate leaf motifs and eyelet holes create a light, airy texture that drapes elegantly over the shoulders. Whether you gift it to a loved one or keep it for yourself, this shawl is sure to become a treasured piece.
Happy knitting, and enjoy your zesty lime garden!