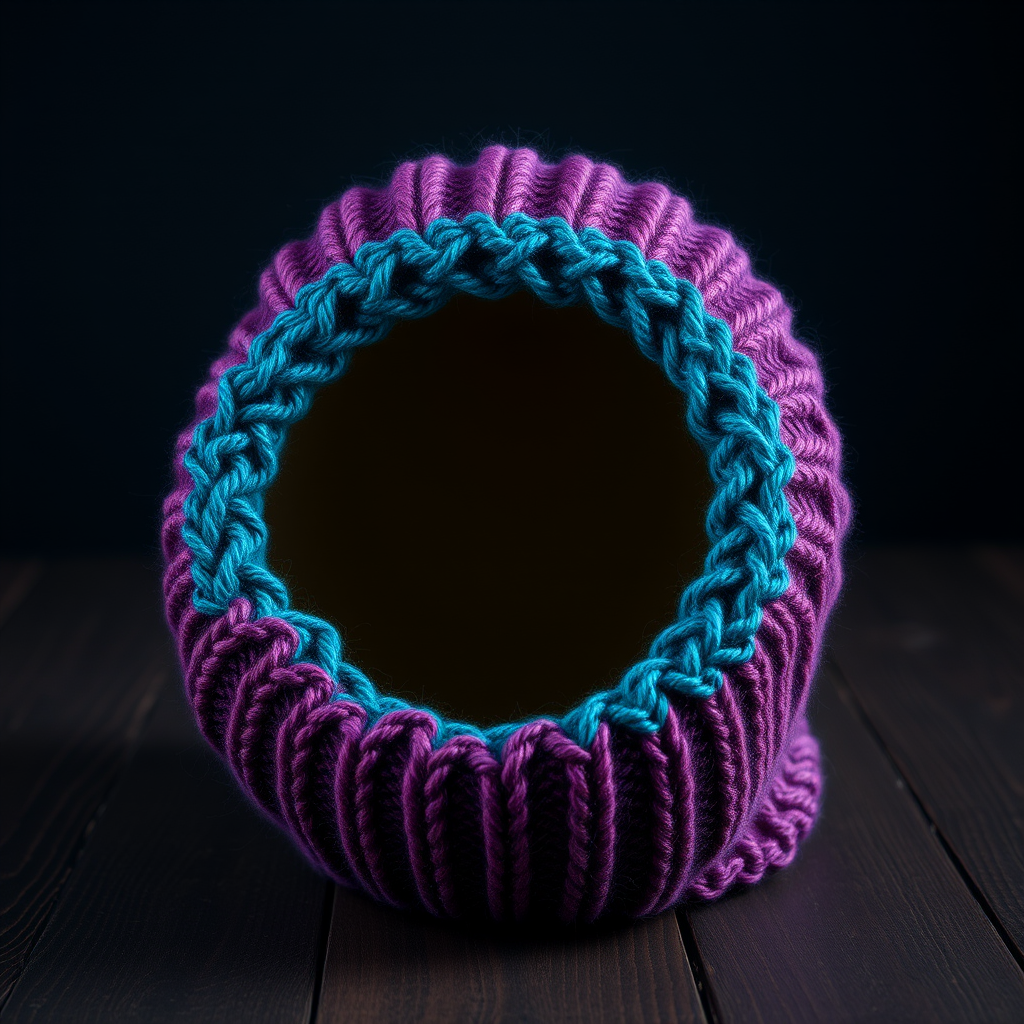
The Whispering Willow Wrap: A Free Knitting Pattern for a Textured, Asymmetrical Shawl

Introduction: The Whispering Willow Wrap
Embrace the quiet elegance of the Whispering Willow Wrap, a modern asymmetrical shawl that drapes beautifully. This free knitting pattern uses a unique combination of slipped stitches and yarn overs to create a fabric that mimics the delicate, layered bark of a willow tree. The result is a soft, cozy, and modern accessory with a beautiful drape—perfect for adding a touch of texture to any outfit. Whether you're a seasoned knitter or a confident beginner, this pattern will guide you through creating a stunning, one-of-a-kind wrap.
Materials Needed
Before you begin, gather the following materials. All specifications are based on the original design.
- Yarn: Worsted weight yarn (Category 4). Shown in Malabrigo Rios in 'Diana' (approx 420 yards). Any worsted weight yarn will work, but choose one with good stitch definition to show off the texture.
- Needle: US 8 (5.0 mm) 32-inch circular needle (to accommodate the large number of stitches as the shawl grows).
- Notions: Stitch markers (2), tapestry needle for weaving in ends, blocking pins and mats.
- Gauge: 18 stitches and 24 rows = 4 inches in Willow Stitch pattern (blocked). Achieving the correct gauge is important for the final size and drape.
Step-by-Step Instructions
Notes: The shawl is worked from the top down, starting with a garter tab. The Willow Stitch pattern is a 4-row repeat. Slip stitches purlwise with yarn in front (wyif) on the right side, and purlwise with yarn in back (wyib) on the wrong side. Read all instructions carefully before beginning.
Garter Tab Cast On
- Cast on 3 stitches.
- Row 1 (RS): Knit 3.
- Row 2 (WS): Knit 3.
- Row 3: Knit 3.
- Row 4: Knit 3.
- Do not turn. Rotate the work 90 degrees clockwise and pick up and knit 3 stitches along the side edge. Rotate again and pick up and knit 3 stitches from the cast-on edge. You now have 9 stitches on the needle.
Set-Up Row (WS)
K3, place marker (pm), p3, pm, k3. You now have 3 sections: 3 garter stitches on each side, and 3 center stitches.
Begin Willow Stitch Pattern
Repeat the following 8-row pattern until the shawl measures approximately 28 inches from the cast-on edge, ending after a Row 8.
- Row 1 (RS - Increase row): K3, slip marker (sm), *k1, yo, k1* repeat from * to * until 3 stitches before next marker, sm, k3. (This increases the stitch count in the center section.)
- Row 2 (WS): K3, sm, *purl to marker*, sm, k3.
- Row 3 (RS): K3, sm, *slip 1 wyif, k1* repeat from * to * until 3 stitches before next marker, sm, k3.
- Row 4 (WS): K3, sm, *purl to marker*, sm, k3.
- Row 5 (RS - Increase row): K3, sm, *k1, yo, k1* repeat from * to * until 3 stitches before next marker, sm, k3.
- Row 6 (WS): K3, sm, *purl to marker*, sm, k3.
- Row 7 (RS): K3, sm, *k1, slip 1 wyif* repeat from * to * until 3 stitches before next marker, sm, k3.
- Row 8 (WS): K3, sm, *purl to marker*, sm, k3.
Edging
Once the shawl reaches 28 inches, work the edging as follows:
- Row 1 (RS): K3, sm, *k1, yo, k1* repeat from * to * until 3 stitches before next marker, sm, k3.
- Row 2 (WS): K3, sm, *purl to marker*, sm, k3.
- Row 3 (RS): K3, sm, *k1, yo, k1* repeat from * to * until 3 stitches before next marker, sm, k3.
- Row 4 (WS): K3, sm, *purl to marker*, sm, k3.
- Bind off loosely knitwise on the next RS row. A loose bind-off ensures the edge remains stretchy and doesn't pucker.
Finishing
Weave in all ends using a tapestry needle. Block aggressively by soaking the shawl in lukewarm water, gently squeezing out excess water, and pinning it to the desired dimensions on a blocking mat. This step is crucial to open up the lace pattern and set the beautiful drape of the wrap. Allow to dry completely before wearing.