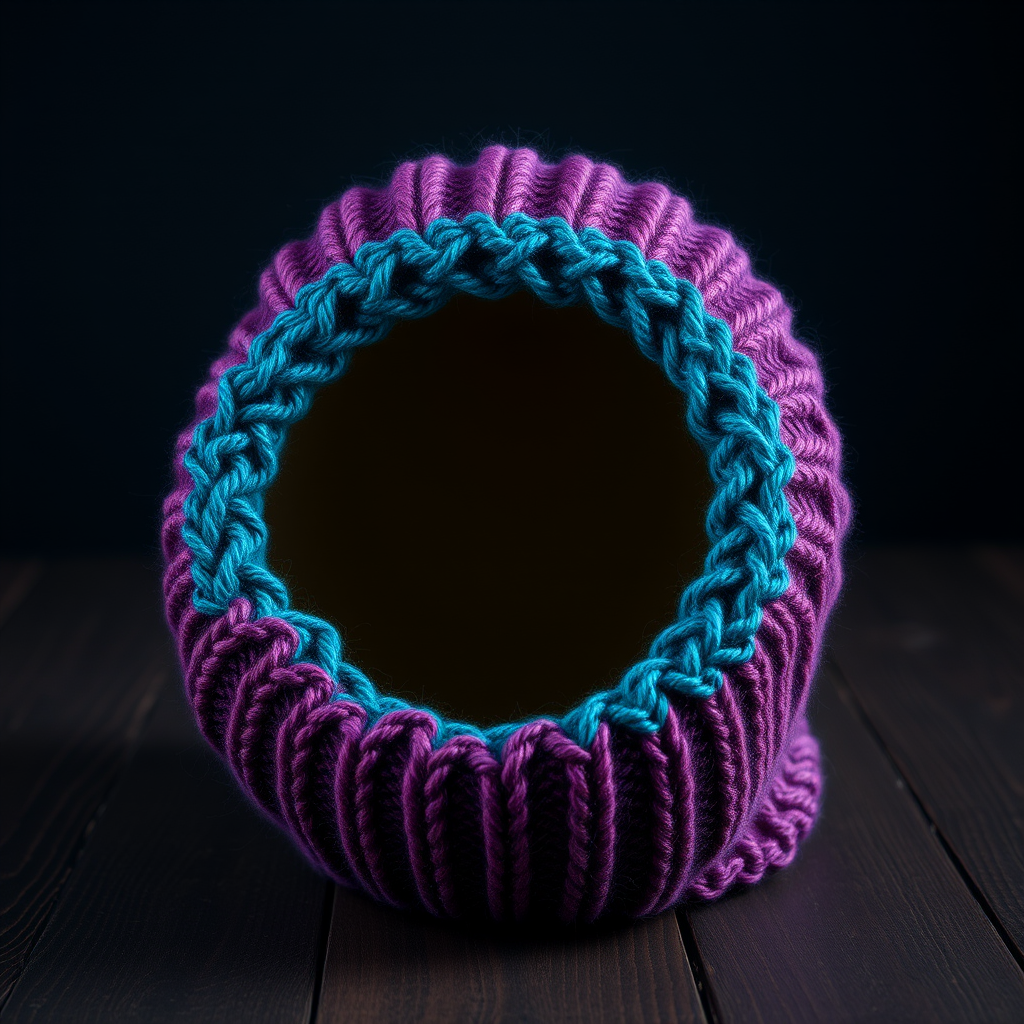
Aurora Glow Twisted Knit Headband Free Pattern – A Celestial Wrap for Cozy Evenings

Wrap Yourself in the Northern Lights: The Aurora Glow Twisted Knit Headband
Imagine capturing the ethereal dance of the aurora borealis and wrapping it around your head for those crisp, cozy evenings. That's exactly the magic of the Aurora Glow Twisted Knit Headband. This isn't just another winter accessory; it's a wearable piece of art. Featuring a mesmerizing blend of twisted cables and delicate lace eyelets, this pattern transforms a simple skein of gradient yarn into a dimensional, celestial wrap that keeps your ears toasty while turning heads.
Despite its intricate, high-end look, this is a surprisingly quick and satisfying project. The combination of cable work and lace creates a rich texture that feels luxurious, while the clever construction—which naturally forms a stylish twist—makes it a standout piece in any handmade wardrobe. Whether you're a seasoned knitter looking for a fast gift or a confident beginner ready to tackle cables, this free pattern is your ticket to a stunning, functional accessory.
Materials Needed: Gathering Your Celestial Tools
Before you begin your journey into the aurora, let's gather the essentials. This project is wonderfully portable and requires minimal supplies.
- Yarn: Worsted weight yarn in a gradient colorway (e.g., deep indigo to teal to soft lavender). You will need approximately 100g (200 yards). The gradient is key to achieving that "northern lights" effect, but any soft, plush worsted weight will work beautifully.
- Needles: US 7 (4.5 mm) knitting needles. Straight or circular—use whatever you prefer for flat knitting.
- Cable Needle: A small cable needle (or a double-pointed needle) to hold stitches for the cable twists.
- Extras: A tapestry needle for weaving in ends and seaming, plus a stitch marker (optional, but helpful for keeping track of rows).
Gauge: For the perfect fit and drape, aim for a gauge of 20 stitches and 28 rows = 4 inches in stockinette stitch. While this is a forgiving pattern, matching gauge ensures your headband fits as intended.
Step-by-Step Instructions: Knitting Your Aurora Glow
This pattern is a rhythmic repeat that's easy to memorize. The magic happens when the cables and lace combine, and the final seam creates the signature twist. Let's dive in!
Understanding Your Pattern & Abbreviations
First, let's decode the shorthand. This pattern uses standard knitting abbreviations:
- CO: Cast on
- K: Knit
- P: Purl
- K2tog: Knit two stitches together (a right-leaning decrease)
- YO: Yarn over (creates a decorative hole/lace eyelet)
- C4F: Cable 4 front (slip 2 stitches to cable needle, hold in front, knit 2, knit 2 from cable needle)
- C4B: Cable 4 back (slip 2 stitches to cable needle, hold in back, knit 2, knit 2 from cable needle)
Let's Begin: Casting On and the Foundation Rows
Finished Size: Fits average adult head (20-22 inches circumference), easily adjustable by knitting more or fewer repeats.
Step 1: Begin by casting on 20 stitches using your preferred method (long-tail cast on works great).
Step 2: We'll establish the ribbed edges that frame our beautiful center panel.
- Row 1 (Right Side): K2, P2, K2, P2, K2, P2, K2, P2, K2, P2.
- Row 2 (Wrong Side): P2, K2, P2, K2, P2, K2, P2, K2, P2, K2.
Repeat these two rows once more to create a solid ribbed border. This gives the headband structure and prevents curling.
The Cable & Lace Dance: Creating the Pattern
Now for the fun part! We'll work a 12-row pattern repeat. The cables will twist in opposite directions, and the lace eyelets will add that airy, celestial feel.
- Row 3 (RS): K2, P2, C4F, P2, K2, P2, C4B, P2, K2.
- Row 4 (WS): Repeat Row 2.
- Row 5 (RS): K2, P2, K2, P2, YO, K2tog, P2, K2, P2, K2. (Notice the lace eyelet is centered between the cables.)
- Row 6 (WS): Repeat Row 2.
- Row 7 (RS): Repeat Row 1.
- Row 8 (WS): Repeat Row 2.
- Row 9 (RS): K2, P2, C4B, P2, K2, P2, C4F, P2, K2. (Here, the cables twist in the opposite direction, creating that beautiful braided effect.)
- Row 10 (WS): Repeat Row 2.
- Row 11 (RS): K2, P2, K2, P2, K2tog, YO, P2, K2, P2, K2. (The lace eyelet leans the other way now, keeping the pattern balanced.)
- Row 12 (WS): Repeat Row 2.
Knitting to Length and Binding Off
Step 3: Continue repeating Rows 1-12 until your piece measures approximately 20 inches (or your desired length, measured with a slight stretch). The stretch is important—it ensures the headband will hug your head comfortably.
Step 4: Once you've reached your desired length, bind off all stitches loosely in pattern. This means if the stitch is a knit, bind it off as a knit; if it's a purl, bind it off as a purl. This keeps the edge elastic and matches the ribbed border.
The Grand Finale: Seaming and the Magic Twist
This is where the headband transforms from a flat rectangle into a twisted loop of aurora magic.
Step 5: Fold your knitted rectangle in half lengthwise, with the right sides (the pretty side) facing each other.
Step 6: Using your tapestry needle and a length of yarn, sew the short ends together using a mattress stitch. This creates an invisible, sturdy seam. Take your time to match the stitches perfectly for a professional finish.
Step 7: Now for the fun part! Turn the headband right side out. As you do, you'll notice the seam naturally creates a beautiful, elegant twist in the fabric. This is the signature look of the Aurora Glow headband—the cable pattern flows seamlessly into the twist.
Step 8: Weave in all loose ends with your tapestry needle, trimming any excess yarn. Give your headband a gentle block if desired (simply wet it and lay flat to dry) to even out the stitches.
And there you have it—your very own Aurora Glow Twisted Knit Headband! Slip it on over your ears, and let the shifting hues and intricate textures bring a touch of celestial warmth to your day. This pattern is perfect for gifting, and once you've made one, you'll want to knit them in every gradient colorway you can find. Happy knitting!