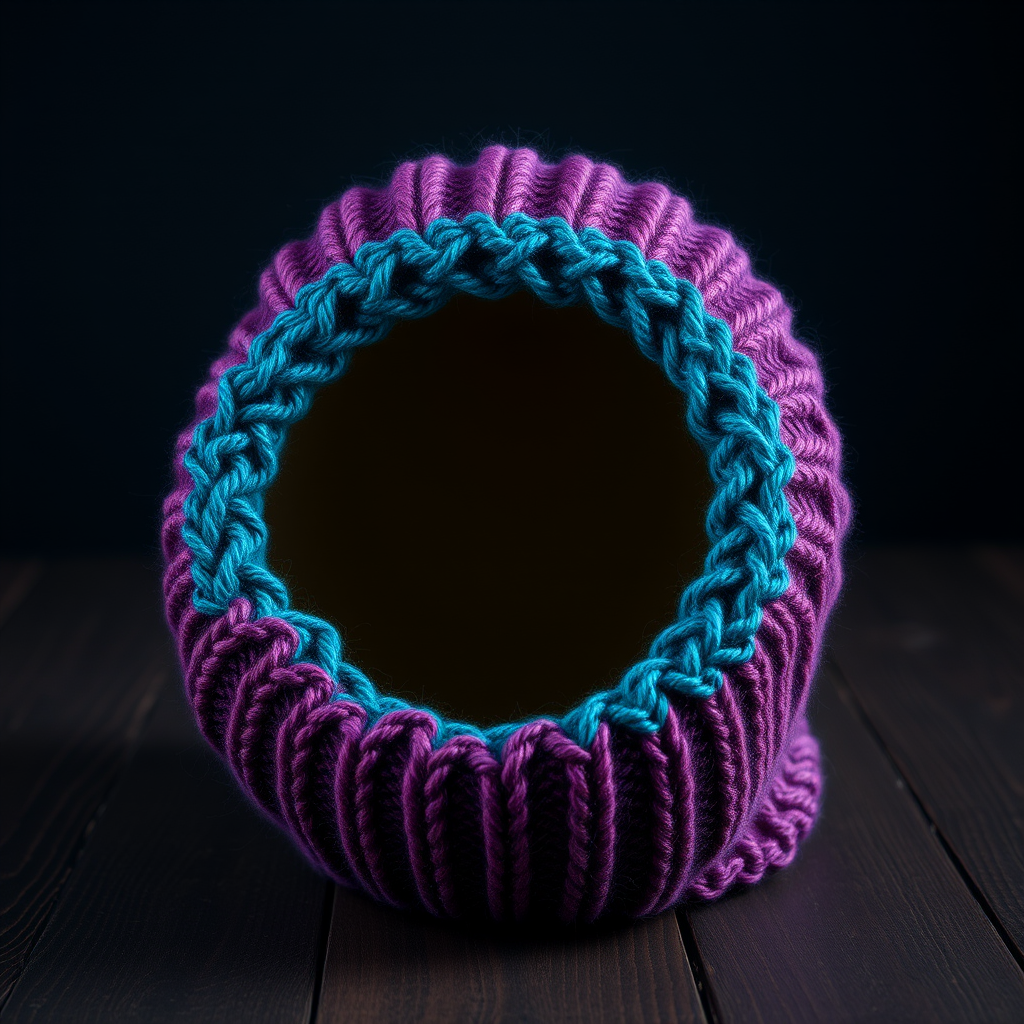
Enchanted Forest Fern Scarf Free Pattern – Textured Knit Cowl

Wrap Yourself in Woodland Elegance: The Enchanted Forest Fern Scarf
Imagine wrapping yourself in the lush, organic texture of a forest floor, where every stitch mimics the delicate fronds of ferns unfurling in dappled sunlight. The Enchanted Forest Fern Scarf is more than just a knitting project—it's a journey into a misty woodland, captured in a cozy, seamless cowl. This textured knit features a unique leaf stitch that creates a dimensional, botanical relief, making it the perfect accessory for adding a touch of autumn or winter magic to any outfit. Whether you're a seasoned knitter looking for a new challenge or a confident beginner ready to expand your skills, this free pattern will guide you through creating a stunning, handmade piece that feels both natural and luxurious.
This pattern is designed to be approachable, using worsted-weight yarn and a simple circular needle. The magic lies in the Leaf Stitch, a clever increase-and-decrease technique that produces raised, organic motifs. The result is a cowl that is not only warm and functional but also a true work of art, reminiscent of a cozy cabin in the woods. Let's gather our materials and begin this enchanting knitting adventure.
Materials Needed
Before you cast on, ensure you have all the necessary supplies. This project is wonderfully portable and requires minimal equipment, making it perfect for knitting on the go.
- Yarn: Worsted weight yarn in two shades of green. You will need approximately 220 yards of your main color (MC) and 120 yards of your contrast color (CC). The pattern suggests 'Moss' for the main color and 'Fern' for the contrast, but feel free to choose any earthy palette that speaks to you.
- Needle: US 8 (5.0 mm) 24-inch circular knitting needle. The circular needle is essential for working in the round and creating a seamless tube.
- Other Tools: A tapestry needle for weaving in ends, a stitch marker to mark the beginning of your round, and scissors.
Gauge: 18 stitches and 24 rows = 4 inches in stockinette stitch. Always take the time to knit a gauge swatch to ensure your finished cowl has the correct dimensions and drape.
Step-by-Step Instructions
This pattern is worked in the round, creating a beautiful, seamless tube. The key to success is mastering the Leaf Stitch, which is easier than it looks. Let's break it down.
Special Stitches: The Leaf Stitch
This is the heart of the pattern, creating the beautiful fern-like texture. It is worked over 5 stitches and involves a simple increase and decrease sequence.
- Leaf Stitch (worked over 5 stitches): K1, yo, k3, yo, k1. This increases your stitch count from 5 to 7.
- Next Row (WS): Purl all stitches.
- Next Row (RS): K2tog, k3, k2tog. This decreases your stitch count back down to 5.
This three-row sequence creates a raised, leaf-like shape that stands out beautifully against the stockinette background.
Getting Started: Cast On and Foundation
- Cast On: With your main color (MC), cast on 90 stitches using your preferred method. I recommend a long-tail cast-on for a neat, stretchy edge.
- Join in the Round: Place a stitch marker on your right-hand needle to mark the beginning of the round. Carefully join the work in the round, ensuring that your cast-on edge is not twisted. This is a crucial step for a seamless finish.
- Foundation Rounds: Knit all stitches for Rounds 1-4. This creates a simple rolled edge that will naturally curl, adding to the organic feel of the cowl.
Creating the Fern Pattern
Now we begin the main pattern. The sequence is designed to create a repeating, staggered leaf motif. Pay close attention to the round numbers.
- Round 5 (CC): Switch to your contrast color (CC). *Work the Leaf Stitch over the next 5 stitches, then knit 5 stitches; repeat from * around the entire round.
- Round 6 (CC): With CC, purl all stitches. This purl round helps to define the leaf shapes and gives the fabric structure.
- Round 7 (CC): With CC, *k2tog, k3, k2tog, k5; repeat from * around. This completes the decrease portion of the leaf stitch, bringing your stitch count back to 90.
- Rounds 8-10 (CC): With CC, knit all stitches. This creates a solid band of contrast color between the leaf motifs.
- Rounds 11-14 (MC): Switch back to your main color (MC) and knit all stitches for these 4 rounds. This forms a deep, grounding band of forest green.
- Rounds 15-18 (CC): Repeat Rounds 5-8. This creates the second row of leaf motifs, which will be offset from the first due to the pattern's natural rhythm.
- Rounds 19-22 (MC): With MC, knit all stitches for these 4 rounds.
Repeating the Pattern
Now that you have the rhythm, you will repeat the sequence to build the length of your cowl.
- Repeat Rounds 5-22 until your cowl measures approximately 10 inches from the cast-on edge. It is best to end with a MC section (Rounds 19-22) to create a balanced look.
Finishing Touches
- Final Rounds: Once you've reached your desired length, knit 4 more rounds with your main color (MC). This mirrors the foundation edge and creates a symmetrical finish.
- Bind Off: Bind off all stitches loosely in knit. A loose bind-off is essential to ensure the edge remains stretchy and comfortable. You can use a larger needle or a stretchy bind-off method like the "Jeny's Surprisingly Stretchy Bind-Off" for the best result.
- Weave in Ends: Using your tapestry needle, carefully weave in all loose ends on the inside of the cowl. This will keep your work looking clean and professional.
- Blocking: This is a crucial final step. Gently wet-block your cowl by soaking it in lukewarm water, gently squeezing out the excess (do not wring), and laying it flat to dry. This will open up the leaf pattern, allowing the stitches to relax and the texture to truly shine.
Once dry, your Enchanted Forest Fern Scarf is ready to wear. The seamless, tubular design means it can be worn doubled over for extra warmth or left long for a dramatic drape. The rich, textured leaf pattern is a conversation starter and a testament to the beauty of handcrafted knitwear. Enjoy your cozy, woodland-inspired creation!