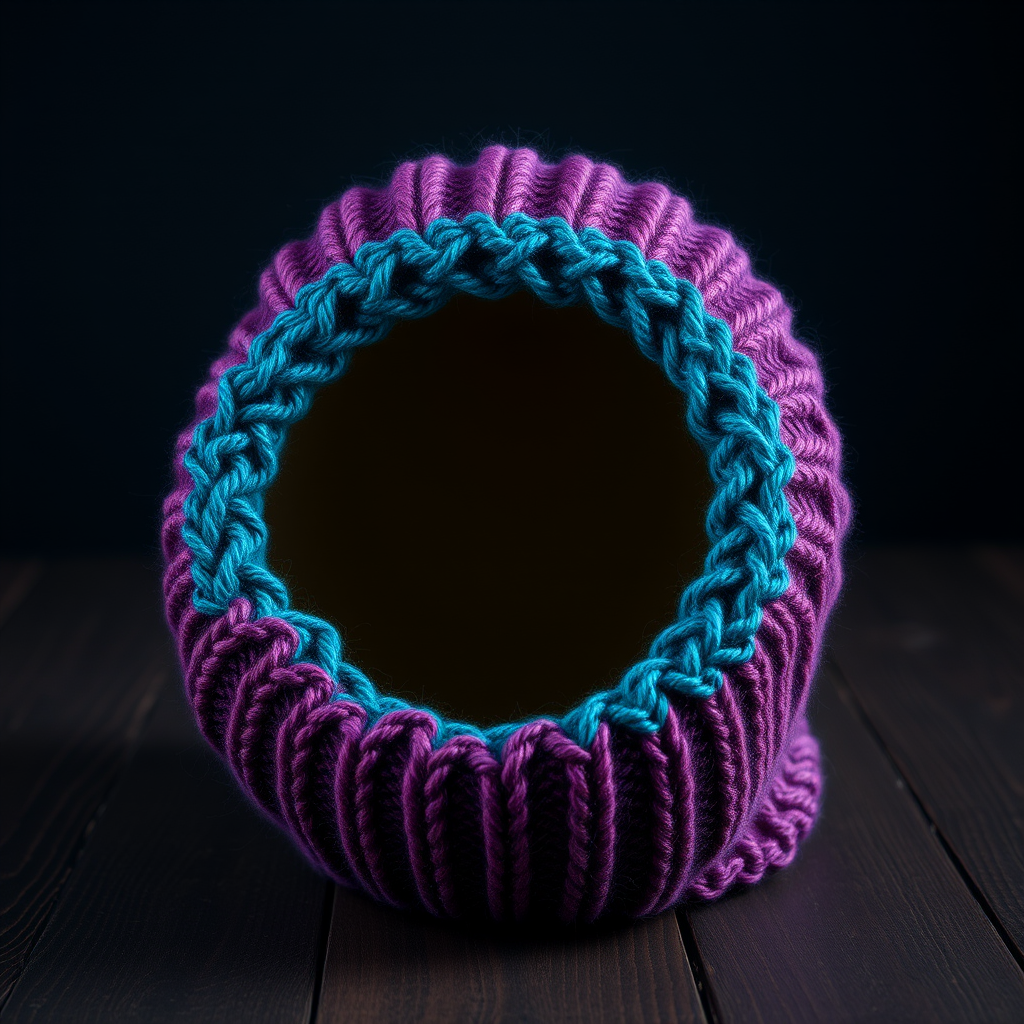
Aurora Slant Knit Scarf Free Pattern – A Diagonal Ombre Wrap

Introducing the Aurora Slant Knit Scarf: A Diagonal Ombre Wrap
Wrap yourself in the shifting hues of the northern lights with this uniquely slanted knit scarf. The diagonal construction and soft gradient yarn create a modern, flowing accessory that's as cozy as it is striking. Unlike traditional scarves that are knit in straight rows, this pattern is worked from one corner to the opposite corner, producing a dynamic, asymmetric silhouette that drapes beautifully over any outfit. Whether you're a seasoned knitter looking for a new challenge or a beginner eager to learn a clever technique, this free pattern will guide you through creating a stunning, one-of-a-kind piece.
The Aurora Scarf features three distinct color blocks—deep teal, soft lavender, and blush pink—that blend softly where they meet, mimicking the ethereal glow of the aurora borealis. The smooth stockinette stitch keeps the focus on the bold geometry and gradient effect, while the slight roll at the edges adds a relaxed, modern touch. Best of all, this pattern is surprisingly simple: it uses only knit stitches, increases, and decreases, making it an accessible project for knitters of all skill levels.
Materials Needed
Before you begin, gather the following materials. Having everything ready will make your knitting experience smooth and enjoyable.
Yarn
- Worsted weight yarn in 3 colors: Approximately 400g total. For the featured look, choose:
- Color A (Deep Teal): ~150g
- Color B (Soft Lavender): ~150g
- Color C (Blush Pink): ~100g
- Tip: Any worsted weight yarn will work, but a soft, plush yarn with a matte finish will best showcase the gradient effect.
Needles & Notions
- US 9 (5.5mm) knitting needles – straight or circular (circular needles can be easier for managing a growing number of stitches).
- Stitch markers (optional, but helpful for tracking sections).
- Tapestry needle for weaving in ends.
- Scissors.
Gauge
18 stitches and 24 rows = 4 inches in stockinette stitch. While gauge isn't critical for a scarf, matching it will ensure your finished piece has the intended drape and dimensions. If your gauge is off, adjust your needle size accordingly.
Step-by-Step Instructions
This scarf is worked diagonally from one corner to the opposite corner, creating a beautiful slanting stripe effect. The pattern is divided into three sections: increase, straight diagonal, and decrease. Follow along carefully, and you'll have a gorgeous scarf in no time.
Abbreviations
- CO: Cast on
- K: Knit
- P: Purl
- K2tog: Knit two stitches together (decrease)
- Kfb: Knit into the front and back of the same stitch (increase)
- St(s): Stitch(es)
Section 1: Increase (Color A – Deep Teal)
This section creates the first triangular corner of your scarf. You'll be increasing by one stitch every row, which gradually widens the fabric.
- Row 1: CO 3 sts.
- Row 2: Kfb, K to end. (4 sts)
- Row 3: Kfb, K to end. (5 sts)
- Repeat Row 3 until you have 50 sts on your needle.
Note: You are increasing by 1 stitch every row, creating a triangle. The Kfb increase is worked at the beginning of each row, which will create a neat, slanted edge. Count your stitches periodically to ensure accuracy.
Section 2: Straight Diagonal (Color B – Soft Lavender)
Now you'll switch to Color B. This section maintains a consistent stitch count while continuing the diagonal shape. The combination of an increase at the start and a decrease at the end keeps the width stable while the fabric grows lengthwise.
- Switch to Color B. Cut Color A, leaving a 6-inch tail for weaving in later.
- Row 1: Kfb, K to last 2 sts, K2tog. (St count remains 50)
- Repeat Row 1 until the straight section measures 20 inches from the start of Color B.
Tip: To measure accurately, lay your work flat and measure from the point where you switched to Color B, along the straight edge. The Kfb at the beginning and K2tog at the end will create a subtle, slanted stripe effect that runs diagonally across the scarf.
Section 3: Decrease (Color C – Blush Pink)
Finally, switch to Color C. This section decreases the stitch count, tapering the scarf to a point that mirrors the starting corner.
- Switch to Color C. Cut Color B, leaving a 6-inch tail.
- Row 1: K2tog, K to end. (49 sts)
- Row 2: K2tog, K to end. (48 sts)
- Repeat Row 2 until only 3 sts remain.
- Next row: K2tog, K1. (2 sts)
- Next row: K2tog. (1 st)
- Cut yarn and pull through the last loop to secure. Weave in all ends with your tapestry needle.
Note: The K2tog decrease is worked at the beginning of each row, which mirrors the increase from Section 1 and creates a symmetrical, slanted edge on the opposite side of the scarf.
Finishing
To give your scarf a professional, polished look, take a few extra minutes to block it.
- Lightly block the scarf to even out the stitches and enhance the drape. To do this, soak the scarf in lukewarm water with a drop of mild soap, gently squeeze out excess water (do not wring), and lay it flat on a towel. Shape it to its intended dimensions and allow it to dry completely.
- Once dry, the diagonal lines will naturally create a modern, asymmetric look. The slight roll at the edges of the stockinette stitch will soften, and the colors will blend beautifully where they meet.
Your Aurora Slant Knit Scarf is now complete! This stunning accessory is perfect for adding a pop of color and texture to any outfit. The diagonal construction makes it a conversation piece, and the soft gradient yarn ensures it will be a cozy favorite for years to come. Happy knitting!