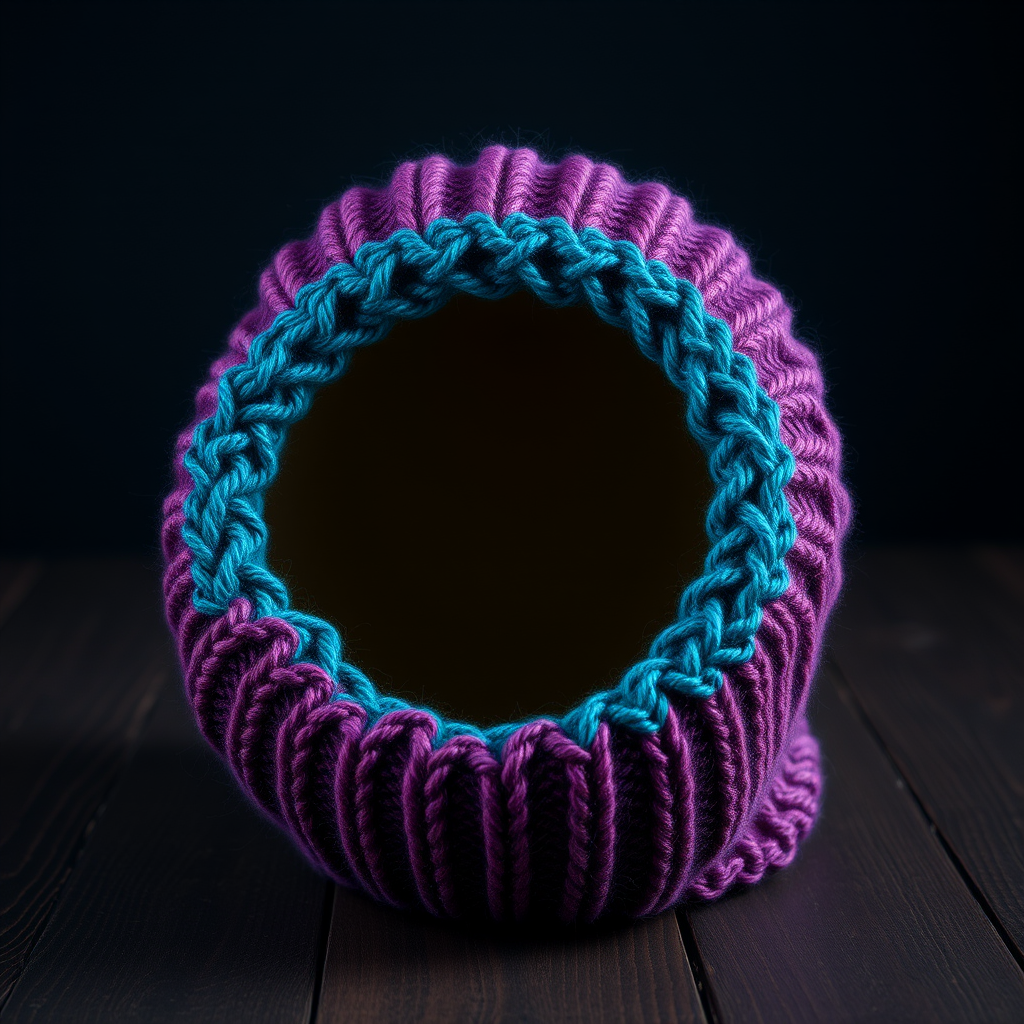
The Aurora Glove Free Pattern – A Knitted Symphony of Northern Lights Cables

The Aurora Glove Free Pattern – A Knitted Symphony of Northern Lights Cables
Imagine wrapping your hands in the ethereal beauty of the aurora borealis—the fluid dance of polar light captured in every stitch. These cable-knit gloves feature a breathtaking gradient of twilight blues, emerald greens, and soft violets, creating a luxurious accessory that feels as magical as the northern lights themselves. Whether you're crafting a heartfelt Valentine's gift or treating yourself to a cozy winter essential, this pattern transforms simple yarn into wearable art. The intricate cables flow along the back of the hand like waves of light, while the smooth stockinette palm keeps the fit comfortable and practical. Perfect for intermediate knitters ready to explore colorwork and cables, these gloves are a true symphony of texture and color.
Materials Needed
Before you begin your knitting journey, gather these essential supplies:
- Yarn: Worsted weight yarn in three colors:
- Midnight Blue (MC) – approximately 80g
- Aurora Green (CC1) – approximately 70g
- Violet Mist (CC2) – approximately 50g
- Needles: US 6 (4.0 mm) double-pointed needles (DPNs) or a circular needle for magic loop method
- Cable needle for creating the intricate cable patterns
- Stitch markers (at least 4)
- Scrap yarn or stitch holders for the thumb gusset stitches
- Tapestry needle for weaving in ends
- Scissors
Gauge: 22 stitches and 28 rows = 4 inches in stockinette stitch. Always knit a gauge swatch to ensure your gloves fit perfectly!
Step-by-Step Instructions
This pattern is worked from the cuff up, with a thumb gusset and a cable panel that flows along the back of the hand. Instructions are for women's medium (M), with adjustments for small (S) and large (L) in parentheses.
Abbreviations
- k = knit
- p = purl
- k2tog = knit two together (decrease)
- ssk = slip, slip, knit (decrease)
- m1L = make one left (increase) – pick up the bar between stitches from front to back and knit through the back loop
- m1R = make one right (increase) – pick up the bar between stitches from back to front and knit through the front loop
- C4F = slip 2 stitches to cable needle, hold in front, knit 2, knit 2 from cable needle
- C4B = slip 2 stitches to cable needle, hold in back, knit 2, knit 2 from cable needle
- st(s) = stitch(es)
- rnd(s) = round(s)
Cuff (Make 2)
With Midnight Blue (MC), cast on 40 (44, 48) stitches. Distribute evenly on double-pointed needles (approximately 13-14 stitches per needle for medium size). Join in the round, being extremely careful not to twist your stitches—place a stitch marker at the beginning of the round to keep track.
Work in k2, p2 ribbing for 2.5 inches. This ribbed cuff provides a snug, comfortable fit and creates a beautiful foundation for the colorwork above. Keep your tension even and relaxed—the ribbing should stretch comfortably over your hand.
Hand (Right Glove)
Switch to stockinette stitch (knit every round) and begin the colorwork journey. Work 2 rounds in Midnight Blue (MC) to establish a smooth transition from the ribbed cuff.
Now, introduce Aurora Green (CC1) and Violet Mist (CC2) in a fair isle striping pattern:
- Rnd 1: *k2 with MC, k2 with CC1* repeat to end of round
- Rnd 2: *k2 with CC1, k2 with CC2* repeat to end
- Rnd 3: *k2 with CC2, k2 with MC* repeat to end
- Rnd 4: Repeat Rnd 1
Continue this striping sequence throughout the hand, but on the back of the hand (the first 20 (22, 24) stitches of the round), work the cable pattern as follows. The palm stitches (the remaining 20 (22, 24) stitches) continue in the stripe pattern.
Cable Panel (Over 20 Stitches)
This cable panel creates the flowing, wave-like pattern reminiscent of the northern lights dancing across the sky:
- Rnd 1: C4F, k4, C4B, k8
- Rnd 2-4: Knit all stitches
- Rnd 5: k4, C4F, k4, C4B, k4
- Rnd 6-8: Knit all stitches
- Repeat Rnds 1-8 for the cable panel, while continuing the stripe pattern on the palm stitches
Pro tip: When working the cable rounds, keep your cable needle stitches loose enough to maintain flexibility in the fabric. The cables will become more defined and pop beautifully after blocking.
Thumb Gusset
After 2 inches of hand length, begin the thumb increases. This creates a comfortable, anatomical fit for your thumb.
Increase Round: On the next round, work to the last 2 stitches of the palm section (before the cable panel begins), then m1R, k2, m1L. Continue the round as established.
Work 2 rounds even (no increases). Repeat these increase rounds every 3rd round until you have 12 (14, 16) gusset stitches between your markers. The gusset stitches will gradually grow between the palm and the cable panel.
Once you have the required number of gusset stitches, carefully place these stitches on a scrap yarn holder. They will become the thumb later.
Hand Body
Continue working in pattern (cable + stripes) until the hand measures 3 (3.5, 4) inches from the top of the cuff, or until it reaches the base of your fingers. Try the glove on periodically to ensure the perfect length—you want the hand body to reach just below your knuckles.
Now, shape the top of the glove with decreases:
- Rnd 1: *k2tog, k8 (9, 10), ssk* repeat once more (for the back and palm sections)
- Rnd 2: Knit even (no decreases)
- Rnd 3: *k2tog, k6 (7, 8), ssk* repeat once more
- Continue decreasing in this manner every other round until 8 stitches remain
Cut the yarn, leaving a 6-inch tail. Thread the tail through a tapestry needle, slide it through the remaining 8 stitches, and pull tight to close the top of the glove. Weave in the end securely.
Thumb
Pick up the gusset stitches from the holder, plus 2 stitches from the hand body on each side to avoid holes at the thumb base. Distribute these stitches evenly on double-pointed needles.
Work in stockinette stitch, continuing the stripe pattern (MC, CC1, CC2) for 1.5 (1.75, 2) inches. The thumb should reach just past the first knuckle.
To shape the thumb tip: *k2tog* around until 4 stitches remain. Cut yarn, thread through remaining stitches, and secure tightly. Weave in the end.
Left Glove
Work the same as the right glove, but mirror the thumb gusset placement. Instead of increasing at the end of the palm section, increase at the beginning of the palm section (before the cable panel). This creates a mirror-image pair that fits both hands perfectly.
Finishing
Weave in all loose ends carefully with your tapestry needle, making sure to secure them on the wrong side of the work. Block the gloves gently to shape—wet blocking works beautifully for this pattern. Soak the gloves in lukewarm water with a gentle wool wash, then press out excess water (never wring!), and lay flat to dry, shaping them to the correct dimensions.
After blocking, the cables will pop beautifully, and the colorwork stripes will have a crisp, professional finish. The gradient effect from midnight blue through emerald green to violet mist will truly capture the magic of the northern lights.
Final Thoughts
These Aurora Gloves are more than just a winter accessory—they're a wearable piece of art that captures the wonder of nature's most spectacular light show. The combination of intricate cables and gradient colorwork creates a truly unique gift that any knitting enthusiast would treasure. Whether you're making them for a loved one or keeping them for yourself, each stitch carries the warmth and beauty of the aurora borealis.
Remember, knitting is a journey, not a race. Take your time with the cables, enjoy the rhythm of the color changes, and don't be afraid to rip back if something doesn't look right. The result will be worth every moment of careful attention.
Happy knitting, and may your hands be wrapped in the magic of the northern lights!