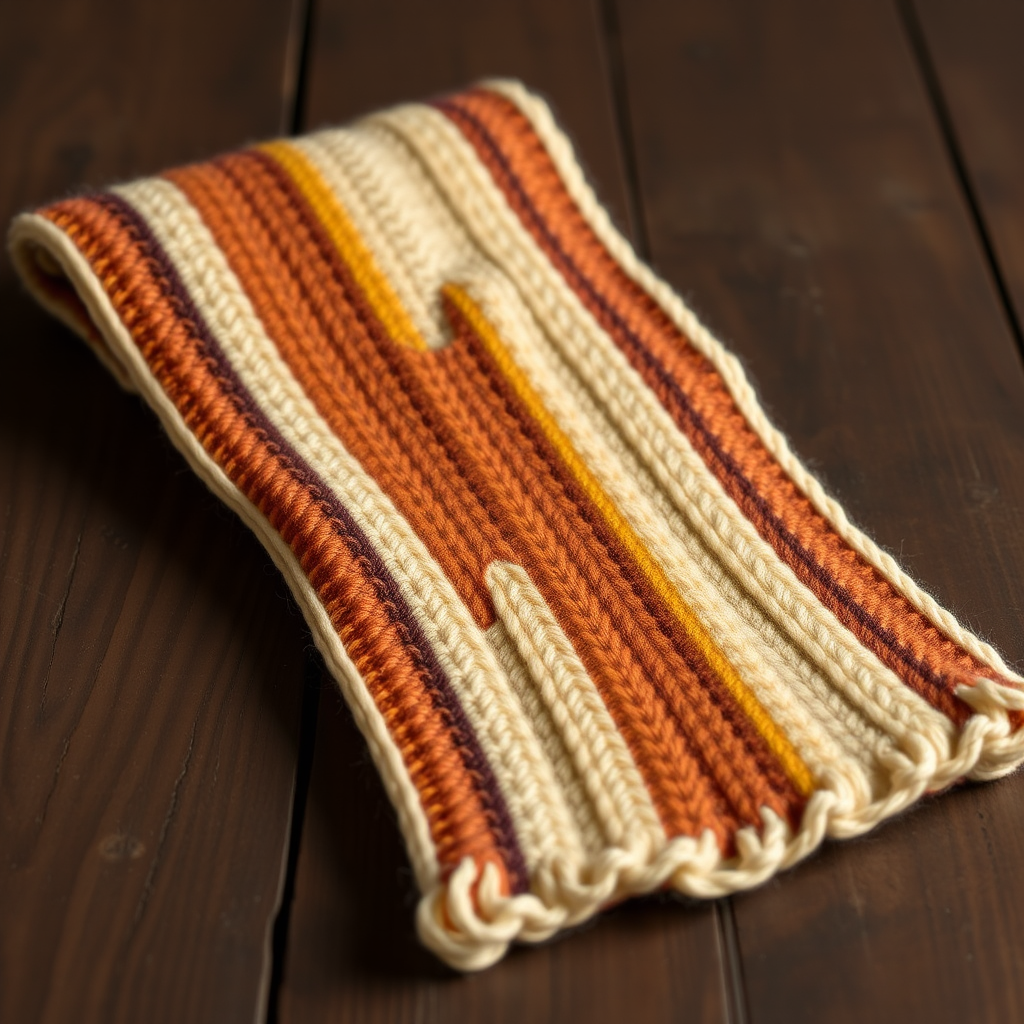
Scarf Knitting Patterns
The Whispering Pines Scarf Free Pattern
Anonymous
•
July 02, 2026

The Whispering Pines Scarf Free Pattern
Introduction
Embrace the tranquility of nature with the Whispering Pines Scarf, a delightful project that captures the essence of a serene forest. This pattern combines lush textures and earthy tones to create a cozy accessory perfect for any season. Whether you are a beginner or an experienced knitter, this scarf is a wonderful way to enhance your skills while creating a beautiful piece that you can wear or gift to someone special.
Materials Needed
- Yarn: Worsted weight yarn, 100% wool, in shades of forest green and bark brown
- Needles: US 8 (5mm) knitting needles
- Gauge: 18 stitches and 24 rows = 4 inches in stockinette stitch
- Scissors: For cutting yarn
- Tapestry needle: For weaving in ends
- Measuring tape: To check the length of your scarf
Step-by-Step Instructions
- Cast On: Begin by using the long-tail cast-on method to cast on 40 stitches onto your knitting needle. Ensure that your stitches are not too tight, as this will affect the elasticity of your scarf.
- Row 1 (Right Side): Knit all stitches across the row. This establishes the first row of your scarf.
- Row 2 (Wrong Side): Purl all stitches across the row. This creates a stockinette stitch pattern.
- Row 3: Begin the ribbing pattern by knitting 2 stitches, then purling 2 stitches (*K2, P2*) across the row. Repeat this pattern until you reach the end of the row.
- Row 4: For the next row, switch the ribbing pattern to purl 2 stitches, then knit 2 stitches (*P2, K2*) across the row. This will create a lovely textured effect.
- Repeat Rows 3 and 4: Continue alternating between Row 3 and Row 4 until your scarf measures approximately 60 inches in length. Make sure to end with Row 4 for a neat finish.
- Final Rows:
- Next Row: Knit all stitches across the row to smooth out the edge.
- Following Row: Purl all stitches across the row to complete the final texture.
- Bind Off: Carefully bind off all stitches loosely to ensure that the edge of your scarf remains flexible. Use a stretchy bind-off method if necessary.
- Finishing Touches: Weave in all loose ends using a tapestry needle. This will give your scarf a clean and professional look.
- Blocking: Finally, block your scarf to the desired measurements. This step is crucial as it helps to set the stitches and enhance the texture of the fabric. Lay it flat, pinning it to the desired dimensions, and allow it to dry completely.
Congratulations! You have successfully created your very own Whispering Pines Scarf. Enjoy wearing it or gifting it to someone who appreciates the beauty of handmade items!