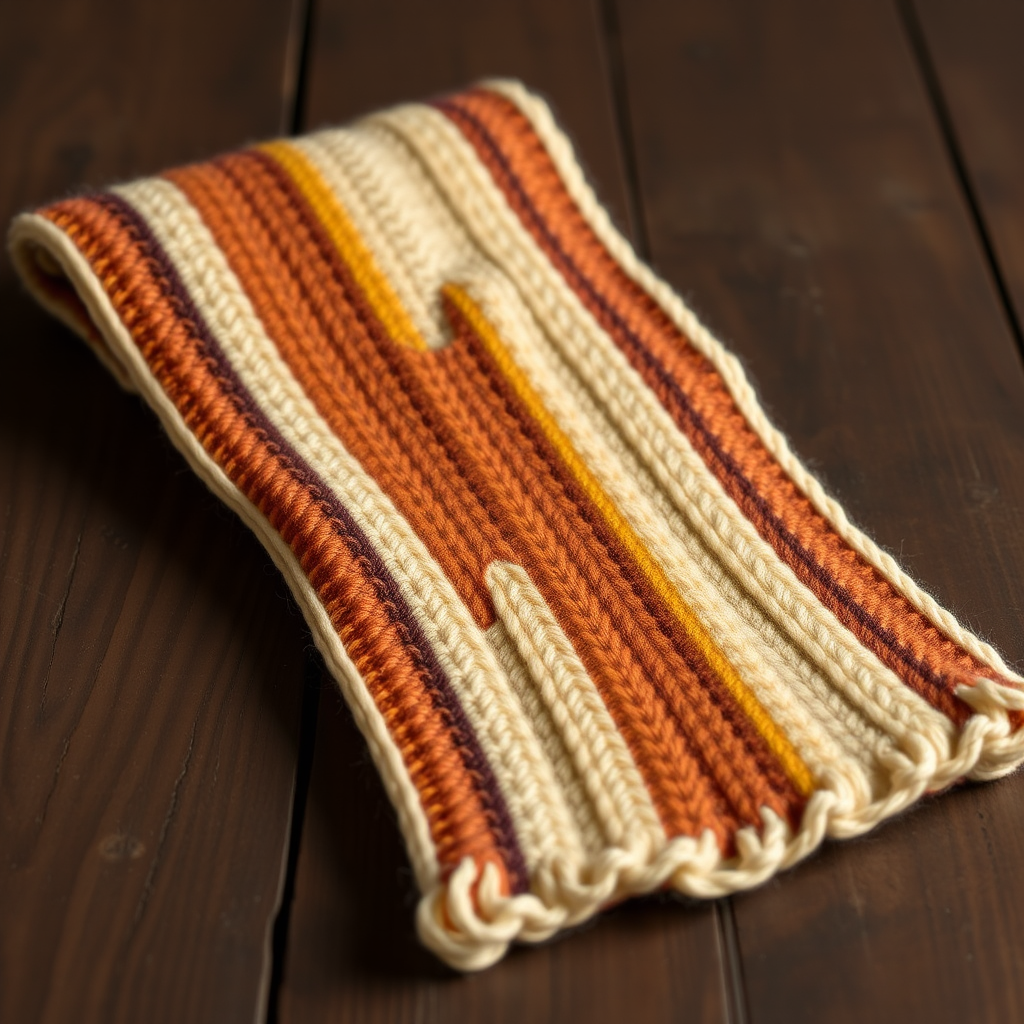
The Seafoam Whisper Scarf Free Pattern – A Knitted Ode to Ocean Breezes and Salt-Kissed Waves

The Seafoam Whisper Scarf: A Free Knitting Pattern Inspired by Ocean Breezes
Imagine the gentle rhythm of waves lapping against the shore, the soft hiss of foam receding over smooth stones, and the serene gradient of sea-glass tumbling in the tide. That's the feeling we've captured in the Seafoam Whisper Scarf—a delicate, airy accessory that brings the tranquility of the ocean to your wardrobe. This free knitting pattern uses a subtle lace ripple and a soft gradient yarn to create a piece that's perfect for breezy summer evenings or as a year-round layering staple.
Whether you're a seasoned knitter looking for a meditative project or a confident beginner ready to tackle your first lace pattern, this scarf is designed to be both rewarding and relaxing. The pattern is reversible, features a simple 12-row repeat, and includes a garter stitch border for a clean, polished finish. Let's dive in and knit our own ode to the sea.
Materials Needed
Before you begin, gather your supplies. This project is wonderfully portable and requires only a few essentials:
- Yarn: Fingering weight yarn in a sea-glass gradient. We recommend Malabrigo Sock in 'Azul Profundo' transitioning to 'Marino' (or any gradient that shifts from deep teal to sandy cream). You will need approximately 400 yards (365 meters).
- Needle: US 5 (3.75 mm) circular knitting needle, 24-inch (60 cm) length. The circular needle is used to accommodate the large number of stitches, but you will be working back and forth in rows, not in the round.
- Other Tools: Stitch markers (optional, but helpful for tracking the pattern repeat), a tapestry needle for weaving in ends, and blocking pins or wires.
Gauge: 22 stitches and 30 rows = 4 inches (10 cm) in stockinette stitch, after blocking. While gauge is important for size, the drape of this scarf is forgiving. The key is to knit loosely enough to maintain the airy feel of the lace.
Step-by-Step Instructions
This pattern is worked flat in rows. The scarf is reversible, with a subtle wave pattern on both sides. We'll start with a garter stitch border, move into the lace body, and finish with another border.
Finished Measurements
Approximately 12 inches (30 cm) wide and 60 inches (152 cm) long, after blocking. Blocking is essential to open up the lace and achieve the final, flowing drape.
Special Stitches & Abbreviations
- Yo: Yarn over (creates an eyelet hole and increases a stitch).
- K2tog: Knit two stitches together (decreases one stitch, leaning right).
- Ssk: Slip, slip, knit (slip two stitches knitwise one at a time, then knit them together through the back loops—decreases one stitch, leaning left).
- Kfb: Knit into the front and back of the same stitch (increases one stitch). Note: This is not used in the main body, but is a good stitch to know for other projects.
- P2tog: Purl two stitches together (decreases one stitch on the wrong side).
Pattern Notes
- The scarf is worked flat in rows. The first and last 3 stitches of every row are worked in garter stitch (knit on both sides) to create a neat, non-curling border.
- Pro Tip: Place a lifeline every 20 rows. Thread a piece of scrap yarn through the stitches on your needle. If you make a mistake in the lace, you can easily rip back to the lifeline without losing your work.
- Blocking is not optional for this pattern. It transforms the fabric, opening up the lace and enhancing the drape.
Cast On & Border
Cast On: Loosely cast on 63 stitches using the long-tail method. Ensure your cast-on is not too tight, as this will affect the stretch of the border.
Border Rows (Garter Stitch): Knit all stitches for 6 rows. This creates a solid, stable base for the lace to emerge from.
The Lace Body
Now we begin the main pattern. The lace is a 12-row repeat that creates a beautiful, undulating wave. Pay close attention to the pattern, and remember that the wrong-side rows are all purled (except for the 3-stitch borders).
Row 1 (RS): K3 (border), *yo, k2tog, k3, ssk, yo, k1; repeat from * to last 3 stitches, k3 (border).
Row 2 (WS): K3, *purl to last 3 stitches*, k3.
Row 3 (RS): K3, *k1, yo, k2tog, k1, ssk, yo, k2; repeat from * to last 3 stitches, k3.
Row 4 (WS): K3, *purl to last 3 stitches*, k3.
Row 5 (RS): K3, *k2, yo, k2tog, ssk, yo, k3; repeat from * to last 3 stitches, k3.
Row 6 (WS): K3, *purl to last 3 stitches*, k3.
Row 7 (RS): K3, *k3, yo, ssk, k2tog, yo, k2; repeat from * to last 3 stitches, k3.
Row 8 (WS): K3, *purl to last 3 stitches*, k3.
Row 9 (RS): K3, *k4, yo, k2tog, k1, ssk, yo, k1; repeat from * to last 3 stitches, k3.
Row 10 (WS): K3, *purl to last 3 stitches*, k3.
Row 11 (RS): K3, *k5, yo, k2tog, ssk, yo, k2; repeat from * to last 3 stitches, k3.
Row 12 (WS): K3, *purl to last 3 stitches*, k3.
Repeat Rows 1–12 until the scarf measures approximately 58 inches (147 cm) from the cast-on edge, ending with a Row 12. As you knit, the gradient yarn will naturally shift colors, creating a seamless ocean-to-sand transition. This is the magic of using a gradient yarn—the color changes do the work for you!
Finishing Border & Bind Off
Border Rows (Garter Stitch): Knit 6 rows of garter stitch (all knit stitches). This mirrors the cast-on border and provides a balanced, finished look.
Bind Off: Bind off loosely in knit on the right side. To avoid a tight edge, you can use a larger needle to bind off, or bind off using the "knit two together" method: *Knit two stitches, then pass the first stitch over the second. Repeat from * until one stitch remains. Cut yarn, leaving a 6-inch tail, and pull through the last loop.
Weaving in Ends
Thread the tail onto a tapestry needle and weave it in along the edge of the scarf, following the path of the yarn to hide it completely. Do the same for the cast-on tail. Trim any excess yarn.
Blocking: The Final Transformation
Blocking is the most crucial step to unlock the full beauty of your Seafoam Whisper Scarf. It opens up the lace, evens out the stitches, and gives the scarf its signature flowing drape.
- Soak: Fill a basin or sink with lukewarm water and add a drop of gentle wool wash (like Eucalan or Soak). Submerge the scarf and let it soak for 20 minutes. Do not agitate or wring.
- Remove Water: Gently squeeze out excess water. Roll the scarf in a clean, dry towel and press to remove more moisture. The scarf should be damp, not dripping.
- Pin & Shape: Lay the scarf flat on a blocking mat. Use rust-proof pins to gently stretch the scarf to its final dimensions (12 inches wide x 60 inches long). Pin the edges, and if you like, gently pull out the points of the lace waves to emphasize the pattern. The garter stitch borders should be pinned straight.
- Dry: Allow the scarf to dry completely, which may take 24-48 hours depending on humidity. Once dry, unpin and enjoy your beautiful, ocean-inspired creation.
Your Seafoam Whisper Scarf is now complete! The delicate lace and serene gradient will make it a cherished piece, perfect for adding a touch of coastal calm to any outfit. Whether you keep it for yourself or gift it to a fellow ocean lover, this scarf is a true labor of love.
Happy knitting, and may your stitches always be as smooth as the sea!