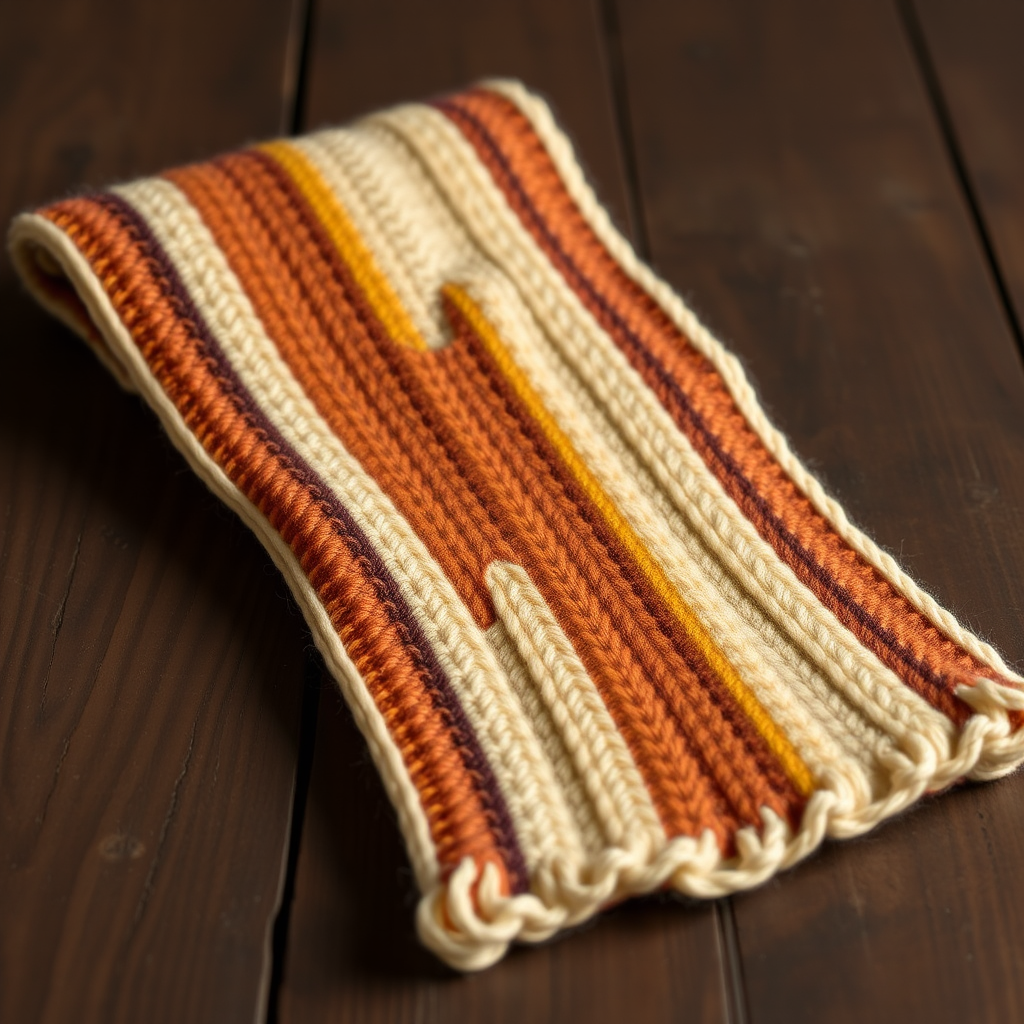
The Scarlet Hollow Pocket Scarf Free Pattern – A Knitted Tale of Hoods and Hidden Pockets

The Scarlet Hollow Pocket Scarf Free Pattern – A Knitted Tale of Hoods and Hidden Pockets
Wrap yourself in a storybook-inspired scarf with a draped hood and secret pockets, knit in rich crimson and forest green. This cozy companion is perfect for chilly evenings and woodland walks. The Scarlet Hollow Pocket Scarf is more than just an accessory—it's a wearable adventure, blending the charm of a classic fairytale with the practicality of hidden storage for your hands, phone, or little treasures. Whether you're a seasoned knitter or a brave beginner ready for a rewarding project, this pattern will guide you through creating a stunning, functional piece that evokes the spirit of Red Riding Hood with a modern twist.
Materials Needed
Before you begin your knitting journey, gather the following materials to ensure a smooth and enjoyable crafting experience:
- Yarn: Worsted weight yarn in two colors:
- Main Color (MC): Crimson red – approximately 600 yards (550 meters)
- Contrast Color (CC): Forest green – approximately 200 yards (183 meters)
- Needles:
- US 8 (5mm) circular knitting needles with a 32-inch (80cm) cable – for the main body
- US 8 (5mm) double-pointed needles (DPNs) – for knitting the pocket linings
- Notions:
- Stitch markers (at least 4)
- Stitch holders or waste yarn (for holding stitches)
- Tapestry needle for weaving in ends and seaming
- Scissors
- Gauge: 18 stitches and 24 rows = 4 inches (10cm) in stockinette stitch. Always take time to check your gauge to ensure the correct finished size.
Step-by-Step Instructions
This pattern is worked in one piece from the hood down to the scarf ends, with pockets knit separately and attached. Follow along carefully, and you'll have a beautiful, functional scarf in no time.
Part 1: The Hood
The hood is the starting point of your scarf, worked from the top down. It's a simple rectangle with shaping at the top to create a rounded, draped silhouette.
- Cast On: With your Main Color (MC) yarn and your circular needle, cast on 80 stitches.
- Garter Stitch Edge: Work in garter stitch (knit every row) for 6 rows. This creates a neat, non-curling edge at the top of the hood.
- Stockinette Stitch: Switch to stockinette stitch (knit on the right side, purl on the wrong side). Work even (no increases or decreases) for 8 inches (20cm), ending with a wrong-side row.
- Shape the Hood: This is where we create the rounded top of the hood.
- Place a stitch marker after the first 20 stitches, and another marker before the last 20 stitches. You should have 40 stitches between the markers.
- Decrease Row (Right Side): K2, k2tog (knit two together), knit to 4 stitches before the first marker, k2tog, k2, slip marker, knit to the next marker, slip marker, k2, k2tog, knit to the last 4 stitches, k2tog, k2. You have decreased 4 stitches total (one at each edge and one on each side of the center section).
- Repeat this decrease row every 4th row 4 more times. You should now have 60 stitches remaining on your needle.
- Work even (no decreases) in stockinette stitch for 2 inches (5cm).
- Bind Off: Bind off all stitches loosely. Do not cut the yarn yet—you'll use a tail for seaming.
- Seam the Hood: Fold the hood in half with the right sides together (the inside of the hood facing out). Using your tapestry needle and the yarn tail, sew the top seam closed. This creates the rounded top of the hood. Turn the hood right side out.
Part 2: The Scarf Body
Now we'll pick up stitches from the bottom of the hood and work the main scarf body, including the openings for the hidden pockets.
- Pick Up Stitches: With the right side of the hood facing you, pick up and knit 80 stitches along the bottom edge of the hood. This is the edge opposite the seam you just sewed.
- Work the Scarf: Work in stockinette stitch for 12 inches (30cm), ending with a wrong-side row. This forms the first half of the scarf body.
- Create Pocket Openings (Right Side): This row sets up the openings for your hidden pockets.
- Knit 15 stitches.
- Place the next 20 stitches on a stitch holder or waste yarn. These will become the back of one pocket.
- Knit to the last 35 stitches on the needle.
- Place the next 20 stitches on another stitch holder or waste yarn. These will become the back of the other pocket.
- Knit to the end of the row. You should have 40 stitches remaining on your working needle (the center section).
- Work the Center Section: Continue in stockinette stitch on these 40 center stitches for 10 inches (25cm). This section will become the back of the scarf, connecting the two pocket openings. Place these 40 stitches on a stitch holder.
Part 3: The Pocket Linings
These are the inside "bags" of your hidden pockets, knit in the contrasting forest green color.
- First Pocket Lining: With your double-pointed needles and Contrast Color (CC) yarn, pick up the 20 held stitches from one side of the scarf.
- Work in stockinette stitch (knit on RS, purl on WS) for 8 inches (20cm). Bind off all stitches.
- Second Pocket Lining: Repeat the same process with the 20 held stitches from the other side of the scarf. Work in stockinette for 8 inches (20cm) and bind off.
Part 4: Rejoining and Finishing the Scarf
Now we bring all the pieces together to complete the scarf body.
- Rejoin All Stitches (Right Side): With the right side of the work facing you and using your MC yarn, knit across the 40 held center stitches from the stitch holder. Then, knit across the 20 stitches of one pocket lining (the bound-off edge). Finally, knit across the 20 stitches of the other pocket lining. You should now have 80 stitches back on your needle.
- Work the Second Half: Work in stockinette stitch for 12 inches (30cm), ending with a wrong-side row. This completes the second half of the scarf body, mirroring the first.
- Garter Stitch Edging: Work in garter stitch (knit every row) for 6 rows. This creates a neat, non-curling edge at the end of the scarf.
- Bind Off: Bind off all stitches loosely.
Part 5: Finishing Touches
This is where the magic happens—turning your knitting into a scarf with secret pockets.
- Attach Pocket Linings: Fold each pocket lining inward (towards the inside of the scarf). Using your tapestry needle and a length of MC yarn, sew the sides of each pocket lining to the inside of the scarf. Make sure the openings are aligned and the pockets are secure. Weave in all loose ends.
- Block Gently: To even out your stitches and give the scarf a professional finish, block it gently. Lay it flat on a towel, mist with water, and shape it to the correct dimensions. Allow it to dry completely.
Optional: Hood Trim
Add a beautiful contrasting edge to your hood for a pop of color and a polished look.
- With your Contrast Color (CC) yarn, pick up stitches evenly around the opening of the hood (the front edge).
- Knit 4 rows of garter stitch (knit every row).
- Bind off all stitches loosely. Weave in ends.
Congratulations! You've completed your very own Scarlet Hollow Pocket Scarf. This enchanting piece is perfect for keeping your hands warm, storing small essentials, and adding a touch of fairytale charm to any winter outfit. Wear it on your next woodland walk or cozy evening by the fire, and enjoy the fruits of your labor. Happy knitting!