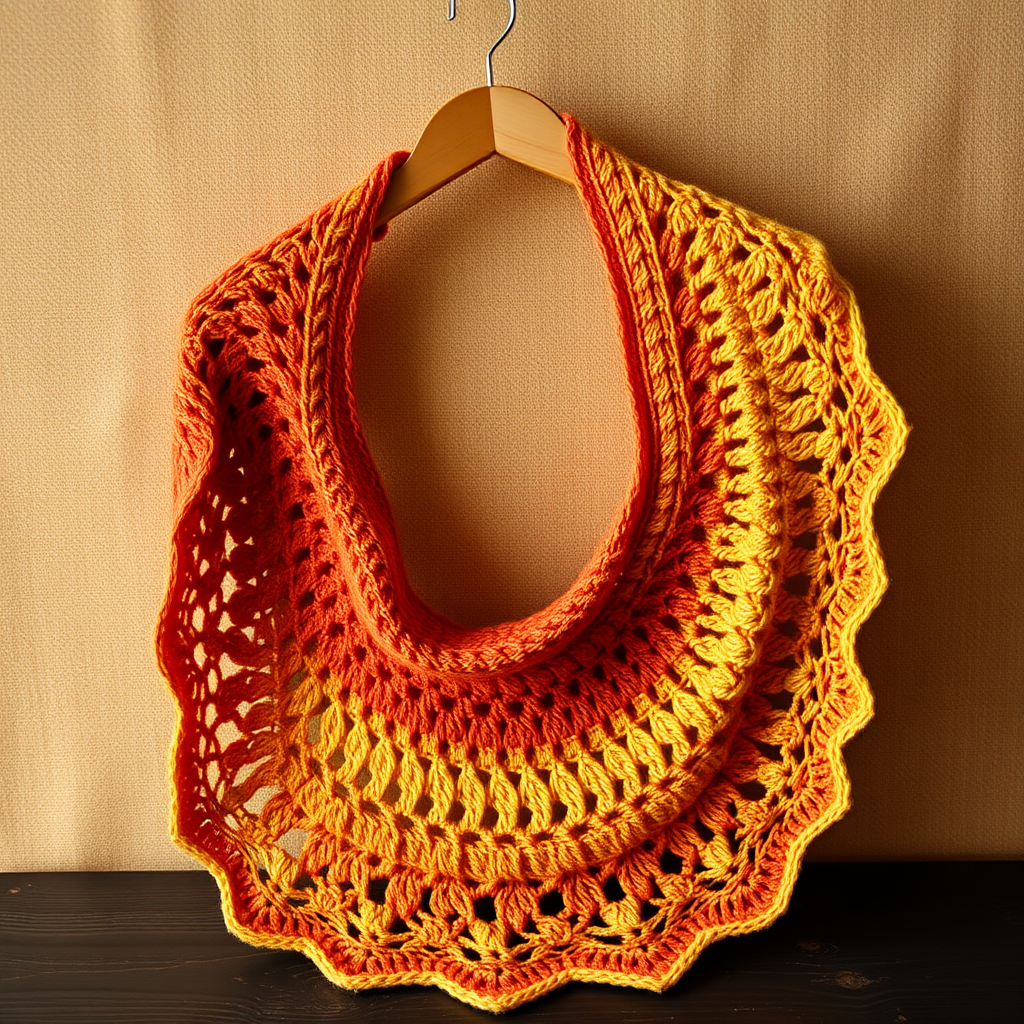
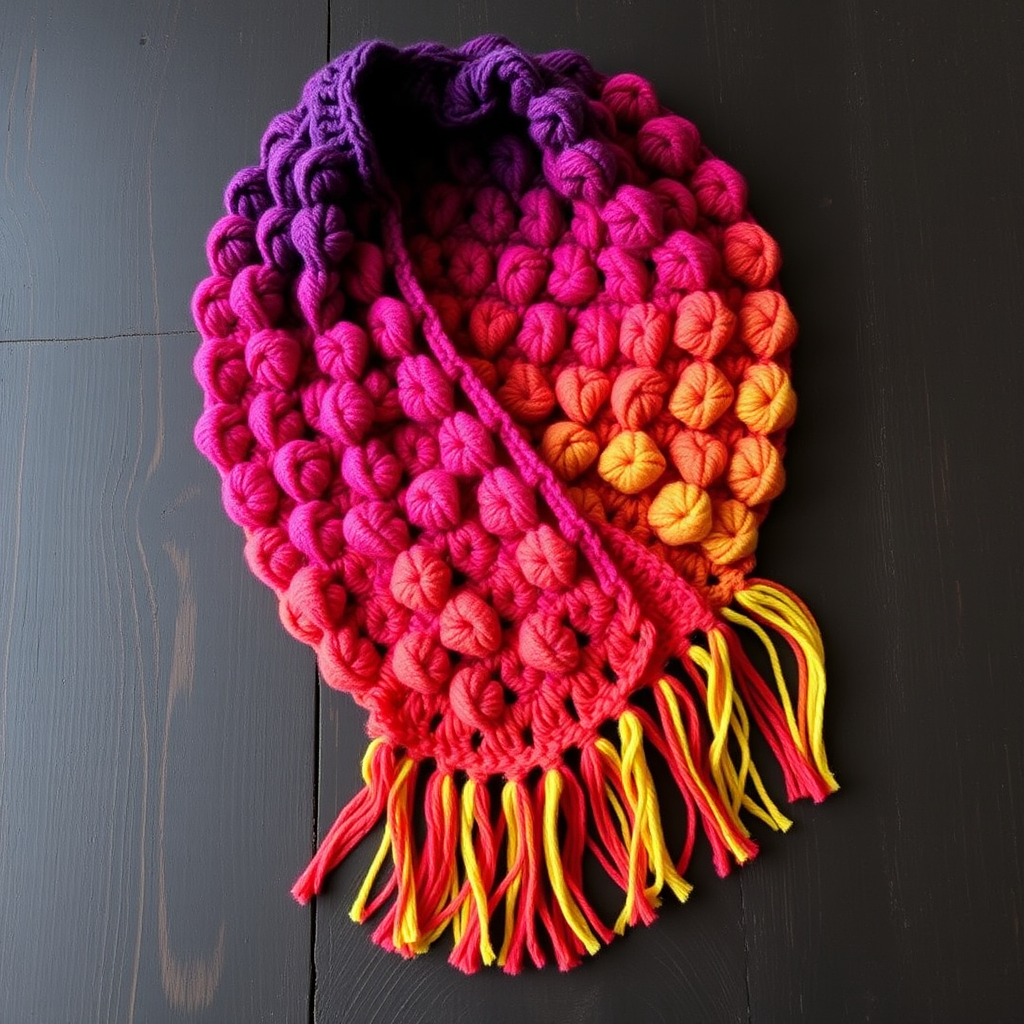
The Ember Glow Asymmetrical Cape: A Free Crochet Pattern for a Dramatic, Textured Wrap

Wrap Yourself in Warmth: The Ember Glow Asymmetrical Cape
Imagine the feeling of a smoldering sunset wrapped around your shoulders. That's the magic of the Ember Glow Asymmetrical Cape. This free crochet pattern creates a uniquely shaped, dramatic wrap that's as cozy as it is stylish. With its rich, textured stitch pattern and modern asymmetrical drape, this cape is a stunning statement piece perfect for layering over everything from jeans to evening wear. Best of all, it's beginner-friendly, using a simple two-row repeat of single crochet and puffy clusters. Let's get started!
Materials Needed
Before you begin, gather the following supplies. The sample uses Lion Brand Wool-Ease, but any worsted weight yarn will work beautifully.
- Yarn: Worsted weight (Category 4) yarn in two colors:
- Color A (Main): 600 yards (e.g., a deep burnt orange like 'Pumpkin')
- Color B (Contrast): 300 yards (e.g., a warm charcoal or deep plum like 'Charcoal')
- Crochet Hook: Size J-10 (6.0 mm) crochet hook, or size needed to obtain gauge.
- Other: Yarn needle for weaving in ends, scissors, stitch markers (optional).
Gauge & Sizing
Gauge: 14 stitches and 8 rows in pattern stitch = 4 inches (10 cm). Gauge is not critical for this design, but consistency is important for the drape. If your gauge is off, your cape will simply be slightly larger or smaller.
Finished Size: The cape measures approximately 18 inches from the foundation point to the bottom edge (the longest point), with the asymmetrical shape creating a dramatic drape.
Step-by-Step Instructions
Notes Before You Begin
- The cape is worked from the top down in one piece, with increases creating the asymmetrical shape.
- The pattern uses a simple two-row repeat of single crochet and double crochet clusters.
- Always turn your work at the end of each row unless otherwise specified.
Stitch Abbreviations
- ch: chain
- sc: single crochet
- dc: double crochet
- cl: cluster (3 dc worked into same stitch)
- sk: skip
- st(s): stitch(es)
- sp: space
Pattern Stitch (Worked Flat)
This is the repeating pattern that creates the textured fabric. Practice this on a small swatch if needed.
- Row 1 (RS): With Color A, ch 1, sc in first st, *sk 2 sts, cl in next st, sk 2 sts, sc in next st; repeat from * across. Turn.
- Row 2 (WS): With Color A, ch 3 (counts as first dc), *sc in top of next cl, cl in next sc; repeat from * across, ending with dc in last sc. Turn.
Cape Instructions
Foundation Row: With Color A, ch 3 (counts as first dc), 2 dc in 3rd ch from hook (this creates a small triangle point). Turn. (3 dc)
Row 1 (Increase Row): Ch 3 (counts as dc), 2 dc in same st (increase made), dc in next st, 3 dc in last st (increase). Turn. (7 dc)
Row 2: Ch 1, sc in first st, *sk 2 sts, cl in next st, sk 2 sts, sc in next st; repeat from * across. Turn. (You will have 2 clusters and 3 sc)
Row 3: Ch 3 (counts as dc), *sc in top of next cl, cl in next sc; repeat from * across, ending with dc in last sc. Turn.
Row 4 (Increase Row): Ch 3 (counts as dc), 2 dc in same st (increase), work in pattern across to last st, 3 dc in last st (increase). Turn.
Row 5: Repeat Row 2.
Row 6: Repeat Row 3.
Continue increasing: Repeat Rows 4-6 until the cape measures approximately 18 inches from the foundation point to the bottom edge, ending with a Row 3. You will have a wide, asymmetrical triangle.
Border
The border is worked in Color B (contrast) and adds a clean, modern finish.
- Round 1: With Color B, do not turn. Working along the long edge (the front opening), sc evenly down to the point. At the point, work 3 sc in the tip. Continue sc evenly along the bottom edge. At the corner, work 3 sc. Sc evenly up the other side (the back edge). Join with sl st to first sc. (Do not turn)
- Round 2: Ch 1, sc in each sc around, working 3 sc in each corner sc. Join with sl st. Fasten off and weave in all ends.
Finishing
Weave in all ends using a yarn needle. Block lightly to shape, if desired, by pinning the cape to a flat surface and misting with water. Allow to dry completely. Your Ember Glow Cape is ready to wear!