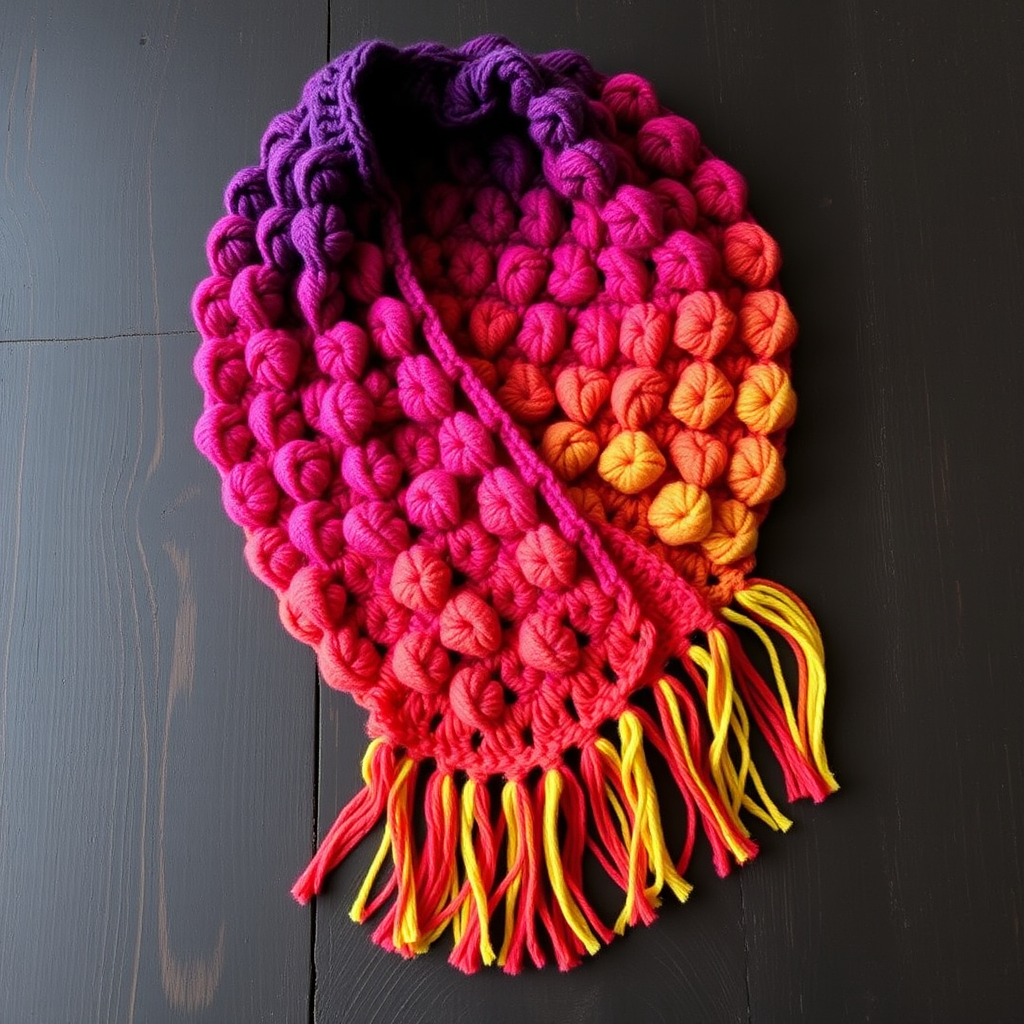
Solar Flare Crescent Shawl Free Pattern – Crochet a Radiant Sunset Wrap
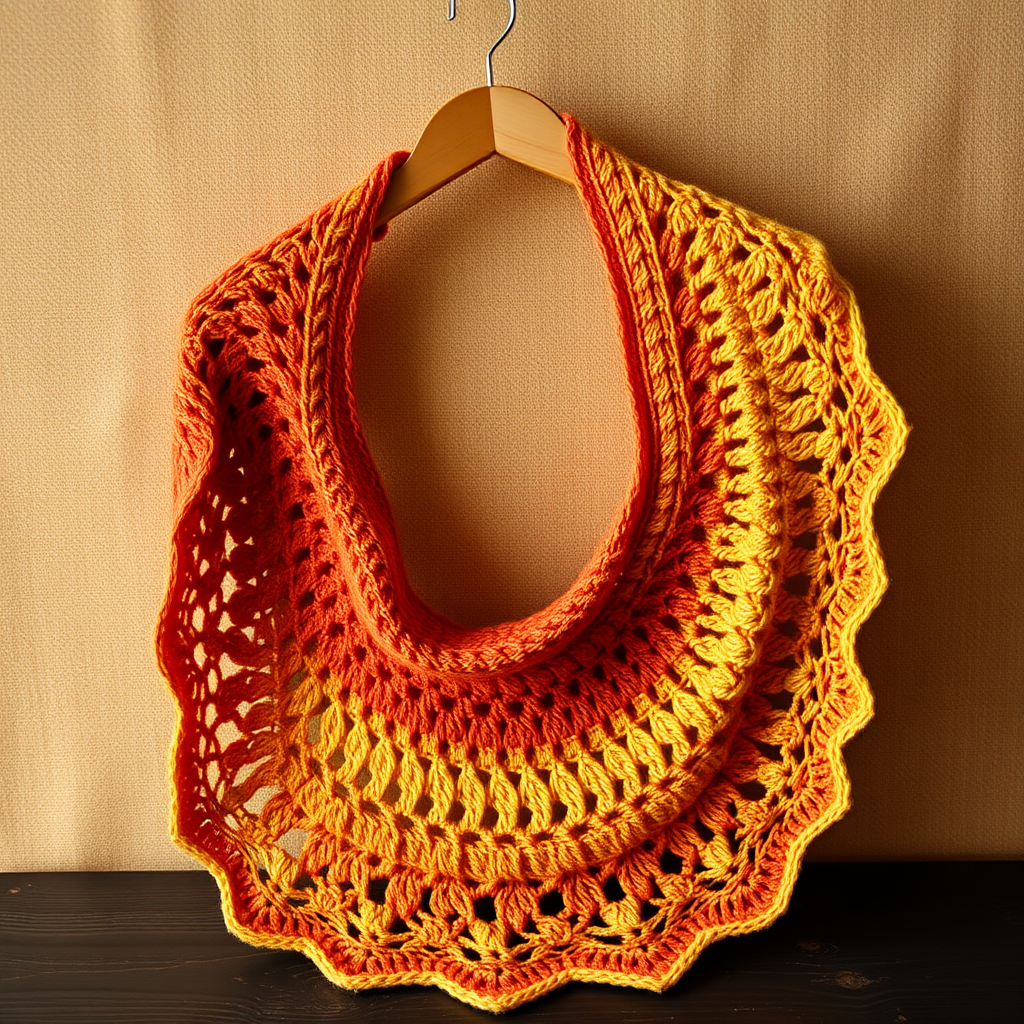
Solar Flare Crescent Shawl Free Pattern – Crochet a Radiant Sunset Wrap
Wrap yourself in the warm glow of a hand-dyed sunset with this crescent-shaped crochet shawl. Featuring a stunning gradient of fiery oranges, deep corals, and soft golds, this open, airy stitch pattern drapes beautifully and is perfect for cool evenings or as a statement accessory. Whether you're a seasoned crocheter or a confident beginner looking for a rewarding project, this free pattern will guide you through creating a wearable piece of art.
The Solar Flare Crescent Shawl is worked from the center top down, with increases at the edges to form its graceful, curved silhouette. The combination of V-stitches and shell clusters creates a delicate, lacy texture that opens up beautifully after blocking. The hand-dyed yarn adds a subtle sheen and rich color transitions that mimic a real sunset—from deep burnt orange through vibrant coral to soft golden yellow.
Materials Needed
Before you begin, gather the following materials to ensure a smooth crochet experience:
- Yarn: Fingering weight yarn in 3 colors:
- Color A (Sunset Orange) – approx. 150g
- Color B (Coral) – approx. 125g
- Color C (Golden Yellow) – approx. 125g
- Crochet Hook: US G/6 (4.0 mm) crochet hook
- Other Tools: Yarn needle for weaving in ends, stitch markers (optional but helpful), scissors
- Blocking Supplies: Blocking mats, rust-proof pins, and lukewarm water with wool wash
Gauge: 4 repeats of shell pattern (16 sts) x 8 rows = 4 inches in pattern stitch (after blocking). Gauge is important for achieving the correct drape and size, so take a moment to check your tension.
Step-by-Step Instructions
This shawl is worked from the center top down, increasing at the edges to form a crescent shape. Follow these detailed instructions carefully, and you'll have a stunning shawl in no time.
Foundation
Make a magic ring. Ch 3 (counts as dc), work 3 dc into ring, ch 2, 4 dc into ring. (8 dc total, 1 ch-2 space). Pull the magic ring tight to close the center.
Row 1
Ch 3 (counts as dc), turn. Work 2 dc into first st (edge increase). *Sk 1 st, dc in next st, ch 1, dc in same st (V-stitch)*, repeat from * to * until 1 st remains before the ch-2 space. Work 3 dc into last st before ch-2 space, ch 2, 3 dc into ch-2 space (center increase). Then repeat the V-stitch pattern across the other side, ending with 3 dc into the last st. (Total: 2 center increases, 2 edge increases)
Pro tip: The V-stitch is the heart of this pattern. It creates the airy, open texture that makes this shawl so elegant. Take your time to get comfortable with it.
Row 2
Ch 3, turn. Work 2 dc into first st (edge increase). *Sk 1 st, V-stitch in next ch-1 space*, repeat from * to * across until 1 st before center ch-2 space. Work 3 dc into that st, ch 2, 3 dc into center ch-2 space. Then repeat V-stitches across the other side, ending with 3 dc into last st.
Rows 3-10
Repeat Row 2, but each row you will have one more V-stitch on each side of the center. Continue until you have 10 rows total in Color A.
Counting your rows: It's easy to lose track, so use a row counter or place a stitch marker at the beginning of each row. Remember, the shawl grows symmetrically from the center, so both sides should always mirror each other.
Row 11 (Color Change to Color B)
Join Color B with a slip stitch at the beginning of the row. Repeat Row 2 pattern, working in Color B for 10 rows (Rows 11-20).
Color change technique: When joining a new color, leave a tail of about 6 inches to weave in later. Work the slip stitch join at the start of the row, then continue with the pattern. For a cleaner transition, you can also work the last yarn-over of the previous stitch with the new color.
Row 21 (Color Change to Color C)
Join Color C. Repeat Row 2 pattern for 10 rows (Rows 21-30).
Row 31 (Final Row)
Ch 1, turn. Work a sc in each st across, working 3 sc in each ch-2 space at the center and edges to keep the crescent shape. Fasten off and weave in all ends with your yarn needle.
Edge detail: The single crochet border on the final row helps stabilize the edges and gives a clean finish. The 3 sc in the ch-2 spaces at the center and edges ensure the crescent shape remains intact.
Blocking
Soak the shawl in lukewarm water with a drop of wool wash for about 15-20 minutes. Gently squeeze out excess water (never wring or twist). Lay the shawl flat on blocking mats, and pin the edges to open up the lace pattern and create the crescent shape. Pay special attention to the scalloped edges and the points at the ends. Allow to dry completely before unpinning.
Why blocking matters: Blocking transforms this shawl from a crumpled piece of crochet into a beautifully draped accessory. The lace pattern opens up, the stitches become more defined, and the crescent shape becomes graceful and elegant. Don't skip this step!
Final Thoughts
Your Solar Flare Crescent Shawl is now complete! The gradient of sunset colors and the delicate lace texture make this a truly special piece. Whether you wear it draped over your shoulders on a cool evening or gift it to someone special, this shawl is sure to be treasured.
Remember, crochet is a journey—enjoy each stitch and the beautiful creation that emerges from your hands. Happy crocheting!