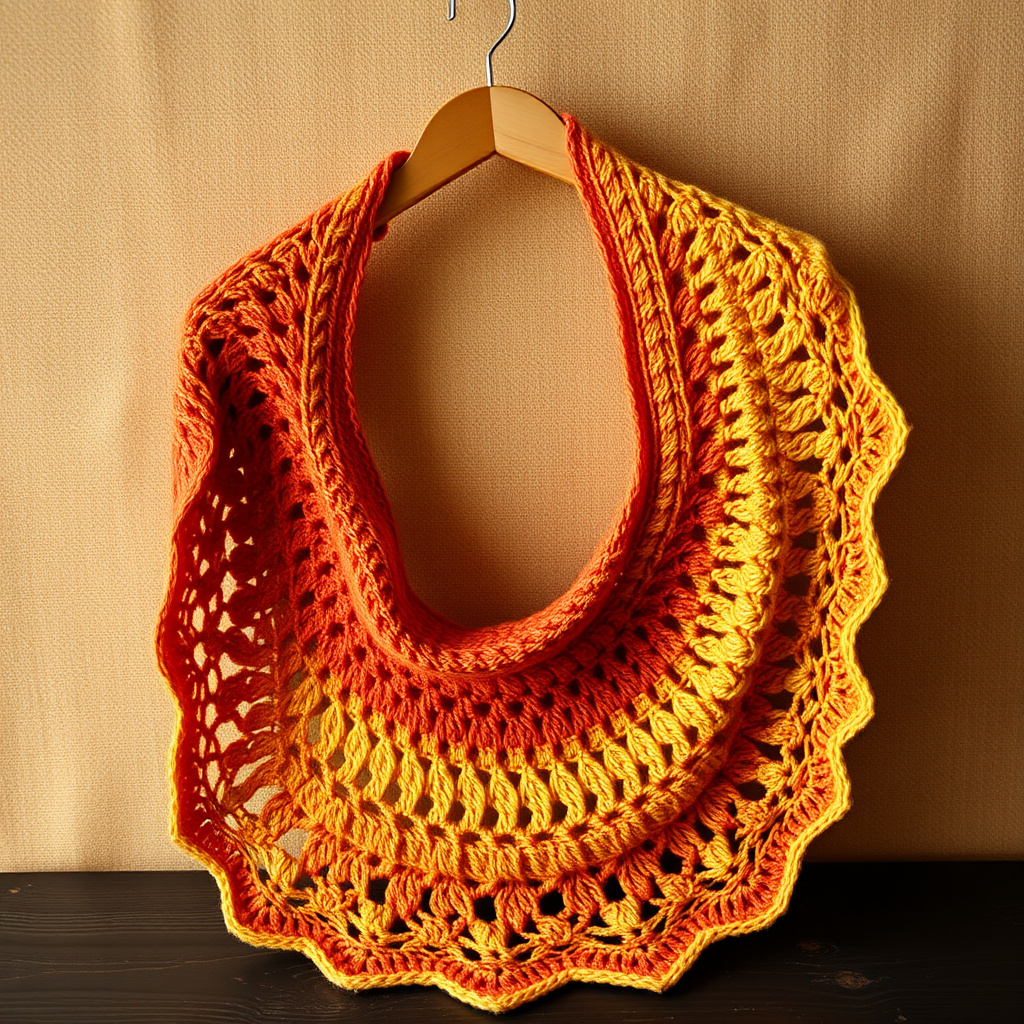
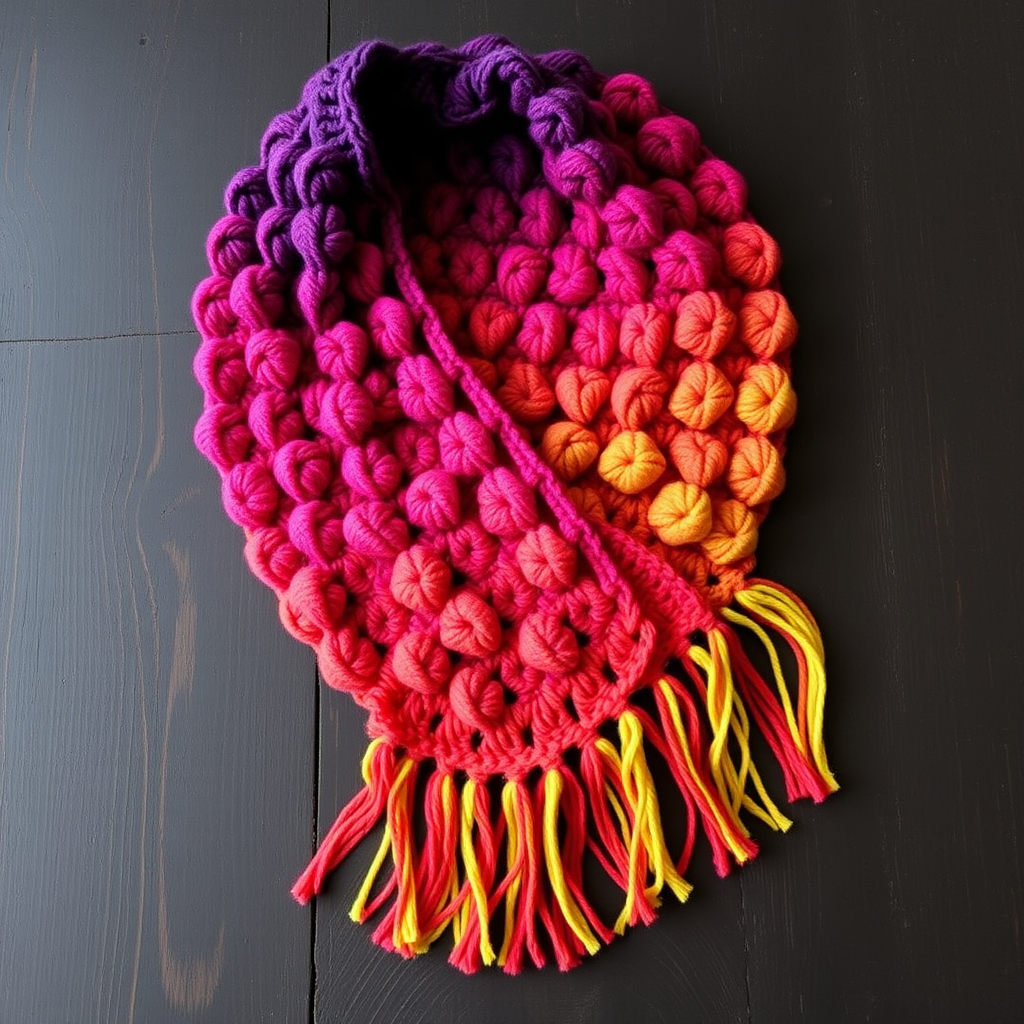
Cloudberry Drift Crochet Shawl Free Pattern
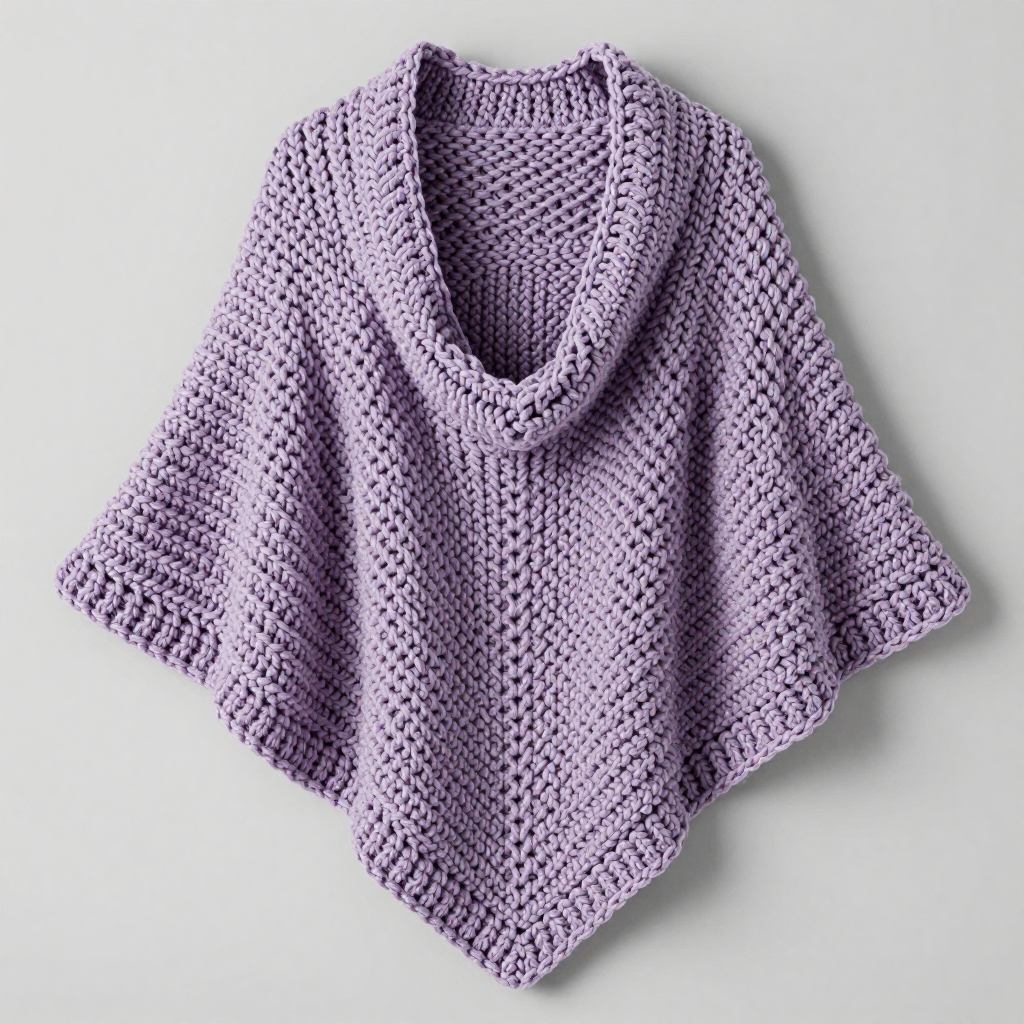
Cloudberry Drift Crochet Shawl: A Cozy First Project You'll Actually Finish
If you have never held a crochet hook before, this is the project I would hand you first. The Cloudberry Drift Shawl is worked entirely in single crochet — the very first stitch most people learn — so there are no complicated stitch patterns to memorize and nothing to unravel in frustration. It is perfect for absolute beginners, for anyone who wants a soothing, repetitive project to work on while watching TV, and for anyone who has ever looked at a chunky yarn in a shop and thought, "that looks like a cloud." The finished shawl is a wide, soft triangle about 60 inches across the top and 30 inches deep at the center point, with a dense, plush, slightly fuzzy surface that drapes like a warm hug around your shoulders. In a heathered misty lavender or pale sage bulky yarn, it looks far more impressive than the simple stitches it's made from — and nobody has to know it was your very first project.
Materials Needed
- Yarn: Bulky weight yarn (this is yarn weight category 5 — the label will say "bulky" or "chunky"). You need approximately 400–450 yards (366–412 meters). A soft acrylic or acrylic-wool blend works beautifully and is forgiving for beginners. The sample uses a heathered misty lavender; pale sage is equally lovely.
- Crochet hook: Size J/10 (6.0 mm). (The "J/10" is the US size; "6.0 mm" is the metric size. They are the same hook.)
- Stitch markers: At least 2. These are small clips or loops of plastic you slip onto a stitch to mark your place. You can also use a contrasting scrap of yarn or even a bobby pin.
- Tapestry needle: A large-eyed, blunt-tipped needle used for weaving in yarn ends. Look for one labeled "tapestry" or "yarn needle."
- Scissors: Any sharp pair for cutting yarn.
- Optional: A spray bottle of water and rust-proof pins (or a blocking mat) for the finishing step.
Finished size: One size fits all — approximately 60 inches (152 cm) wide across the top edge and 30 inches (76 cm) deep at the center point.
Abbreviations and Beginner Glossary
Every abbreviation used in this pattern is listed here. Read this section even if you think you know a term — it costs two minutes and saves hours.
- ch — chain. Make a loop of yarn on your hook (a "slip knot"), then wrap the yarn over the hook and pull it through the loop already on the hook. That's one chain. Chains look like a row of little V's or braids.
- sc — single crochet. Insert your hook into the stitch, wrap the yarn over the hook, pull it back through the stitch (you now have 2 loops on your hook), wrap the yarn over again, and pull it through both loops at once. One single crochet made.
- st / sts — stitch / stitches. A "stitch" is one completed single crochet (or one chain). "Sts" just means more than one.
- sl st — slip stitch. Insert your hook into the stitch, wrap the yarn over, and pull it through both the stitch and the loop on your hook in one motion. It makes a nearly invisible joining stitch.
- 2 sc in the first st — make two single crochets into the same single stitch. This is an "increase" — it adds one stitch to your row and is what makes the shawl grow wider.
- sc in each st across — make one single crochet into every stitch along the row, one after another, with no increases or decreases.
- turn — flip your work over (like turning a page) so you can work back along the row you just made.
- fasten off — cut the yarn a few inches from your work, then pull the tail all the way through the last loop on your hook to lock it. This finishes the piece.
- row-end — the little vertical edge on the side of your work, where each row ends. You'll work into these along the slanted sides of the shawl.
- perimeter — the entire outer edge of the shawl: both slanted sides plus the top edge.
- join with a sl st — after working all the way around, make one slip stitch into the very first stitch of the round to close the circle.
Gauge
Gauge: 14 single crochet stitches x 15 rows = 4 inches (10 cm).
Gauge simply means "how big your stitches come out." If your stitches are bigger than the pattern's, your shawl will be larger than 60 inches; if smaller, it will be smaller. Because this shawl is one size fits all and grows as you go, gauge is not critical here — but it's good practice, and it tells you whether you'll have enough yarn.
How to make a gauge swatch: With your 6.0 mm hook and your yarn, chain 20. Single crochet into the second chain from the hook and into every chain after it (19 stitches). Work 16 rows of single crochet, turning at the end of each row. Lay the swatch flat and measure a 4-inch (10 cm) section in the middle with a ruler. Count how many stitches fit across those 4 inches and how many rows fit in 4 inches vertically. If you have about 14 stitches and 15 rows, you're spot on. If you have many more stitches, your tension is tight — try relaxing your grip or going up one hook size. If you have far fewer, go down one hook size. Do not skip this step if you are a tight crocheter — it's the difference between a shawl that wraps and one that perches.
Beginner Tips Before You Start
- Use stitch markers to keep your place. Place a marker in the very first stitch of each row and in the very last stitch. Those two stitches are where your increases happen, and beginners often accidentally work into the turning chain instead. Marking them removes all the guesswork.
- Do not pull your yarn too tight. Tension is the number one beginner struggle. Hold the yarn gently — snug, not strangling. If your hook squeaks or your stitches are hard to insert into, you're pulling too hard. Loosen up and your fabric will be softer and your hands will hurt less.
- Count your stitches at the end of every row. You should always have an even number, and it should grow by exactly 2 each row (2, 4, 6, 8…). Catching a mistake one row later is easy to fix; catching it twenty rows later is heartbreaking.
- The chain 1 at the start of each row does not count as a stitch. Make it, then work your first single crochet into the actual first stitch. This keeps your edges straight.
- Work in good light and take breaks. Bulky yarn on a big hook is fast, but it's also heavy on your wrists. Every 20 minutes, stretch your hands. This is a marathon, not a sprint — and it's supposed to be relaxing.
- Don't panic about the "wrong" side. Single crochet has a slightly different look on each side. Both are correct. Pick the side you like best and call it the right side — nobody will ever know.
Step-by-Step Instructions
Notes before you begin: The shawl is worked from the top center down, increasing at both ends of every row to create a triangular shape. The chain 1 at the beginning of a row does not count as a stitch. Turn your work at the end of every row.
Setup
Setup: Chain 3. (3 ch)
Body
Row 1: Sc in the 2nd chain from hook and in the next chain. (2 sc) Turn.
Row 2: Ch 1, 2 sc in the first st, sc in the next st, 2 sc in the last st. (4 sc) Turn.
Row 3: Ch 1, 2 sc in the first st, sc in each st across until the last st, 2 sc in the last st. (6 sc) Turn.
Row 4: Ch 1, 2 sc in the first st, sc in each st across until the last st, 2 sc in the last st. (8 sc) Turn.
Row 5: Ch 1, 2 sc in the first st, sc in each st across until the last st, 2 sc in the last st. (10 sc) Turn.
Row 6: Ch 1, 2 sc in the first st, sc in each st across until the last st, 2 sc in the last st. (12 sc) Turn.
Row 7: Ch 1, 2 sc in the first st, sc in each st across until the last st, 2 sc in the last st. (14 sc) Turn.
Row 8: Ch 1, 2 sc in the first st, sc in each st across until the last st, 2 sc in the last st. (16 sc) Turn.
Row 9: Ch 1, 2 sc in the first st, sc in each st across until the last st, 2 sc in the last st. (18 sc) Turn.
Row 10: Ch 1, 2 sc in the first st, sc in each st across until the last st, 2 sc in the last st. (20 sc) Turn.
Rows 11–90: Repeat Row 3 exactly — that is, ch 1, 2 sc in the first st, sc in each st across until the last st, 2 sc in the last st, then turn. You add 2 stitches every single row. To keep yourself honest, here are the stitch counts you should have at each milestone: Row 20 (40 sc), Row 30 (60 sc), Row 40 (80 sc), Row 50 (100 sc), Row 60 (120 sc), Row 70 (140 sc), Row 80 (160 sc), Row 90 (180 sc). After Row 90 you should have 180 sc. Do not fasten off.
Optional Border (recommended for a polished edge)
Border Round 1: Ch 1, then sc evenly around the entire perimeter of the shawl: work 1 sc in each row-end along the first slanted side, 1 sc in each st along the top edge, and 1 sc in each row-end along the second slanted side. Join with a sl st to the first sc. (Your count will vary slightly depending on tension — that's fine; the goal is an even, unruffled edge.)
Border Round 2: Ch 1, sc in each sc around. Join with a sl st to the first sc. Fasten off.
Assembly and Finishing
Weaving in ends: Thread each yarn tail onto your tapestry needle. Working on the wrong side of the shawl, slide the needle through the backs of several stitches (about 2 inches' worth), then reverse direction and go back through a few stitches the other way. This "locks" the tail so it won't work loose in the wash. Trim the yarn close to the fabric. Do this for every tail — the starting tail and the ending tail, plus any joins.
Blocking: Blocking means gently wetting the fabric and shaping it while it dries, which evens out your stitches and lets the bulky yarn "bloom" (fluff up and soften). Lay the shawl on a towel or blocking mat. Mist it lightly and evenly with water from a spray bottle — damp, not soaking. Gently pat and stretch it into a neat triangle measuring about 60 inches across the top and 30 inches deep at the center point. If you like, pin the edges with rust-proof pins to hold the shape. Leave it flat to dry completely, usually overnight. Do not hang a damp shawl — the weight of the water will stretch it out of shape.
Final check: Once dry, hold it up. Give the edges a gentle tug to even them. Try it on. You made a shawl.
Pro Tips and Variations
- Play with color. Work the body in one color and the optional border in a contrasting shade — a cream border on a sage body looks boutique-made. Or use a self-striping bulky yarn and let the colors do the work for you. Because this pattern is all one stitch, color changes are the easiest way to make it look completely different.
- Adjust the size. Want a smaller kerchief-style shawl? Stop at Row 60 (120 sc). Want a dramatic, blanket-sized wrap? Keep going to Row 110 (220 sc) — just buy an extra skein, since each additional 10 rows uses roughly 40–50 more yards.
- Substitute yarn. Any bulky (weight 5) yarn works. A wool-blend will block beautifully and hold its shape; a 100% acrylic is budget-friendly, machine washable, and wonderfully soft after blocking. Avoid fluffy novelty yarns for your first attempt — they hide your stitches and make counting a nightmare.
- Add texture for round two. Once you're comfortable, try working the border in half double crochet (yarn over before inserting your hook, then pull through all three loops) for a slightly taller, more decorative edge. It's a natural next step and uses the same basic motion you already know.