Five-Band V-Stitch Triangle Shawl with Cluster Edging Crochet Pattern

Five-Band V-Stitch Triangle Shawl with Cluster Edging Crochet Pattern
Introduction
This five-band V-stitch triangle shawl is the perfect first big project for someone who has just learned the basic crochet stitches and wants to make something truly beautiful. It is worked in an open, airy V-stitch lace that grows from a single point into a soft, draping triangle, and the five color bands fade gently from dark blue at the bottom point through medium blue, light blue, and off-white to a warm peach at the wide top edge. The finished shawl measures about 60 inches (152 cm) across the top and 30 inches (76 cm) down the center point, so it wraps comfortably around your shoulders or bunches up like a cozy scarf. A cluster-stitch edging runs along the lower edges and a matching cluster-stitch collar frames the V-shaped neck opening, giving the whole piece a polished, boutique look. Because every row is the same simple repeat, you can chat, watch TV, or listen to a podcast while you work — and you will be amazed at what you made with your own two hands.
Materials Needed
- Yarn: Fingering weight (size 1) yarn, approximately 800–900 yards total. Use five separate skeins:
- Color A (peach): ~150 yards
- Color B (off-white): ~150 yards
- Color C (light blue): ~150 yards
- Color D (medium blue): ~150 yards
- Color E (dark blue): ~200 yards
- Crochet hook: US E/4 (3.5 mm), or whatever size you need to match the gauge below.
- Stitch markers: At least 4, to mark the first stitch of each row and the center point.
- Tapestry needle: A blunt-tipped needle with a large eye for weaving in ends.
- Scissors: Sharp small scissors for cutting yarn.
- Blocking supplies: Blocking mats and rust-proof pins (needed at the very end).
- Finished size: Approximately 60 inches (152 cm) across the top edge and 30 inches (76 cm) down the center point after blocking.
Abbreviations and Beginner Glossary
- ch – chain: yarn over the hook, pull the hook through the loop on your hook. This makes one chain.
- dc – double crochet: yarn over, insert hook into the stitch, yarn over, pull up a loop (3 loops on hook), yarn over, pull through 2 loops, yarn over, pull through the last 2 loops.
- cl – cluster: [yarn over, insert hook in the indicated stitch, yarn over, pull up a loop, yarn over, draw through 2 loops] 3 times, then yarn over and draw through all 4 loops on your hook. This gathers three partial double crochets into one puffy stitch.
- sc – single crochet: insert hook into the stitch, yarn over, pull up a loop (2 loops on hook), yarn over, pull through both loops.
- sl st – slip stitch: insert hook into the stitch, yarn over, pull the yarn straight through both the stitch and the loop on your hook.
- sp – space: the little gap made by a chain (for example, a "ch-1 sp" is the hole under one chain).
- st – stitch: one completed loop of crochet work.
- rep – repeat: do the same thing again.
- V-stitch – (1 dc, ch 1, 1 dc) all worked into the same stitch or space. It looks like the letter V.
- RS – right side: the front, public face of your work.
- yo – yarn over: wrap the yarn from back to front over your hook.
- turning chain – the chains you make at the start of a row so the row has the right height. Here, ch 3 counts as your first dc.
Gauge
Gauge: 4 V-stitches and 8 rows = 4 inches (10 cm) in V-stitch pattern after blocking.
Gauge matters because it tells you whether your shawl will come out the size written here. If your stitches are too big, the shawl will be huge and eat extra yarn; if too small, it will be tiny. To check: with your hook and yarn, chain 22 and work about 12 rows of the V-stitch repeat from the instructions below. Lay the swatch flat, measure 4 inches across and count how many V-stitches fit, then measure 4 inches up and count the rows. If you have more stitches than 4, go up a hook size; if fewer, go down a hook size. Always measure after gently blocking, because lace opens up when wet.
Beginner Tips Before You Start
- Mark your first stitch every row. Place a stitch marker in the very first stitch you make after the turning chain. It is easy to lose that edge stitch, and losing it makes your triangle lopsided.
- Do not pull your yarn too tight. V-stitch lace needs relaxed, even tension. If your chain-1 spaces are tight and hard to poke your hook into, you are pulling too hard — loosen your grip.
- Count your V-stitches at the end of every row. Each row adds exactly 2 V-stitches. Row 1 has 1, Row 2 has 3, Row 3 has 5, and so on. A quick count saves hours of ripping back.
- Change color at the very start of a row. Finish the last stitch of the old color, then pull the new color through the final loop. Carry the old color loosely up the side edge, or fasten off and rejoin if the carry looks messy.
- Keep your turning chain the same height. Always ch 3 at the start of a row; a too-short or too-long chain makes wavy edges.
- Work a little at a time. This shawl has 40 body rows plus edging — it is a marathon, not a sprint. Ten minutes a day finishes it beautifully.
Step-by-Step Instructions
Pattern Notes
- The shawl is worked from the bottom point outward, increasing at both edges on every row to create the triangle.
- The body is worked in V-stitch: (dc, ch 1, dc) in the same stitch or space.
- Color changes are made at the beginning of a row. Carry colors up the side edge loosely, or fasten off and rejoin.
- The turning chain counts as the first stitch unless otherwise noted.
- Block gently after finishing to open the V-stitch lace.
Body (Rows 1–40)
Setup: With Color E (dark blue), ch 4. Join with sl st to the first ch to form a ring.
Row 1 (RS): Ch 3 (counts as first dc), work 1 dc into the ring, ch 1, work 2 dc into the same ring. Turn. (1 V-stitch)
Row 2: Ch 3, work (1 dc, ch 1, 1 dc) into the first st (the same st as the ch-3), ch 1, work (1 dc, ch 1, 1 dc) into the ch-1 sp, ch 1, work (1 dc, ch 1, 1 dc) into the last st. Turn. (3 V-stitches, 2 ch-1 sps between)
Row 3: Ch 3, work (1 dc, ch 1, 1 dc) into the first st, *ch 1, work (1 dc, ch 1, 1 dc) into the next ch-1 sp; rep from * to the last st, ch 1, work (1 dc, ch 1, 1 dc) into the last st. Turn. (5 V-stitches, 4 ch-1 sps)
Row 4 (and every following increase row): Ch 3, work (1 dc, ch 1, 1 dc) into the first st, *ch 1, work (1 dc, ch 1, 1 dc) into the next ch-1 sp; rep from * to the last st, ch 1, work (1 dc, ch 1, 1 dc) into the last st. Turn. Each row adds 2 V-stitches (one at each side edge) and 2 ch-1 spaces.
Color sequence:
- Rows 1–8: Color E (dark blue). (15 V-stitches at the end of Row 8)
- Rows 9–16: Color D (medium blue). (31 V-stitches at the end of Row 16)
- Rows 17–24: Color C (light blue). (47 V-stitches at the end of Row 24)
- Rows 25–32: Color B (off-white). (63 V-stitches at the end of Row 32)
- Rows 33–40: Color A (peach). (79 V-stitches at the end of Row 40)
Continue: Rep Row 4, following the color sequence above, until you have completed 40 rows total. Fasten off. After blocking, the shawl should measure approximately 60 inches (152 cm) across the top edge and 30 inches (76 cm) down the center point.
Neck Opening and Collar
With RS facing and Color E (dark blue), join yarn at the right side edge of the top row (Row 40).
Row 1: Ch 1, work sc evenly along the top edge to the center, ch 2, skip 2 inches for the V-shaped neck opening, work sc evenly to the left side edge. Turn. (This creates the V-shaped neck opening.)
Row 2: Ch 1, work cl in each sc across, working 3 cl in the ch-2 sp. Turn.
Row 3: Ch 1, work sc in each cl across. Fasten off.
Lower Edging
With RS facing and Color E (dark blue), join yarn at the bottom point.
Row 1: Ch 1, work sc evenly along the entire lower edge (side edge, bottom point, and opposite side edge), working 3 sc in the bottom point. Join with sl st to the first sc. Turn.
Row 2: Ch 1, work cl in each sc around, working 3 cl in the bottom point. Join with sl st to the first cl. Fasten off.
Assembly and Finishing
Weave in ends: Thread each yarn tail onto your tapestry needle and run it back and forth through the back of several stitches (about 2 inches), then trim close to the work. Never knot your ends — knots can pop out and feel lumpy.
Blocking: Fill a sink or basin with cool water and soak the shawl for 15–20 minutes. Gently squeeze out the excess water — do not wring or twist. Roll it in a towel and press to remove more water. Lay the shawl on blocking mats, pin the top edge straight to 60 inches, pin the bottom point down to 30 inches, and pin the side edges into smooth, even lines. Let it dry completely (usually overnight). The V-stitches will open up and the triangle will hold its shape.
Pro Tips and Variations
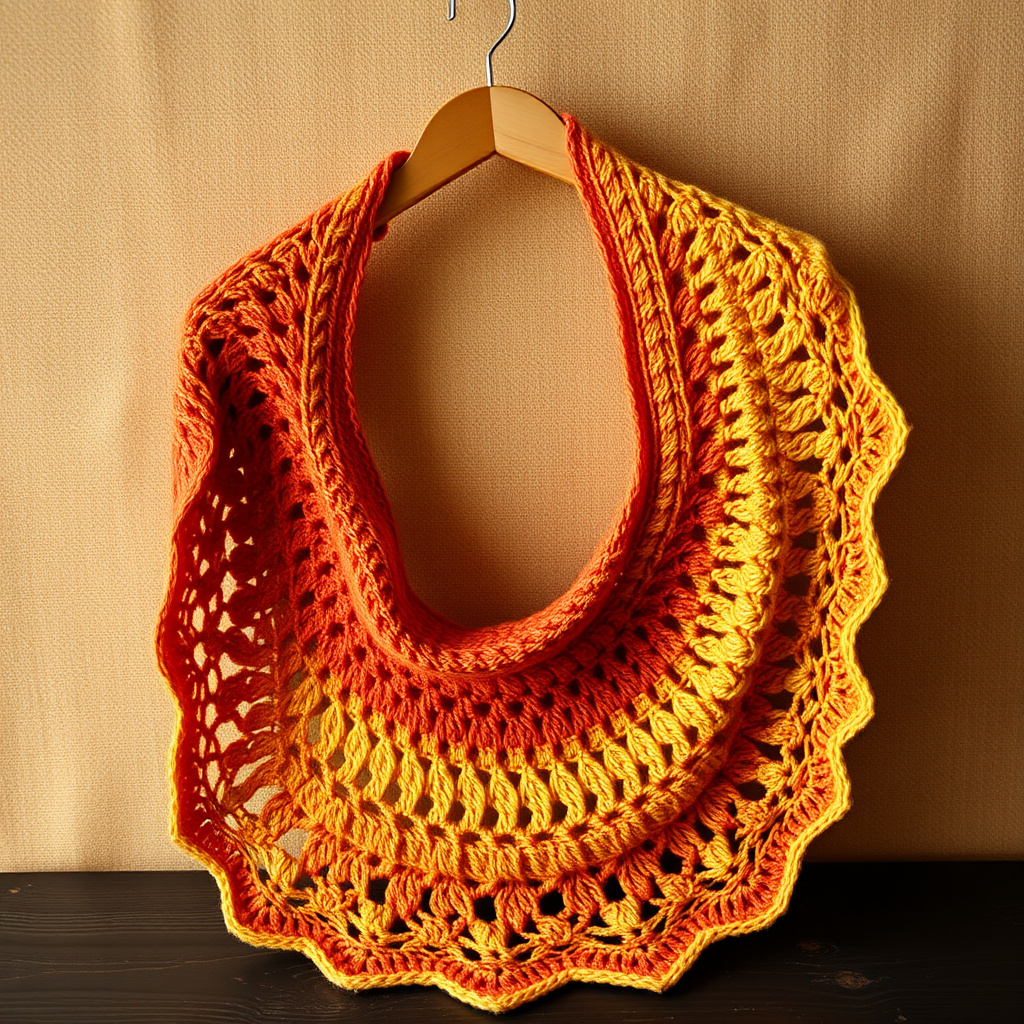
- Change the colors: Swap the five blues for any five shades you love — a sunset fade of pink, coral, orange, gold, and cream looks stunning, or try a single solid color for a classic look.
- Adjust the size: To make the shawl larger, simply keep repeating Row 4 in your last color until it reaches the size you want, then work the edging. To make a smaller shawl, stop after Row 32 and work the edging.
- Substitute yarn: Any fingering weight yarn works — try a cotton-linen blend for summer, or a soft alpaca for extra warmth. Just check your gauge again, since different fibers behave differently.
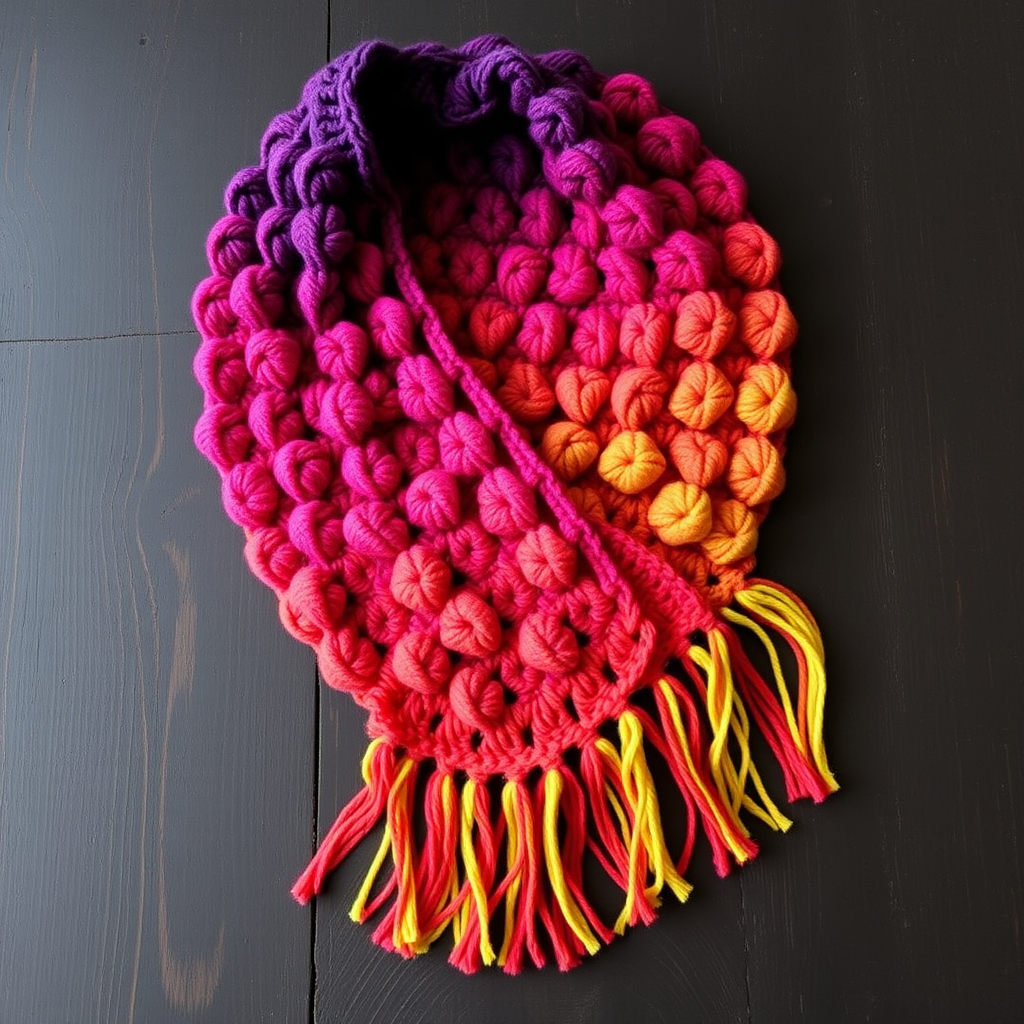
- Add a fringe: Cut 8-inch lengths of Color E, fold them in half, and use your hook to pull the fold through a stitch along the lower edge, then pull the ends through the loop to secure. Space them evenly for a boho finish.