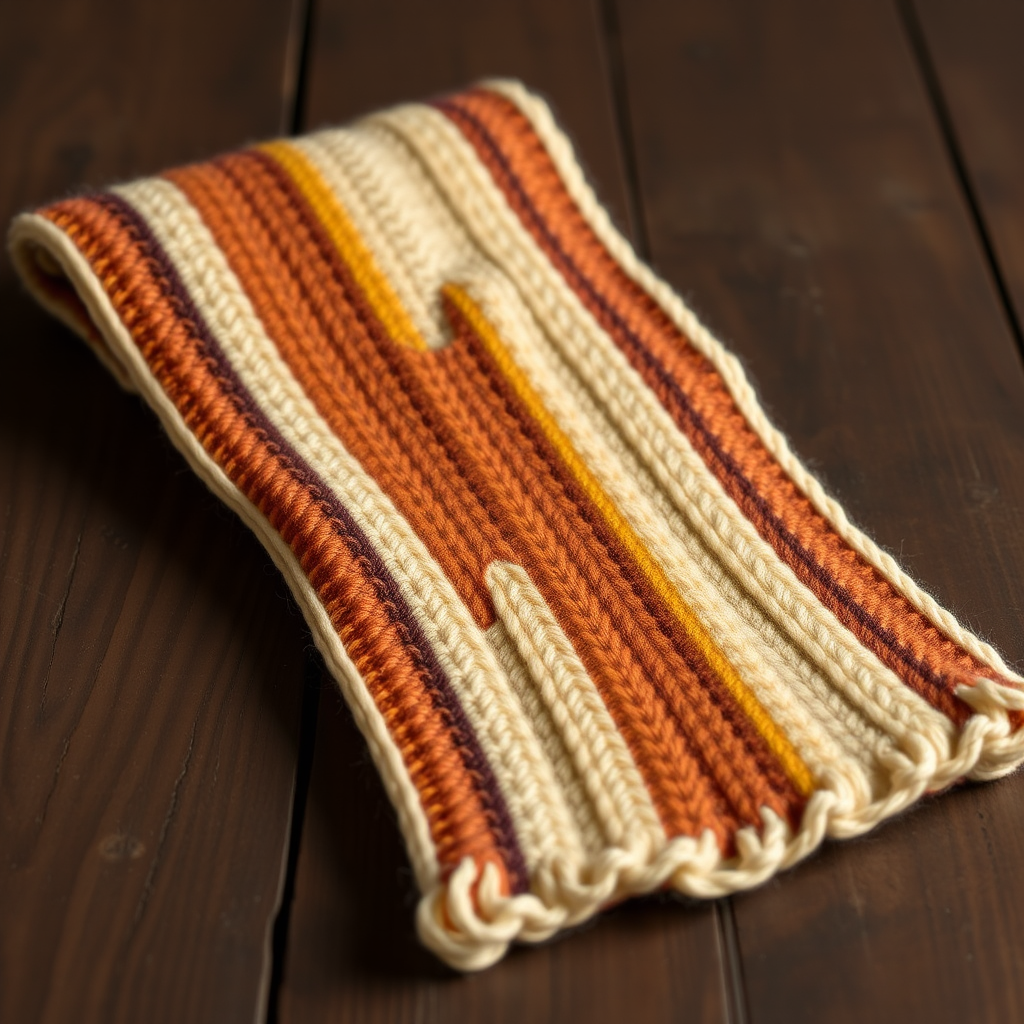
The Ember Dune Scarf Free Pattern – A Knitted Gradient Wrap with Woven Chevron Texture

The Ember Dune Scarf: A Free Knitting Pattern for a Woven Chevron Gradient Wrap
Wrap yourself in the warm, shifting hues of a desert sunset with this uniquely textured scarf. The Ember Dune features a mesmerizing woven chevron stitch that creates a rich, dimensional fabric, perfect for adding a touch of artisanal elegance to any outfit. This free knitting pattern is designed for beginners and intermediate knitters alike, offering a relaxing rhythm of slipped stitches and simple repeats. The result is a cozy, handmade accessory that captures the beauty of sun-baked dunes at twilight.
This scarf is knitted flat in one piece, using a slipped-stitch chevron pattern that creates a woven, braided effect. The color changes are worked in horizontal bands to mimic the layers of a dune, flowing seamlessly from burnt orange to amber gold to deep terracotta and back again. The dense, textured fabric lies flat and has a soft, cozy drape, making it both stylish and practical for cooler days.
Materials Needed
Before you begin, gather the following materials to ensure a smooth knitting experience:
- Yarn: Worsted weight yarn in 3 colors:
- Color A (Burnt Orange) – approx. 150g
- Color B (Amber Gold) – approx. 100g
- Color C (Deep Terracotta) – approx. 100g
- Needles: US 8 (5mm) knitting needles
- Gauge: 18 stitches and 24 rows = 4 inches in stockinette stitch (for reference; exact gauge is not critical for this scarf)
- Extras: Tapestry needle for weaving in ends, scissors, and a measuring tape
Step-by-Step Instructions
This pattern uses a slipped-stitch chevron technique that creates a woven, braided texture. Follow the steps carefully, and you'll have a beautiful, professional-looking scarf in no time.
Abbreviations
- CO: cast on
- K: knit
- P: purl
- Sl: slip stitch purlwise (unless otherwise noted)
- K2tog: knit two together (not used in this pattern, but listed for reference)
- Yo: yarn over (not used in this pattern, but listed for reference)
- RS: right side
- WS: wrong side
- wyif: with yarn in front (yarn held to the front of the work)
- wyib: with yarn in back (yarn held to the back of the work)
Foundation
Step 1: With Color A, CO 45 stitches. Ensure your cast-on is not too tight, as this will make the edge stiff. A long-tail cast-on works well for this pattern.
Step 2: Work Rows 1-4 in garter stitch (knit every row) for a neat, sturdy edge. This will prevent the scarf from curling and give it a polished finish.
Begin Chevron Pattern (with Color A)
Now you'll start the main body of the scarf. The chevron pattern is worked over a repeat of 8 stitches, with 3 knit stitches on each edge for a clean border.
Row 5 (RS): K3, *Sl 1 wyif, K1, Sl 1 wyif, K3; repeat from * to end. (You'll have 3 knit stitches at the beginning and end, with the pattern repeating in between.)
Row 6 (WS): P3, *Sl 1 wyib, P1, Sl 1 wyib, P3; repeat from * to end.
Row 7 (RS): K3, *K1, Sl 1 wyif, K1, K3; repeat from * to end.
Row 8 (WS): P3, *P1, Sl 1 wyib, P1, P3; repeat from * to end.
Repeat Rows 5-8 until the piece measures 6 inches from the cast-on edge, ending with a WS row (i.e., after completing Row 6 or Row 8). This ensures you're ready to switch colors on a RS row.
Switch to Color B
Step 1: Cut Color A, leaving a 6-inch tail for weaving in later. Join Color B at the beginning of a RS row.
Step 2: Continue in the same chevron pattern (Rows 5-8) with Color B for 6 inches, ending with a WS row. Keep the same tension as before to maintain an even fabric.
Switch to Color C
Step 1: Cut Color B, leaving a 6-inch tail. Join Color C at the beginning of a RS row.
Step 2: Continue in the same chevron pattern (Rows 5-8) with Color C for 6 inches, ending with a WS row.
Switch back to Color B
Step 1: Cut Color C, leaving a 6-inch tail. Join Color B at the beginning of a RS row.
Step 2: Work another 6 inches with Color B, ending with a WS row. This creates a symmetrical gradient, with the warm amber gold framing the deep terracotta center.
Switch back to Color A
Step 1: Cut Color B, leaving a 6-inch tail. Join Color A at the beginning of a RS row.
Step 2: Work another 6 inches with Color A, ending with a WS row. The scarf should now measure approximately 30 inches in total length (excluding the final border).
Final Border
Step 1: Work 4 rows of garter stitch with Color A (knit every row). This mirrors the foundation border and gives the scarf a balanced, finished look.
Step 2: Bind off all stitches loosely knitwise. To avoid a tight edge, use a larger needle for the bind-off or bind off with a relaxed tension. Cut the yarn, leaving a 6-inch tail, and pull through the last stitch to secure.
Finishing
Step 1: Weave in all ends using a tapestry needle. Thread each tail through the wrong side of the fabric, following the path of the stitches to hide it securely. Trim any excess yarn.
Step 2: Block the scarf gently to open up the stitch pattern and even out the edges. To block, soak the scarf in lukewarm water with a mild wool wash, gently squeeze out excess water (do not wring), and lay it flat on a towel. Shape it to the desired dimensions and allow it to dry completely. This step will enhance the woven texture and give the scarf a professional finish.
Your Ember Dune Scarf is now complete! The rich gradient of warm desert tones and the intricate woven chevron texture make this a stunning, versatile accessory. Whether you're dressing up a winter coat or adding a cozy layer to a casual outfit, this scarf is sure to become a favorite. Enjoy wearing your handmade creation, and don't forget to share your finished project with the knitting community!