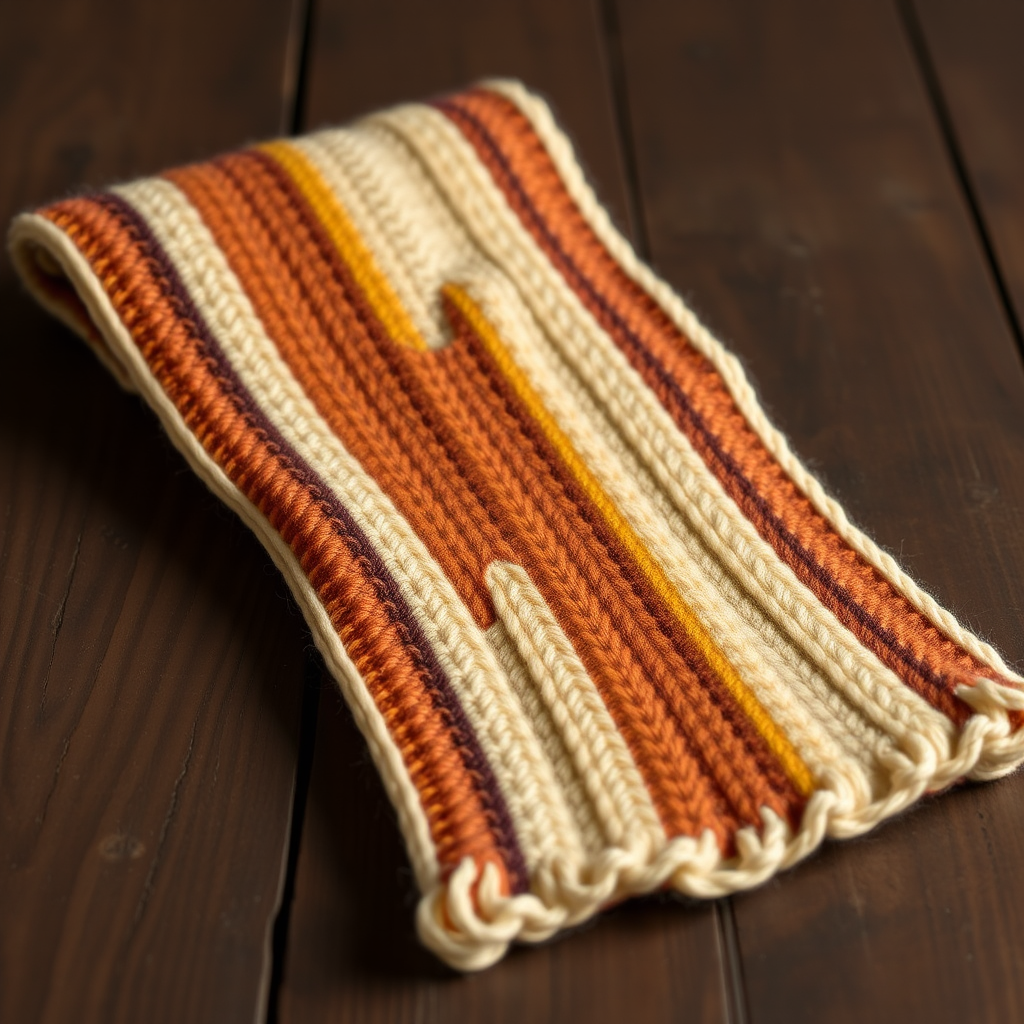
The Ember & Ash Reversible Scarf Free Pattern – A Two-Tone Knitted Wrap with Woven Texture
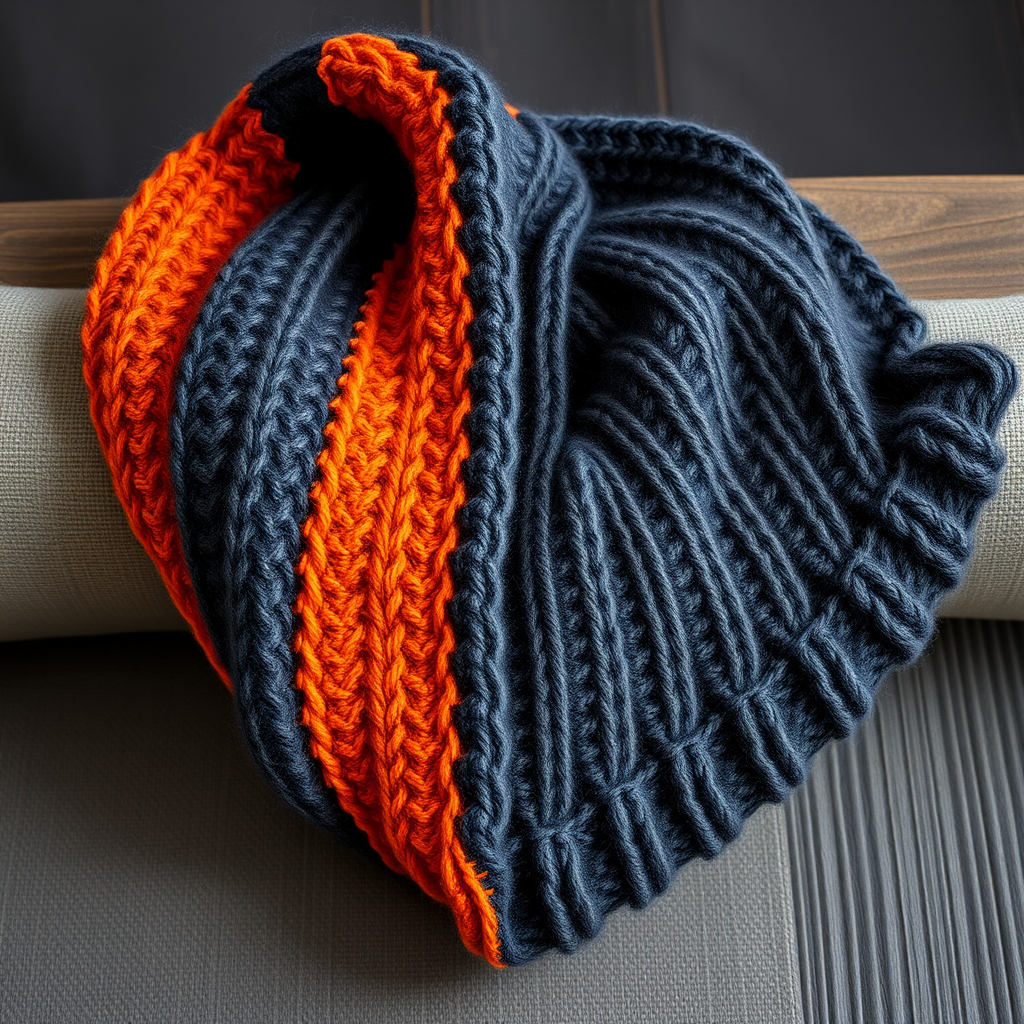
The Ember & Ash Reversible Scarf: A Two-Tone Knitted Wrap with Woven Texture
There's something deeply satisfying about knitting a piece that feels as beautiful on the inside as it looks on the outside. The Ember & Ash Reversible Scarf is exactly that—a study in contrast, where one side glows with the warmth of ember orange and the other settles into the quiet depth of charcoal. Knit in a soft, chunky merino blend, this scarf uses a clever two-color slip-stitch pattern to create a woven, honeycomb-like texture that is as luxurious to touch as it is to behold. Whether you're dressing up a simple winter coat or adding a handmade touch to a cozy sweater, this scarf elevates any outfit into a statement of quiet craftsmanship.
This pattern is perfect for confident beginners who are ready to explore colorwork without the complexity of stranding or intarsia. The slip-stitch technique is simple to master, and the result is a reversible fabric that looks intricate but is surprisingly easy to knit. Let's dive into everything you need to create your own Ember & Ash scarf.
Materials Needed
Before you begin, gather the following materials. The quality of your yarn will make a significant difference in the final drape and feel, so choose a soft, squishy merino blend for the best results.
Yarn
- Weight: Worsted weight (Category 4) yarn in two contrasting colors.
- Color A (Charcoal): Approximately 350 yards. This will be the deep, smoldering base color.
- Color B (Ember Orange): Approximately 350 yards. This is the warm, glowing accent color.
Pro tip: A superwash merino or a merino-wool blend will give you a soft, non-itchy scarf that's perfect for wearing directly against the neck. If you prefer a more rustic look, a wool-llama blend also works beautifully.
Needles & Notions
- Knitting Needles: US Size 8 (5.0 mm) knitting needles, or the size needed to obtain gauge. Straight needles work fine, but a circular needle (24" or longer) can be more comfortable for the number of stitches.
- Tapestry Needle: For weaving in ends at the finish.
- Scissors: For cutting yarn.
- Measuring Tape: To check your length as you knit.
Gauge
18 stitches and 24 rows = 4 inches in stockinette stitch (after blocking).
Always take the time to knit a gauge swatch. It ensures your scarf will be the correct width and length, and it helps you get a feel for the yarn. If your gauge is off, adjust your needle size accordingly—use a larger needle if you have too many stitches per inch, and a smaller needle if you have too few.
Step-by-Step Instructions
This scarf is worked in a single piece, so there's no seaming required. The pattern is a multiple of 4 stitches plus 2. We'll cast on 46 stitches, which gives you a scarf approximately 8 inches wide. The two-color slip-stitch pattern creates the woven texture on both sides, making it truly reversible.
Before you start, here are a few key terms you'll need to know:
- Slip 1 purlwise with yarn in back (wyib): Insert the right needle into the next stitch as if to purl, but instead of wrapping the yarn, simply slide the stitch from the left needle to the right needle. Keep the working yarn at the back of the work.
- Slip 1 purlwise with yarn in front (wyif): Same as above, but keep the working yarn at the front of the work.
Setup
With Color A, cast on 46 stitches loosely. A long-tail cast-on works well here. Make sure your cast-on is not too tight, as this will make the edge stiff and less drapey.
Pattern Rows
Row 1 (Right Side): With Color A, knit all stitches.
Row 2 (Wrong Side): With Color A, purl all stitches.
These first two rows establish the base fabric with your charcoal color. The right side is the side that will face outward when you wear it, but since this scarf is reversible, both sides will look beautiful.
Row 3: Switch to Color B (Ember Orange). *Slip 1 stitch purlwise with yarn in back, knit 3.* Repeat from * to * across, ending with slip 1 purlwise, knit 1.
Detailed explanation: You'll start this row with your working yarn (Color B) at the back. Slip the first stitch as if to purl, keeping the yarn behind the work. Then knit the next three stitches normally. Continue this pattern—slip 1, knit 3—across the row. Because you have 46 stitches, you'll repeat the sequence 11 times (44 stitches), and then you'll have 2 stitches left. Slip 1 purlwise, then knit the final stitch. This creates a beautiful offset pattern.
Row 4: With Color B, *Slip 1 stitch purlwise with yarn in front, purl 3.* Repeat from * to * across, ending with slip 1 purlwise, purl 1.
Detailed explanation: This row is worked on the wrong side. Keep the working yarn (Color B) at the front of the work. Slip the first stitch purlwise with the yarn in front, then purl the next three stitches. Continue across, ending with slip 1 purlwise, purl 1. This row mirrors Row 3 but on the purl side, which helps create the woven texture.
Row 5: Switch to Color A (Charcoal). Knit all stitches.
Row 6: With Color A, purl all stitches.
These two rows are the same as Rows 1 and 2, but they're worked after the Color B rows. This creates a solid stripe of charcoal between the textured orange sections.
Row 7: Switch to Color B. *Knit 1, slip 1 purlwise with yarn in back, knit 2.* Repeat from * to * across, ending with knit 1, slip 1 purlwise, knit 1.
Detailed explanation: This row is the offset version of Row 3. Instead of starting with a slip stitch, you'll start with a knit stitch. Knit 1, then slip 1 purlwise with the yarn in back, then knit 2. Repeat this sequence across the row. At the end, you'll have 3 stitches left. Knit 1, slip 1 purlwise, then knit the final stitch. This offset creates the honeycomb or basketweave effect.
Row 8: With Color B, *Purl 1, slip 1 purlwise with yarn in front, purl 2.* Repeat from * to * across, ending with purl 1, slip 1 purlwise, purl 1.
Detailed explanation: Mirroring Row 7 on the wrong side, you'll purl 1, slip 1 purlwise with the yarn in front, then purl 2. Continue across, ending with purl 1, slip 1 purlwise, purl 1.
Repeat Rows 1-8 until the scarf measures approximately 60 inches (or your desired length) from the cast-on edge. End with a Row 6 or Row 8 to ensure the pattern is balanced. This means the last row you knit should be a purl row with either Color A (Row 6) or Color B (Row 8). This ensures that both ends of the scarf have a similar texture and the bind-off edge matches the cast-on edge.
Finishing
With Color A, bind off all stitches knitwise on the right side. This means you'll knit the first stitch, then knit the second stitch, and pass the first stitch over the second. Continue this across the row. Binding off with Color A gives you a clean, charcoal edge that matches the cast-on.
Weave in all ends with a tapestry needle. Take your time with this step. Weave the ends in on the wrong side of the fabric, following the path of the yarn to hide them completely. Make sure to weave in at least 4-6 inches of yarn to prevent unraveling.
Block gently to even out the stitches and enhance the woven texture. Fill a sink or basin with cool water and add a small amount of wool wash. Submerge the scarf and let it soak for 15-20 minutes. Gently press out the excess water (don't wring or twist), then lay the scarf flat on a clean towel. Roll the towel up to remove more water, then lay the scarf flat on a dry towel or blocking mat. Gently shape it to the correct dimensions and let it air dry completely. Blocking will relax the yarn, even out the stitches, and make the woven texture pop.
Wearing and Caring for Your Scarf
Once your scarf is dry, it's ready to wear. The reversible nature means you can choose which side to show—charcoal with subtle orange slubs, or ember orange with the same woven pattern in reverse. Both sides are equally beautiful, so you can switch it up depending on your outfit or mood.
To keep your scarf looking its best, hand wash it in cool water with a gentle wool wash, and lay it flat to dry. Avoid hanging it, as the weight of the wet wool can stretch it out of shape. With proper care, this scarf will be a cozy, stylish companion for many winters to come.
Happy knitting, and enjoy the warmth of your handmade creation!