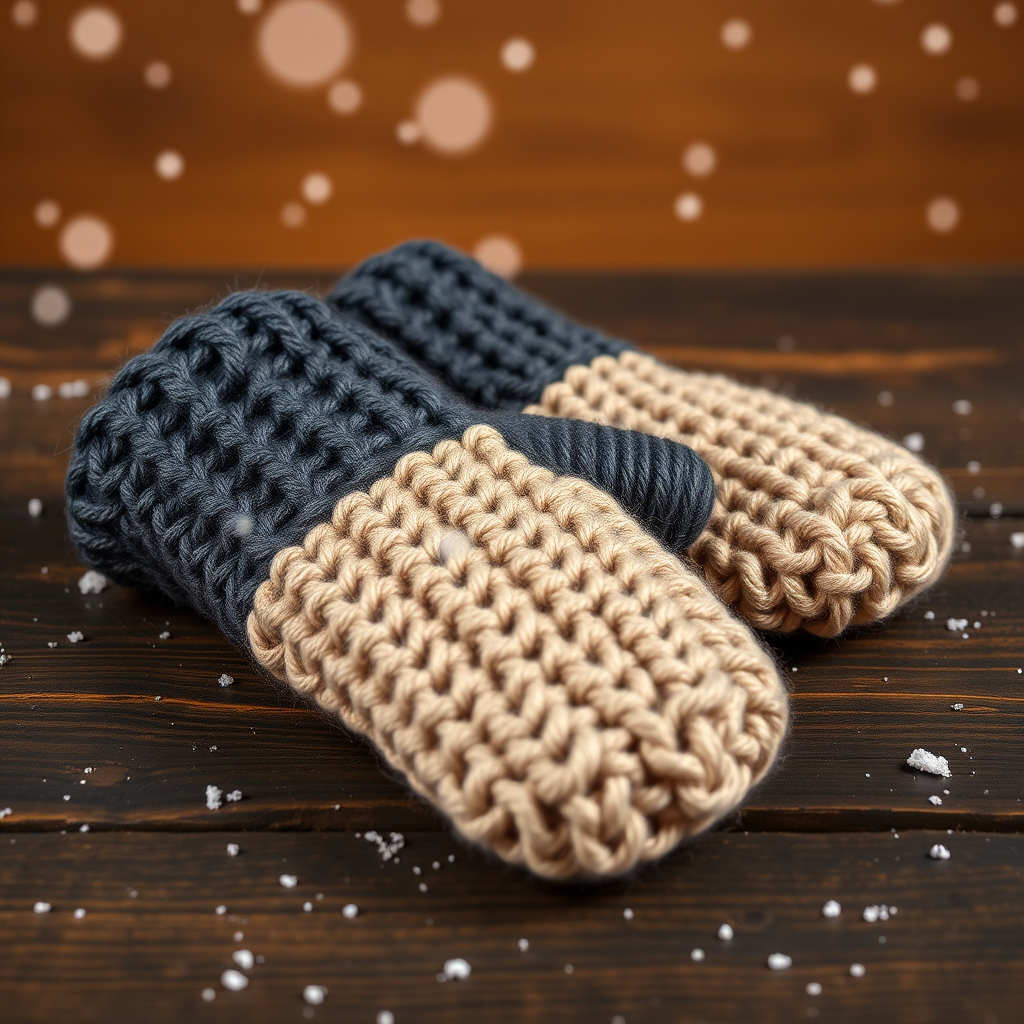
The Aurora Snowdrift Mittens Free Pattern – Knit a Starry Arctic Sky Mitten

The Aurora Snowdrift Mittens Free Pattern – Knit a Starry Arctic Sky Mitten
Wrap your hands in a miniature polar night sky with these stunning stranded-colorwork mittens. Featuring a drifting snowflake motif and a cozy, dense fabric, the Aurora Snowdrift Mittens are the perfect winter project for adventurous beginners and seasoned knitters alike. This quick, satisfying knit pairs beautifully with any winter coat, transforming an everyday accessory into a wearable piece of art. The deep navy base, accented with icy white and soft silver blue, evokes the magic of a clear Arctic night—and you get to create it with your own two hands.
Whether you're new to colorwork or a Fair Isle enthusiast, this pattern is designed to be approachable and rewarding. The stranded knitting technique is broken down into simple, repeatable rounds, and the thumb gusset is constructed with clear increases that are easy to follow. By the end of this project, you'll have a pair of mittens that are as functional as they are beautiful—dense, warm, and full of handcrafted charm.
Materials Needed
Before you begin, gather the following materials. The specifications are designed for a worsted weight yarn, which gives the mittens a substantial, cozy feel while keeping the colorwork crisp and defined.
Yarn
- MC (Main Color): Deep navy blue, approx. 150g (e.g., Cascade 220 or similar worsted weight yarn)
- CC1 (Contrast Color 1): Icy white, approx. 50g
- CC2 (Contrast Color 2): Soft silver blue, approx. 30g
Needles
- US 6 (4.0 mm) double-pointed needles (or circular for magic loop) – for the main body
- US 5 (3.75 mm) double-pointed needles – for the ribbed cuff
Gauge
20 stitches and 24 rows = 4 inches in stockinette stitch on larger needles, after blocking. Adjust needle size to achieve gauge if necessary.
Additional Supplies
- Stitch markers (at least 4)
- Waste yarn or stitch holder for thumb
- Tapestry needle for weaving in ends
- Scissors
Step-by-Step Instructions
This pattern is worked in the round from the cuff down. The finished size is an adult medium (approx. 8 inches circumference, 10.5 inches long). Follow the instructions carefully, and don't hesitate to refer back to the abbreviations and pattern notes as you work.
Abbreviations
- CO: Cast on
- K: Knit
- P: Purl
- K2tog: Knit two together (right-leaning decrease)
- SSK: Slip, slip, knit (left-leaning decrease)
- M1L: Make one left (increase)
- M1R: Make one right (increase)
- St st: Stockinette stitch (knit every round)
- MC, CC1, CC2: As specified above
Pattern Notes
- Worked in the round from the cuff down. Use a stitch marker to mark the beginning of the round.
- The colorwork chart is worked in St st; carry floats loosely across the back to prevent puckering.
- For a snug fit, the ribbing is worked on smaller needles.
Cuff
With smaller needles (US 5) and MC, CO 40 stitches. Distribute evenly on 4 DPNs (10 stitches on each needle). Join in the round, being careful not to twist the stitches.
Work K2, P2 ribbing for 2.5 inches (approx. 12 rounds). This creates a snug, stretchy cuff that will keep the cold out.
Hand (Right Mitten)
Switch to larger needles (US 6). Work in St st (knit every round) with MC for 2 rounds. This establishes a smooth base for the colorwork.
Begin Colorwork Chart
Follow the rounds below exactly. Remember to carry the unused yarn loosely across the back of the work, catching it every few stitches if needed to avoid long floats.
- Round 1: *K1 with MC, K1 with CC1* repeat to end (40 sts).
- Round 2: *K1 with CC1, K1 with MC* repeat to end.
- Round 3: *K2 with MC, K1 with CC1* repeat to end.
- Round 4: *K1 with CC1, K2 with MC* repeat to end.
- Round 5: *K1 with MC, K1 with CC2, K1 with MC* repeat to end.
- Round 6: *K1 with CC2, K1 with MC, K1 with CC1* repeat to end.
- Round 7: *K1 with MC, K1 with CC1, K1 with MC, K1 with CC2* repeat to end.
- Round 8: *K1 with CC1, K1 with MC, K1 with CC2, K1 with MC* repeat to end.
- Round 9: *K2 with MC, K1 with CC2, K1 with MC* repeat to end.
- Round 10: *K1 with CC2, K1 with MC, K2 with MC* repeat to end.
- Round 11: *K1 with MC, K1 with CC1* repeat to end.
- Round 12: *K1 with CC1, K1 with MC* repeat to end.
Thumb Gusset (Right Mitten)
Now we'll shape the thumb using increases. The gusset is placed after 19 stitches from the beginning of the round.
- Round 13: K19 with MC, place marker, M1R, K1 with MC, M1L, place marker, K20 with MC. (42 sts)
- Round 14: Knit all sts with MC.
- Round 15: K19, M1R, K3, M1L, K20. (44 sts)
- Round 16: Knit all sts with MC.
- Round 17: K19, M1R, K5, M1L, K20. (46 sts)
Continue in this manner, increasing 2 stitches every other round (on odd-numbered rounds) until you have 13 stitches between the markers (total 54 sts). Work 2 rounds even in MC. The gusset now has 13 stitches reserved for the thumb.
Separate Thumb
Next round: K19, slip next 13 sts onto a waste yarn holder, CO 1 st (using backward loop method), K22. (42 sts for hand)
Continue working in St st with MC for 1 inch. Then work the colorwork chart again (Rounds 1-12) once more. This repeats the starry pattern across the upper hand.
Shape Top
Decrease rounds to shape the rounded top of the mitten:
- Round 1: *K2, K2tog* repeat to end (approx 32 sts).
- Round 2: Knit all sts.
- Round 3: *K1, K2tog* repeat to end (approx 21 sts).
- Round 4: *K2tog* repeat to end (approx 11 sts).
Cut yarn, leaving a 6-inch tail. Thread through remaining sts, pull tight, and weave in end securely.
Thumb
Transfer the 13 thumb sts from the holder to DPNs. Pick up 1 st from the CO st at the base of the thumb, and 1 st from each side to avoid holes (total 15 sts).
Knit in St st with MC for 2 inches, or until the thumb covers your thumb comfortably.
Shape top: Round 1: *K1, K2tog* repeat to end (10 sts). Round 2: *K2tog* repeat to end (5 sts). Cut yarn, thread through remaining sts, pull tight, and weave in end.
Left Mitten
Work the same as the right mitten, but place the thumb gusset after 20 stitches instead of 19. Specifically, begin the gusset as follows: K20, place marker, M1R, K1, M1L, place marker, K19. Continue the increases exactly as for the right mitten, and complete the rest identically.
Finishing
Weave in all ends using a tapestry needle, being careful to secure them on the wrong side of the work. Block gently by soaking the mittens in lukewarm water with a mild wool wash, then lay flat to dry, shaping them to the correct dimensions. This will even out the colorwork and give the mittens a professional finish.
Once dry, your Aurora Snowdrift Mittens are ready to wear! Slip them on and imagine the starry Arctic sky wrapped around your hands—a beautiful, handcrafted reminder of the magic of winter.